ELRS Radio Setup Guide for Beginners
A beginner-friendly ELRS setup guide that supports radio buyer guides and troubleshooting paths.
ELRS Radio Setup Guide for Beginners
Unlocking FPV Freedom: A Comprehensive Guide to ExpressLRS Setup
Welcome, FPV pilots, to fpvlovers.com.tr! If you're looking to elevate your FPV experience with unparalleled range, rock-solid reliability, and incredibly low latency, then ExpressLRS (ELRS) is your answer. This open-source radio control link has rapidly become the gold standard in the FPV community, and for good reason.
Whether you're building your first ELRS-equipped quad or upgrading an existing setup, navigating the initial configuration can seem daunting. But fear not! This comprehensive guide will walk you through every step, from hardware selection to firmware flashing, binding, and Betaflight integration, ensuring you're ready to take to the skies with confidence.
Why ELRS is a Game Changer for FPV Pilots
ExpressLRS burst onto the FPV scene and quickly revolutionized how we fly. Here's why it's a true game-changer:
- Ultra-Low Latency and High Refresh Rates: ELRS boasts refresh rates up to 1000Hz (for 2.4GHz), translating to an almost instantaneous connection between your sticks and your drone. This precision is critical for competitive racing and acrobatic freestyle, offering a level of control that was previously unimaginable for mainstream systems.
- Exceptional Range and Penetration: Utilizing LoRa modulation, ELRS provides incredible long-range capabilities and better penetration through obstacles compared to traditional protocols. Many pilots regularly achieve miles of range on standard setups, far exceeding the needs of most FPV flying.
- Open Source and Community-Driven: Being open-source means ELRS is constantly evolving, with a dedicated community of developers and users pushing its boundaries. This fosters innovation and ensures that the protocol remains cutting-edge and adaptable.
- Affordability: Despite its premium performance, ELRS hardware is remarkably affordable. This accessibility has allowed more pilots to experience high-performance link technology without breaking the bank, making it a viable alternative to more expensive proprietary systems like TBS Crossfire or Tracer.
- Robust Link: ELRS is designed to be highly resistant to interference, providing a more reliable connection even in noisy RF environments.
What This Comprehensive ELRS Setup Guide Covers
This guide is designed to be your one-stop resource for setting up ExpressLRS. We'll cover:
- Essential Hardware & Software: What you need to get started.
- Firmware Flashing: Step-by-step instructions for updating your TX module and RX receivers.
- Radio Configuration: Installing and navigating the ELRS Lua script on your OpenTX/EdgeTX radio.
- Betaflight Integration: Wiring, binding, and configuring your flight controller.
- Troubleshooting: Common issues and practical solutions to get you flying.
- FAQ: Quick answers to your most pressing questions.
Let's dive in and unlock the full potential of ExpressLRS!
Gearing Up: Essential Hardware and Software for ELRS Setup
Before you embark on your ELRS journey, it's crucial to gather the right tools and understand the foundational concepts. Having everything ready will make the process much smoother.
Your ELRS Hardware: Transmitter Module & Receiver Options
The heart of your ELRS system consists of a transmitter module (TX) and a receiver (RX).
Transmitter Modules (TX)
Your radio transmitter will either have an internal ELRS module or accept an external module via a JR Bay.
- External Modules: These are popular for pilots who want to add ELRS to an existing OpenTX/EdgeTX radio like the RadioMaster TX16S or Jumper T-Pro.
- RadioMaster Ranger Micro/Nano: Excellent choices, offering robust performance and various power outputs up to 1W or even 2W (Ranger Micro). The Ranger Nano is perfect for radios with a smaller Nano bay (e.g., RadioMaster Zorro, Jumper T-Pro).
- Happymodel ES24TX Slim Pro / ES24TX Lite: Compact and powerful options, very popular for their performance-to-price ratio.
- BetaFPV ELRS Micro TX Module: Another solid choice offering good performance.
- Internal Modules: Many newer radios come with integrated ELRS.
- RadioMaster Zorro ELRS version: A fantastic compact radio with internal ELRS 2.4GHz.
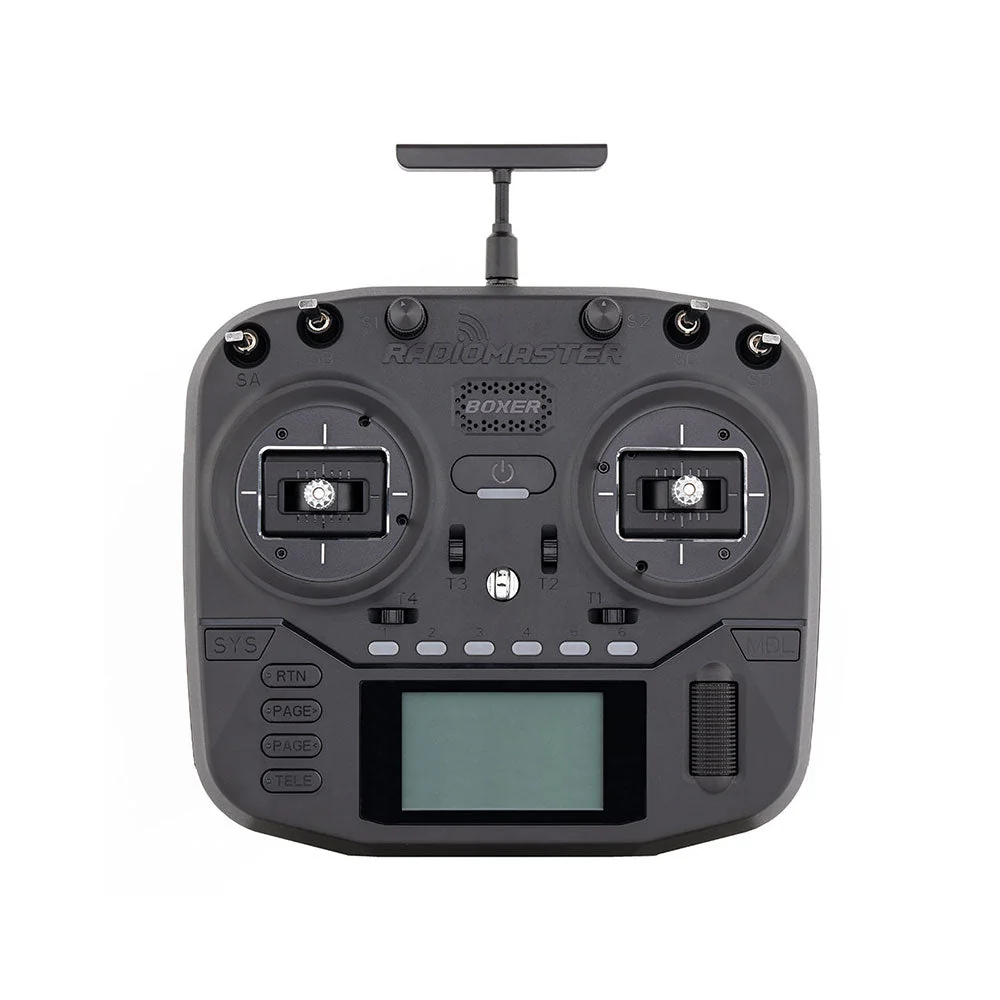
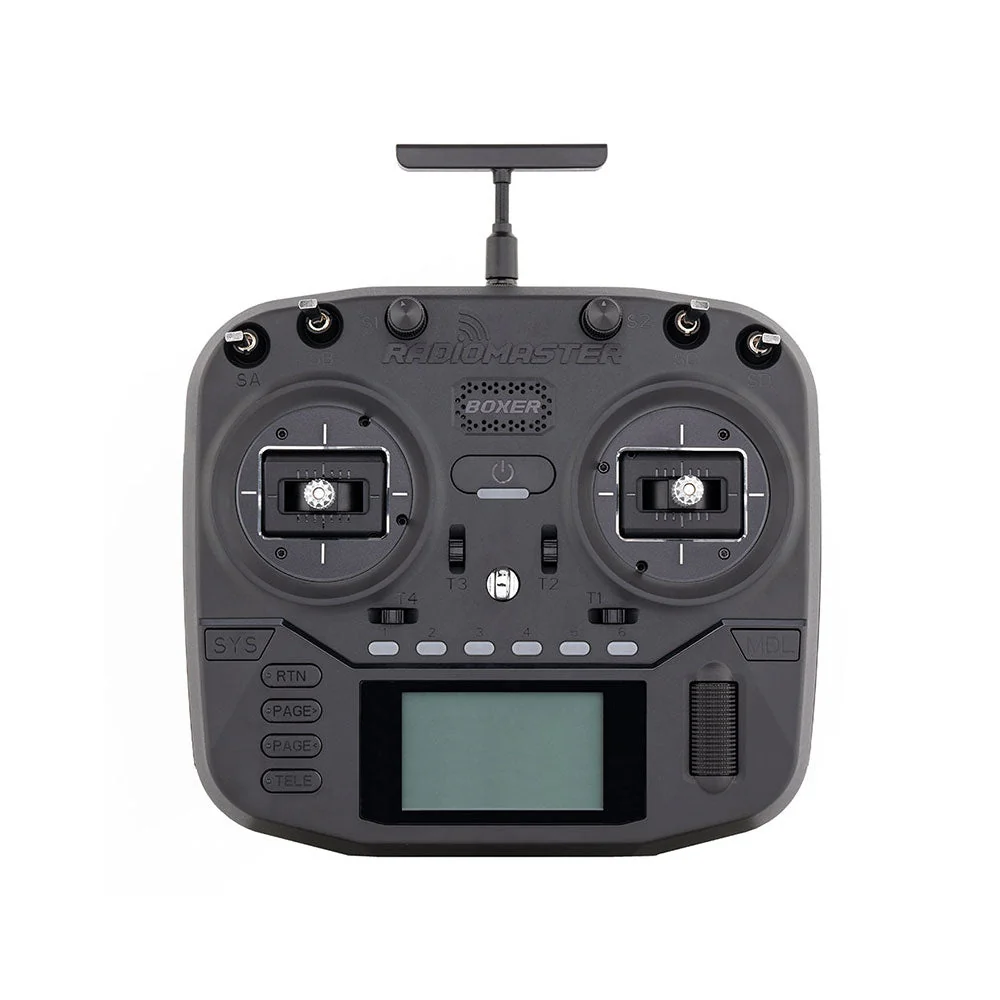
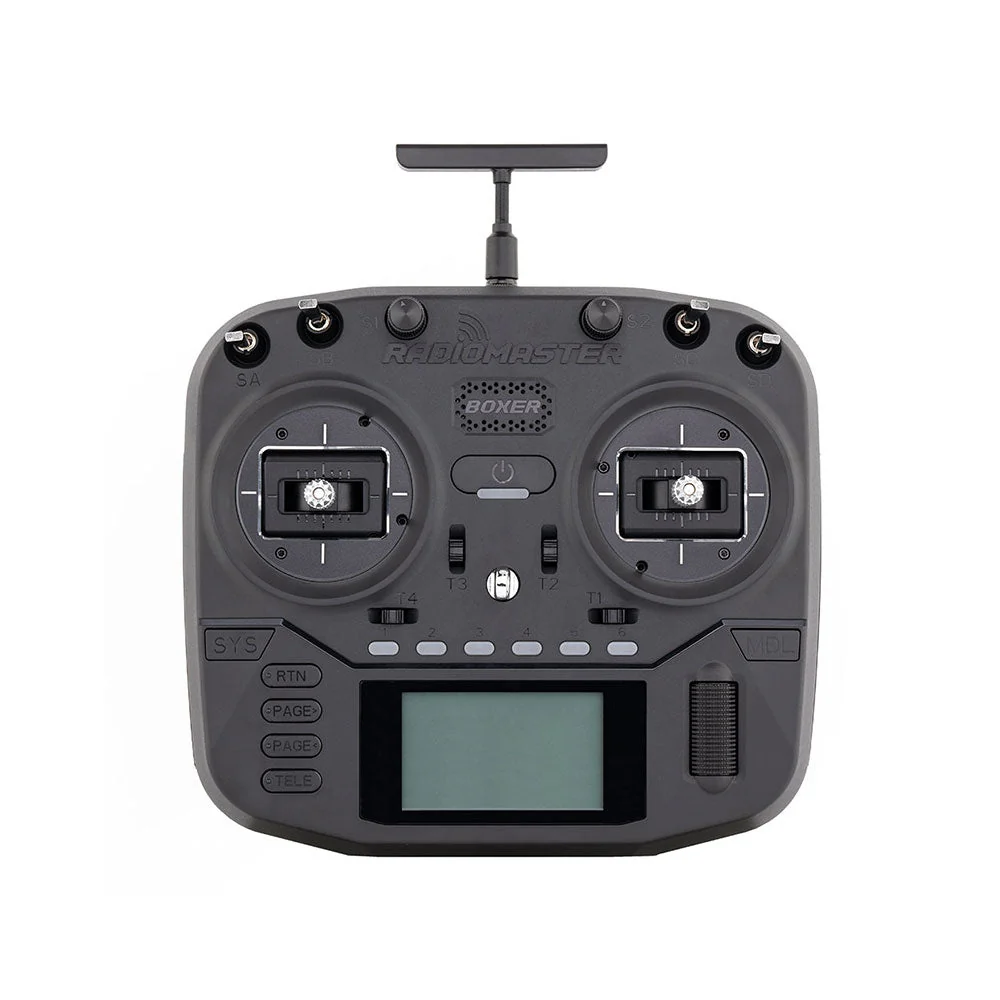
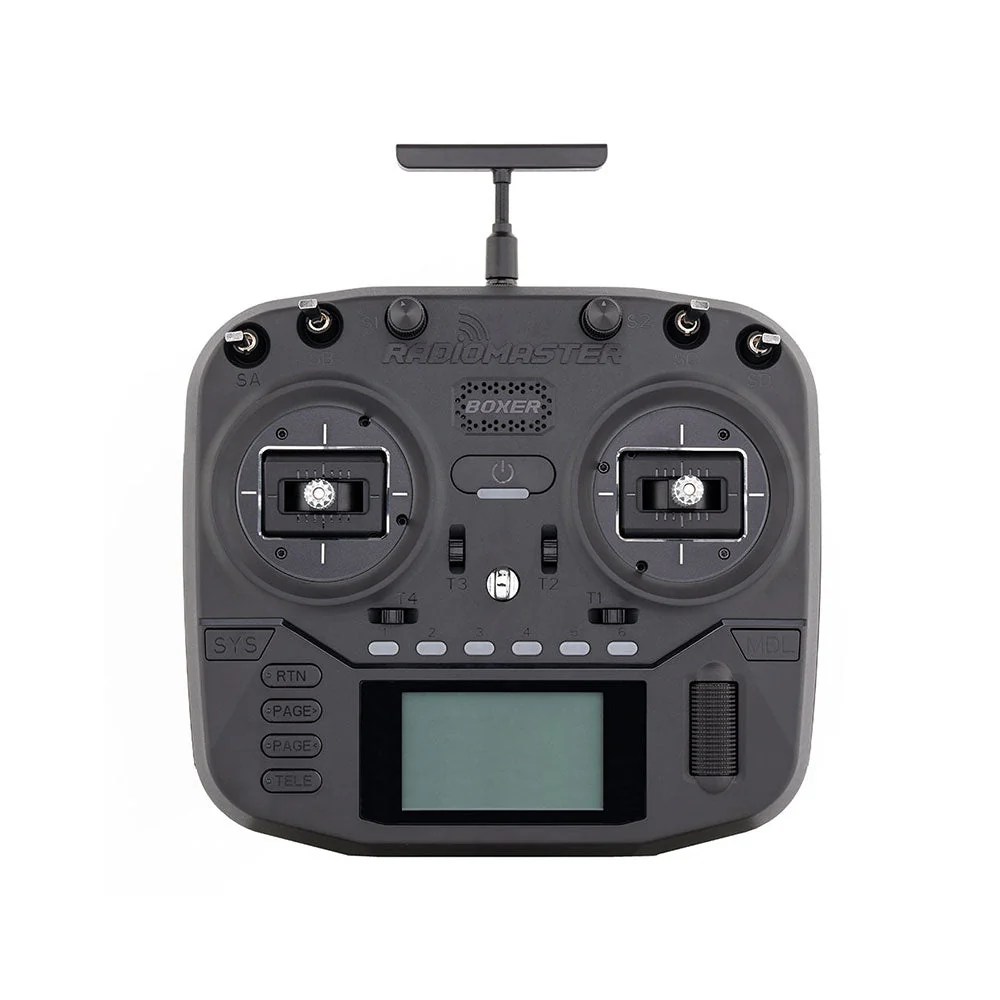
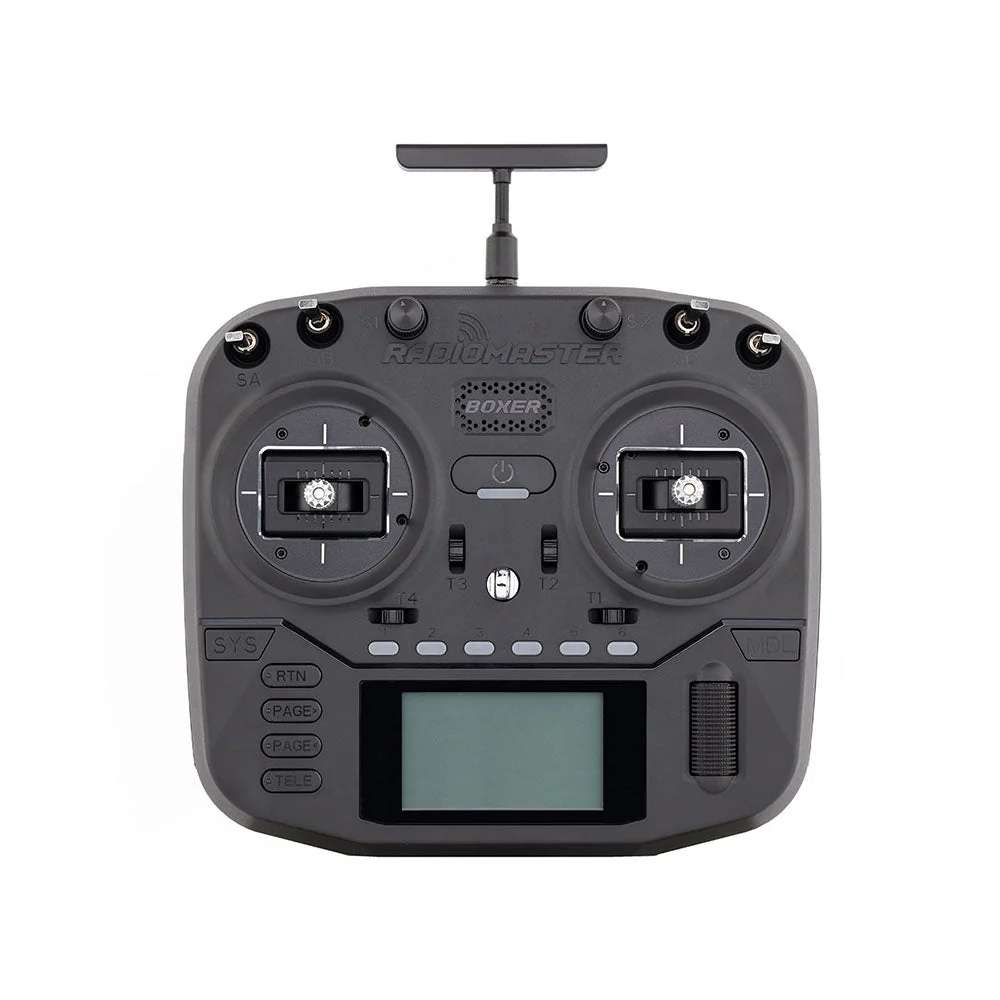
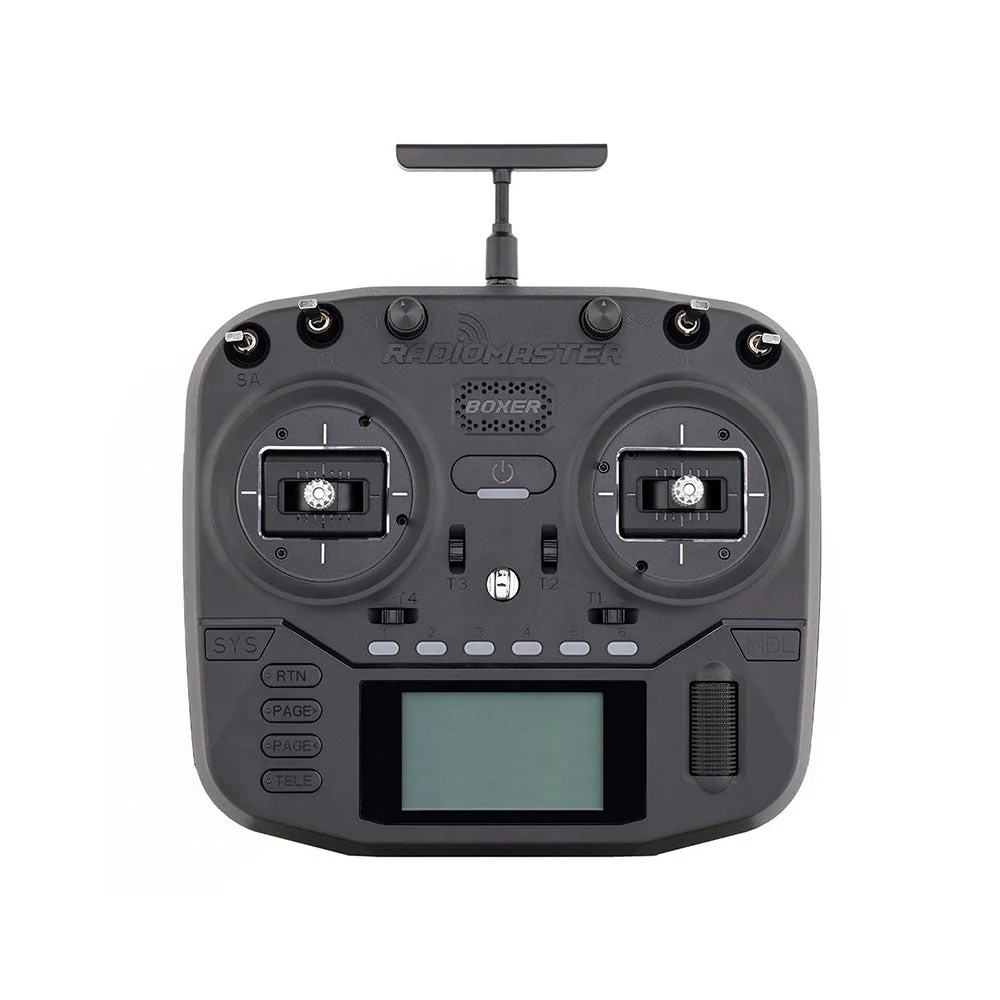
- RadioMaster Boxer ELRS version: A larger, full-size radio with internal ELRS.
Receivers (RX)
ELRS receivers come in various sizes and form factors to suit different drone builds.
- Happymodel EP1 / EP2: These are incredibly tiny 2.4GHz receivers, ideal for micro drones or builds where space and weight are critical. The EP1 has a UFL antenna connector, while the EP2 has an integrated ceramic antenna.
- BetaFPV Lite Receivers: Similar in size to the Happymodel EP series, offering excellent performance for small builds.
- Matek ELRS Receivers (e.g., R24-D, R24-S): Known for their robust build quality and often include integrated variometers or additional UARTs.
- NameLessRC ELRS Receivers: Another brand offering reliable and compact ELRS receivers.
- Diversity Receivers: Some receivers (like the Matek R24-D) offer diversity with two antennas for improved signal reliability in challenging environments.
Pro Tip: Always match your TX and RX frequency band (e.g., 2.4GHz with 2.4GHz, 900MHz with 900MHz). The vast majority of FPV pilots use 2.4GHz ELRS due to its high packet rates and compact hardware.
Software & Tools You'll Need: ELRS Configurator, Betaflight & Drivers
To get your ELRS system up and running, you'll need a few essential software tools:
- ExpressLRS Configurator: This is your primary tool for compiling and flashing ELRS firmware onto both your TX module and RX receivers. Download it from the official ExpressLRS GitHub releases page. It's available for Windows, macOS, and Linux.
- Betaflight Configurator: For configuring your flight controller, enabling the correct UART, and setting up failsafe. Download the latest version from the Betaflight GitHub releases page.
- USB Drivers: Ensure your computer has the necessary drivers to communicate with your flight controller (and sometimes your TX module). The STM32 Virtual COM Port (VCP) driver is often required for Windows users. You can usually find these on the STM32 website or within the Betaflight Configurator's driver installation tool.
- SD Card: For your radio transmitter (if it uses OpenTX/EdgeTX). You'll need this to transfer the ELRS Lua script.
- USB-C Cable: A high-quality data-capable USB-C cable for connecting your flight controller and potentially your radio/TX module to your computer.
Initial Considerations: Firmware Versions and Binding Phrases
Before flashing any firmware, keep these critical points in mind:
- Firmware Versions: For successful binding, your ELRS TX module and all your ELRS RX receivers must be running the same major firmware version. For example, if your TX is on ELRS V3.3.0, your RX must also be on a V3.x.x version (e.g., V3.2.1, V3.4.0). Minor versions usually don't prevent binding but updating them is good practice.
- Binding Phrases: A binding phrase is a unique, user-defined passphrase (a string of characters) that you embed into the firmware of both your TX and RX. When both devices share the exact same binding phrase, they will automatically bind to each other upon power-up. This eliminates the need for button-pressing binding procedures and enhances security.
Pro Tip: Choose a binding phrase that's easy for you to remember but hard for others to guess. Write it down! A common mistake is forgetting or misspelling the binding phrase.
Flashing Firmware: Powering Up Your ELRS Transmitter and Receiver
Flashing firmware is the process of loading the operating software onto your ELRS hardware. It's a crucial step that ensures compatibility and unlocks new features.
Understanding ELRS Firmware: Build Targets and Custom Phrases
When you use the ELRS Configurator, you'll encounter a few key concepts:
- Build Target: This specifies the exact hardware you're flashing. For example, a RadioMaster Ranger Nano TX module will have a build target like
RADIOMASTER_RANGER_NANO_2400_TX. An Happymodel EP1 RX will have a target likeHAPPYMODEL_EP_2400_RX. It's vital to select the correct build target for your specific device. - Custom Binding Phrase: As discussed, this phrase is embedded into your firmware. Make sure it's identical for your TX and all RXs you intend to use with that TX.
- Regulatory Domain: Select the domain appropriate for your region (e.g., "EU LBT" for Europe, "FCC" for North America). This ensures your device operates within legal power limits and frequency ranges.
- Packet Rate: While you can set a default packet rate here, you'll typically adjust this later via the Lua script.
Updating Your ELRS TX Module (via WiFi, USB, or Passthrough)
The method for updating your TX module depends on whether it's an external or internal module.
1. Via WiFi (Most Common for External Modules)
This is the easiest and most recommended method for external modules like the RadioMaster Ranger series or Happymodel ES24TX.
- Prepare Firmware: Open the ELRS Configurator. Select your Device Category (e.g.,
Radiomaster 2.4Ghz), then your Device (e.g.,RADIOMASTER_RANGER_NANO_2400_TX). Choose the desired Firmware Version (e.g.,3.4.0). Enter your Custom Binding Phrase and select your Regulatory Domain. - Build & Save: Click "Build" and then "Save" to download the
.binfirmware file to your computer. - Power Up TX Module: Turn on your radio with the ELRS module inserted. Most external modules will create a WiFi hotspot automatically after a short period (indicated by a slow flash). If not, you might need to briefly press the bind button on the module or access it via the radio's system menu.
- Connect to WiFi: On your computer, connect to the WiFi network named "ExpressLRS TX" (or similar). The default password is
expresslrs. - Access Web Interface: Open a web browser and go to
10.0.0.1. - Flash: Click "Update" or "Choose File," select the
.binfile you downloaded from the Configurator, and click "Upload." The module will flash and reboot.
2. Via USB (Common for Internal Modules)
This method is used for radios with internal ELRS modules (e.g., RadioMaster Zorro ELRS).
- Prepare Firmware: In the ELRS Configurator, select your Device Category (e.g.,
Radiomaster 2.4Ghz), then your Device (e.g.,RADIOMASTER_ZORRO_2400_TX_INTERNAL). Enter your Custom Binding Phrase and other settings. - Flash Via USB: Click "Build & Flash." Connect your radio to your computer via USB (usually in "USB Serial" or "Betaflight Joystick" mode, check your radio manual). The Configurator will attempt to detect the COM port and flash directly.
3. Via Passthrough (Less Common for TX, More for RX)
Some internal modules might support flashing via radio passthrough, using the radio's USB connection to communicate with the internal module. Consult your radio's manual for specific instructions.
Flashing Your ELRS RX (via WiFi, Betaflight Passthrough, or UART)
Flashing your receiver is equally important to ensure it matches your TX's firmware version.
1. Via WiFi (If RX Supports It)
Many modern ELRS receivers support WiFi flashing.
- Prepare Firmware: In the ELRS Configurator, select your RX's Device Category (e.g.,
Happymodel 2.4Ghz), then your Device (e.g.,HAPPYMODEL_EP_2400_RX). Enter your Custom Binding Phrase and other settings. - Build & Save: Click "Build" and then "Save" to download the
.binfirmware file. - Power Up RX: Power your receiver by connecting it to your flight controller (FC) or a standalone 5V source. If it doesn't have a binding phrase or hasn't bound yet, it will usually enter WiFi mode after about 60 seconds (indicated by a slow flash). If it was previously bound, you might need to power cycle it three times quickly to force it into WiFi mode.
- Connect & Flash: Connect to the "ExpressLRS RX" WiFi network (password
expresslrs), navigate to10.0.0.1in your browser, upload the.binfile, and flash.
2. Via Betaflight Passthrough (Very Common & Recommended)
This is a popular and straightforward method, especially for receivers soldered to a flight controller.
- Prepare Firmware: In the ELRS Configurator, select your RX's Device Category and Device. Enter your Custom Binding Phrase.
- Build & Flash: Select "Build & Flash." Crucially, choose "UART (via Betaflight Passthrough)" as the flashing method.
- Connect FC: Connect your flight controller (with the RX soldered) to your computer via USB.
- Select COM Port: In the ELRS Configurator, select the COM port corresponding to your FC.
- Flash: Click "Flash." The Configurator will connect to Betaflight, initiate passthrough mode, and flash the receiver.
3. Via UART (Direct Serial Connection)
This method involves connecting the receiver directly to a USB-to-UART adapter. It's useful if you're bench testing a receiver without a flight controller or if Betaflight passthrough isn't working.
- Wire RX to Adapter: Connect the RX's 5V, GND, TX, and RX pins to the corresponding pins on your USB-to-UART adapter. Remember to cross TX/RX (RX TX to Adapter RX, RX RX to Adapter TX).
- Prepare Firmware: In the ELRS Configurator, select your RX's Device Category and Device. Enter your Custom Binding Phrase.
- Build & Flash: Select "Build & Flash." Choose "UART (Serial)" as the flashing method.
- Select COM Port: Select the COM port for your USB-to-UART adapter.
- Flash: Click "Flash."
Configuring Your Radio: ELRS Lua Script and Transmitter Settings
Once your TX module is flashed, the next step is to configure its settings directly from your radio using the ELRS Lua script. This script provides an intuitive interface to manage all your ELRS parameters.
Installing the ELRS Lua Script on Your OpenTX/EdgeTX Radio
The Lua script is essential for interacting with your ELRS module.
- Download the Script: Go to the official ExpressLRS GitHub releases page. Under the release matching your firmware version (e.g., V3.4.0), look for the "Assets" section and download the
elrs.luafile (orELRSv3.luafor V3 releases). - Access Radio's SD Card: Connect your radio to your computer via USB. On most radios (like RadioMaster TX16S, Zorro, Boxer), select "USB Storage (SD)" or "USB (SD Card)" from the radio's menu.
- Copy to SD Card: Navigate to the
SCRIPTS/TOOLSfolder on your radio's SD card. Copy theelrs.luafile into this folder. - Eject & Reboot: Safely eject your radio from your computer and power cycle it.
- Access the Script: On your radio, typically long-press the SYS button (or press the MENU button multiple times) to navigate to the TOOLS page. You should now see "ELRS" or "ExpressLRS" listed. Select it to launch the script.
Navigating the ELRS Lua Script: Key Settings Explained
The ELRS Lua script offers a range of configurable parameters. Here are the most important ones:
- Packet Rate (Rate): This determines how frequently your radio sends data to your receiver.
- 2.4GHz Options: 50Hz, 100Hz, 150Hz, 250Hz, 333Hz, 500Hz, 1000Hz (Full Res), 1000Hz (Wide).
- Trade-offs: Higher packet rates (e.g., 500Hz, 1000Hz) offer lower latency, which is ideal for freestyle and racing. Lower packet rates (e.g., 50Hz, 100Hz) provide better range and penetration, suitable for long-range flying.
- Dynamic: This smart mode automatically adjusts the packet rate based on signal quality, giving you low latency when close and better range when far. A great choice for most pilots.
- Tx Power (Pwr): Controls the output power of your TX module.
- Options: 10mW, 25mW, 50mW, 100mW, 250mW, 500mW, 1000mW (1W), 2000mW (2W - on some Ranger modules).
- Recommendation: Start with 100mW or 250mW. Higher power generates more heat and consumes more battery. Only increase if you experience range issues.
- Dynamic Power: Automatically adjusts power based on RSSI, preserving battery and reducing heat. Highly recommended.
- Switch Mode: Defines how auxiliary channels (switches) are transmitted. Options like
Hybrid,Wide,Narrow. For most FPV applications,Hybridis a good balance. - Telemetry Ratio (TLM): How often telemetry data (RSSI, link quality, battery voltage) is sent back from the RX to the TX. Higher ratios (e.g., 1:2) send more data but reduce downlink bandwidth. Lower ratios (e.g., 1:128) save bandwidth but update less frequently. 1:16 or 1:32 is a good starting point.
- Receiver Match (RxNum): Allows you to bind multiple receivers to the same binding phrase but assign each a unique ID. Useful for having multiple quads with the same TX.
- Bind: Initiates the binding process from the TX side (useful for button binding if you don't use a binding phrase).
Optimizing Transmitter Settings: Packet Rate, Power, and Antenna
Here are some practical tips for optimizing your ELRS transmitter:
- Antenna: Always ensure your TX antenna is securely attached and undamaged. A loose or damaged antenna can severely impact range and even damage your module. For external modules, use the correct antenna for your frequency (e.g., 2.4GHz dipole).
- Dynamic Power: Enable Dynamic Power if your module supports it. This feature intelligently increases power only when needed, giving you the best of both worlds: low power for close-range efficiency and high power for extended range.
- Packet Rate for Use Case:
- Freestyle/Racing: 500Hz or 1000Hz (Full Res) for lowest latency.
- General Flying: 250Hz or Dynamic is a great balance.
- Long Range: 50Hz or 100Hz for maximum range and penetration, but with slightly higher latency.
- Failsafe Packet: In the Lua script, ensure the "Failsafe Packet" option is set to "Hold" or "Cut" depending on your preference. This is a backup to the Betaflight failsafe.
Integrating with Betaflight: Binding, Wiring, and Failsafe
With your TX and RX firmware flashed, it's time to get them talking and integrate the receiver with your flight controller (FC) using Betaflight.
The ELRS Binding Process: Phrase vs. Button Binding
Binding is the process of linking your transmitter to your receiver.
1. Binding Phrase (Recommended)
This is the easiest and most secure method if you've flashed your custom binding phrase into both your TX and RX.
- Power On: Simply power on your flight controller (with the RX connected) and then power on your radio.
- Automatic Bind: If both the TX and RX have the exact same binding phrase embedded in their firmware, they will automatically connect. The LED on your receiver will go solid (or slow flash quickly) to indicate a successful bind.
2. Button Binding (Without a Binding Phrase)
If you haven't used a binding phrase, or if you need to re-bind:
- Enter Bind Mode on RX: Power cycle your receiver three times quickly. This means plug it in, wait for the LED to flash, unplug; repeat three times. On the third power-up, the RX LED should start a rapid double-flash, indicating it's in bind mode.
- Enter Bind Mode on TX:
- Via Lua Script: On your radio, go to the ELRS Lua script, scroll down, and select
[Bind]. - Via Button (Some Modules): Some TX modules have a physical bind button. Press it while the RX is in bind mode.
- Via Lua Script: On your radio, go to the ELRS Lua script, scroll down, and select
- Confirm Bind: The RX LED should turn solid (or slow flash quickly) to indicate a successful bind.
Wiring Your ELRS Receiver to the Flight Controller
Correct wiring is crucial for your receiver to communicate with the flight controller.
-
Identify Connections: Your ELRS receiver will have at least four pads:
- 5V: Power input (connect to a 5V pad on your FC).
- GND: Ground (connect to a GND pad on your FC).
- TX (Receiver Transmit): Connects to an RX pad on a free UART on your FC.
- RX (Receiver Receive): Connects to a TX pad on the same free UART on your FC.
-
Choose a UART: Select an unused UART on your flight controller. Common choices are UART1, UART2, or UART3. Avoid UARTs used for USB, VTX control, or GPS. Consult your FC's wiring diagram.
-
Solder Connections: Carefully solder the wires from your ELRS receiver to the chosen UART pads on your flight controller. Ensure clean solder joints to prevent shorts or intermittent connections.
- Example Wiring:
- RX 5V -> FC 5V
- RX GND -> FC GND
- RX TX -> FC RX2 (if using UART2)
- RX RX -> FC TX2 (if using UART2)
- Example Wiring:
Betaflight Configuration for ELRS: UART Setup and Receiver Tab
Once wired, configure Betaflight to recognize your ELRS receiver.
- Connect to Betaflight: Connect your flight controller to your computer via USB and open Betaflight Configurator.
- Ports Tab:
- Go to the Ports tab.
- Find the UART you wired your ELRS receiver to (e.g., UART2).
- Under the "Serial RX" column for that UART, enable the toggle switch.
- Click "Save and Reboot."
- Configuration Tab:
- After reboot, go to the Configuration tab.
- Scroll down to the "Receiver" section.
- For "Receiver Mode," select Serial-based receiver.
- For "Serial Receiver Provider," select CRSF. (ELRS uses the CRSF protocol).
- Click "Save and Reboot."
- Receiver Tab:
- After the second reboot, go to the Receiver tab.
- With your radio turned on and bound to your receiver, you should now see the stick movements reflected in the Betaflight Configurator. Move your sticks and switches to verify all channels are responding correctly.
- Channel Map: Ensure your channel map matches your radio's output. The default is usually
AETR1234(Aileron, Elevator, Throttle, Rudder). If your sticks are mixed up, adjust the "Channel Map" setting here.
Crucial Safety: Setting Up ELRS Failsafe
Failsafe is your drone's emergency plan if it loses connection with your radio. It's an absolutely critical safety measure.
- Go to Failsafe Tab: In Betaflight Configurator, navigate to the Failsafe tab.
- Failsafe Mode:
- Stage 1: Set "RC Link Failsafe Profile" to
DROP. This is generally recommended for FPV quads, as it immediately cuts motor power, preventing flyaways or uncontrolled flight. - Stage 2: Set "Failsafe Procedure" to
DROP.
- Stage 1: Set "RC Link Failsafe Profile" to
- Test Failsafe! This step is non-negotiable.
- Remove Props: ALWAYS remove your propellers before testing failsafe indoors.
- Arm Drone: Arm your drone (if safe to do so, without props).
- Turn Off Radio: While the drone is armed, turn off your radio transmitter.
- Observe: The motors should immediately stop spinning after a short delay (usually 1-2 seconds). If they don't, DO NOT FLY! Recheck your failsafe settings and troubleshooting steps.
- Turn Radio Back On: Turn your radio back on, and the drone should re-establish connection.
Troubleshooting Your ELRS Setup: Common Issues and Solutions
Even with careful setup, you might encounter issues. Here's how to diagnose and solve common ELRS problems.
Resolving Binding Failures and Connection Drops
- Firmware Mismatch: The most common cause. Ensure your TX and RX are on the exact same major firmware version (e.g., both V3.x.x). Use the ELRS Configurator to flash the correct versions.
- Incorrect Binding Phrase: Double-check that the binding phrase entered in the ELRS Configurator for both TX and RX is identical, including capitalization and spaces.
- Too Much Distance: During initial binding (especially button binding), keep the TX and RX close to each other (within a meter).
- Power Issues to RX: Ensure your receiver is receiving a stable 5V power supply from the flight controller. Check solder joints.
- Antenna Issues:
- TX Antenna: Make sure your TX module's antenna is securely attached and undamaged.
- RX Antenna: Ensure your receiver antenna is properly connected, undamaged, and oriented correctly (not shielded by carbon fiber or electronics).
- Regulatory Domain Mismatch: Verify that both TX and RX are flashed with the same regulatory domain (e.g., both FCC or both EU LBT).
Addressing Firmware Mismatch Errors
If your TX and RX are on different major versions (e.g., TX on V2, RX on V3), they simply won't bind.
- Solution: Use the ELRS Configurator to re-flash either your TX or RX (or both) so they share the same major version. It's generally recommended to update both to the latest stable version.
Diagnosing Betaflight Receiver Tab Not Responding
If you don't see stick movements in the Betaflight Receiver tab:
- No Bind: First, ensure your TX and RX are successfully bound (solid LED on RX). If not, troubleshoot binding first.
- Incorrect UART Enabled: Go to the Ports tab in Betaflight. Did you enable "Serial RX" on the correct UART that your receiver is wired to?
- Wrong Receiver Protocol: In the Configuration tab, is "Serial Receiver Provider" set to CRSF?
- TX/RX Wires Swapped: A classic mistake! Double-check your wiring: Receiver TX connects to FC RX, and Receiver RX connects to FC TX.
- Receiver Not Powered: Verify the receiver is getting 5V and GND. Check solder joints.
- Betaflight Version: Ensure you are using a recent Betaflight version that fully supports ELRS.
Tips for Telemetry Loss and Range Optimization
- Antenna Orientation:
- TX Antenna: Keep your TX antenna vertical for best omnidirectional coverage. Avoid pointing the tip directly at the drone.
- RX Antenna: Position your receiver antenna away from carbon fiber, battery, VTX, and other electronics. Try to get it into clear air, often extending out the back of the drone. For diversity receivers, orient the two antennas at 90 degrees to each other.
- Tx Power Settings: Increase TX power (mW) in the ELRS Lua script if you're experiencing range issues. Remember, higher power draws more battery and generates more heat.
- Packet Rate Choice: Lower packet rates (e.g., 50Hz, 100Hz) offer significantly better range and penetration than higher rates. Consider using a lower rate for long-range flights.
- Dynamic Power: Enable Dynamic Power in the Lua script. This optimizes power usage and range automatically.
- LNA/PA Boost: Some ELRS modules have LNA (Low Noise Amplifier) and PA (Power Amplifier) boost options in the Configurator. Enabling these can improve range, especially for receivers.
- Interference: Keep your receiver antenna away from noisy components like your VTX, camera, or ESCs.
Frequently Asked Questions (FAQ) About ELRS
How do I bind my ELRS radio to my receiver for the first time?
The easiest way is to flash both your transmitter (TX) and receiver (RX) with the exact same custom binding phrase using the ELRS Configurator. Once flashed, they will automatically bind when powered on. If not using a binding phrase, power cycle your RX three times quickly to enter bind mode (rapid double-flash), then initiate bind from your radio's ELRS Lua script.
What is the correct firmware version for my ELRS transmitter and receiver?
Your TX and RX must be running the same major firmware version (e.g., both V3.x.x). It's always recommended to update both to the latest stable version available on the official ExpressLRS GitHub releases page.
How do I update the firmware on my ELRS module/radio?
For external TX modules, WiFi flashing via the module's web interface (accessed at 10.0.0.1 after connecting to its "ExpressLRS TX" WiFi) is the most common method. For internal TX modules, USB flashing via the ELRS Configurator is typical. For receivers (RX), Betaflight Passthrough (connecting the FC to PC and flashing via Configurator) or WiFi flashing (if supported by the RX) are the most popular methods.
Where can I find and install the ELRS Lua script on my radio?
Download the elrs.lua (or ELRSvX.lua) file from the "Assets" section of your specific ELRS firmware release on the official ExpressLRS GitHub. Copy this file to the SCRIPTS/TOOLS folder on your radio's SD card. Access it on your radio by navigating to the TOOLS page (usually via long-pressing the SYS button or multiple presses of the MENU button on EdgeTX/OpenTX radios).
What are the essential ELRS settings in Betaflight?
In Betaflight, navigate to the Ports tab and enable "Serial RX" for the UART your receiver is connected to. Then, go to the Configuration tab, select "Serial-based receiver" for "Receiver Mode," and CRSF for "Serial Receiver Provider." Finally, go to the Receiver tab to verify stick inputs are registered correctly. Don't forget to set up a robust failsafe in the Failsafe tab, usually DROP for FPV quads.
Conclusion: Master Your ELRS Setup and Take Flight!
Congratulations! You've navigated the intricacies of setting up ExpressLRS, from understanding the hardware and software to flashing firmware, configuring your radio, and integrating with Betaflight. This comprehensive guide has equipped you with the knowledge and practical steps needed to unlock the full potential of this revolutionary radio link.
Recap of Your Successful ELRS Journey
You've learned how to:
- Choose the right ELRS TX module and RX receiver for your needs.
- Utilize the ELRS Configurator to compile and flash firmware with your custom binding phrase.
- Flash your TX module via WiFi or USB.
- Flash your RX receiver via WiFi, Betaflight Passthrough, or UART.
- Install and navigate the powerful ELRS Lua script on your OpenTX/EdgeTX radio.
- Optimize settings like packet rate, TX power, and telemetry ratio.
- Wire your ELRS receiver to your flight controller.
- Configure Betaflight for CRSF protocol and verify stick inputs.
- Implement a crucial failsafe to protect your drone.
- Troubleshoot common issues like binding failures and connection drops.
Time to Experience the Freedom of ExpressLRS
With your ELRS system expertly configured and tested, you're now ready to experience FPV like never before. Enjoy the peace of mind that comes with a rock-solid link, the precision of ultra-low latency, and the freedom of extended range. Whether you're ripping through gates, performing acrobatic maneuvers, or exploring distant landscapes, ExpressLRS will be your reliable co-pilot.
Further Exploration and Community Resources
The ELRS community is vibrant and constantly innovating. If you encounter unique challenges or want to explore advanced features, here are some excellent resources:
- Official ExpressLRS GitHub: The primary source for firmware releases, documentation, and development updates.
- ExpressLRS Discord Server: A fantastic place to get real-time support, share experiences, and learn from other pilots and developers.
- fpvlovers.com.tr Blog: Keep an eye on our blog for more FPV tutorials, reviews, and flying tips!
Happy flying, and may your ELRS link always be solid!
Copyright-safe media generated locally by FPVLovers
Catalog/source image: RadioMaster
Catalog/source image: TBS
RadioMaster
TBS