ExpressLRS Beginner Guide: Binding, Flashing, and Setup Step-by-Step
A complete, beginner-first manual for ExpressLRS. Learn the mechanics of LoRa links, setting up EdgeTX LUA scripts, Wi-Fi flashing, and custom binding phrases.
The LoRa Revolution: Why ExpressLRS Dominates FPV
In the early days of FPV, radio links were a constant source of anxiety. Traditional protocols like FrSky ACCST suffered from short range, frequent signal drops (failsafes), and high control latency.
Enter ExpressLRS (ELRS). ELRS is an open-source, high-performance radio control link designed to deliver maximum range, rock-solid link reliability, and the lowest possible control latency. Operating on LoRa (Long Range) spread-spectrum modulation, ELRS operates differently than standard systems. By spreading signals over changing frequencies, it can successfully decode radio signals that are buried deep below the ambient RF noise floor.
Whether you are flying a Tiny Whoop inside a concrete building or exploring a mountain ridge miles away, ExpressLRS ensures your control sticks react instantly to your inputs. For beginners, ELRS is the ultimate safety net, virtually eliminating the risk of losing control due to a signal dropout.
Binding Phrases: The End of Physical Bind Buttons
If you have ever flown older RC systems, you probably remember the frustration of pressing tiny bind buttons on receivers while trying to plug in batteries with three hands. ExpressLRS completely eliminates this physical chore through Custom Binding Phrases.
During firmware flashing, you enter a secret, customized text phrase (e.g., omega_pilot_2026) into the ELRS Configurator. This phrase is mathematically hashed into a unique 6-byte identifier and embedded directly into the transmitter (TX) and receiver (RX) firmware.
When you power on your radio transmitter and your drone, they wirelessly broadcast their hashed identifiers. If they match, they bind instantly and automatically within milliseconds. You never have to press a bind button again. Any drone you build or buy in the future will automatically connect to your radio the instant it powers up, provided you flash it with the same binding phrase.
Flashing Firmware via Wi-Fi: The Modern Procedural Flow
ExpressLRS receivers and transmitters are fully independent computers running specialized firmware. To keep them synchronized, they must run the same major firmware version (e.g., version 3.x.x TX can only bind to version 3.x.x RX).
Flashing firmware is done via the official ExpressLRS Configurator software. While several flashing methods exist (such as Betaflight Passthrough), Wi-Fi flashing is the most robust and beginner-friendly method:
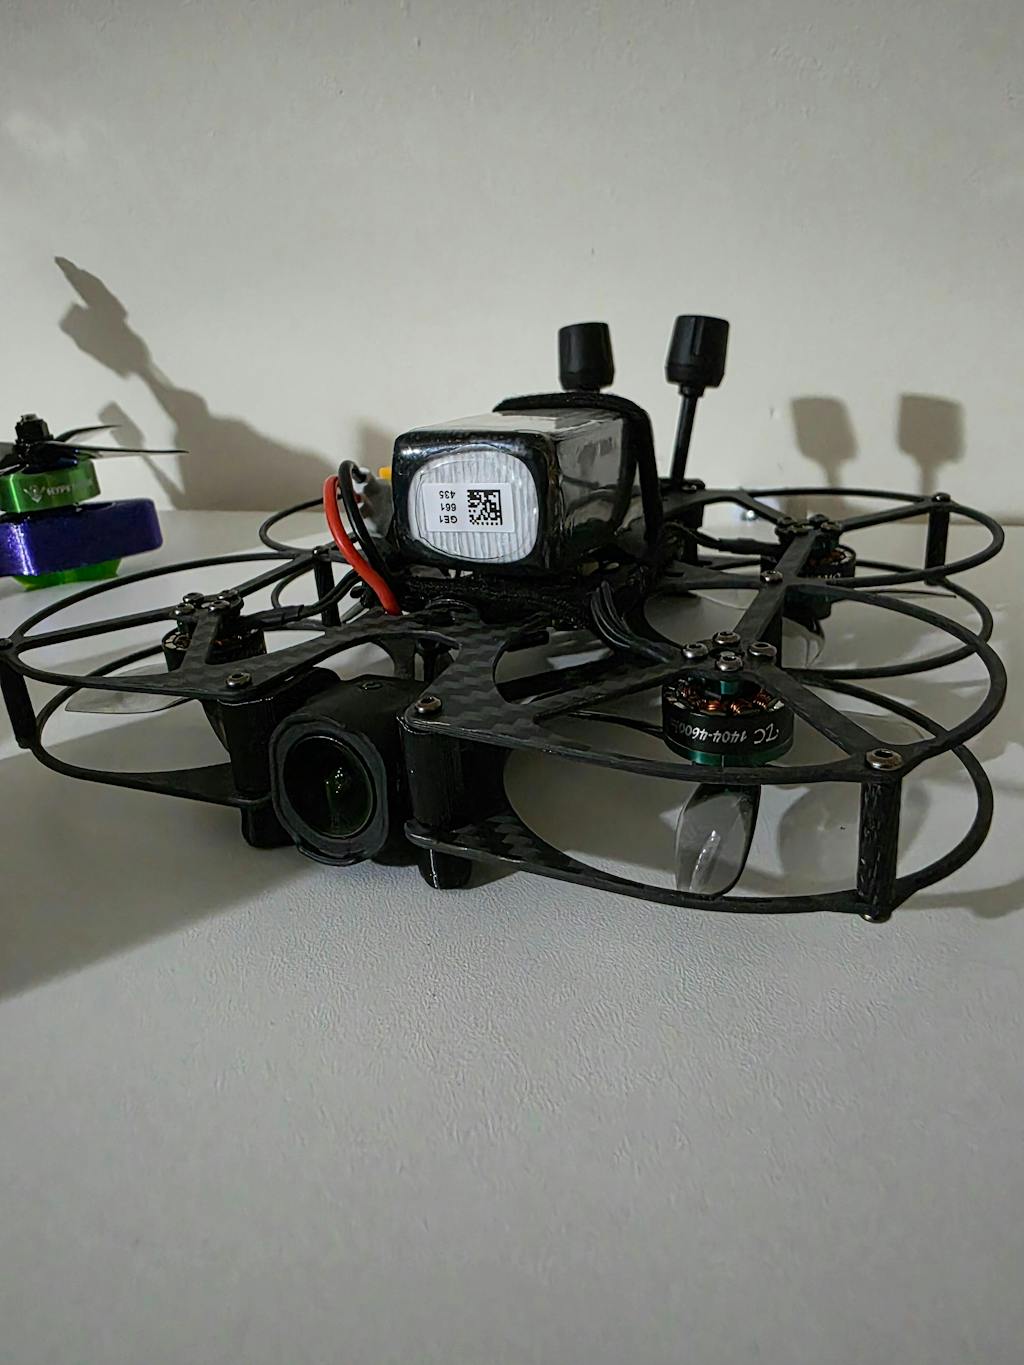
- Activate Receiver Wi-Fi: Power on your FPV drone. If the receiver does not receive a connection from your radio transmitter for 60 seconds, it will automatically enter Wi-Fi mode. The receiver's LED will begin flashing rapidly.
- Connect to RX Access Point: On your PC or phone, scan for Wi-Fi networks. Connect to the hotspot named
ExpressLRS RX. Enter the default passwordexpresslrs. - Build the Firmware: Open the ExpressLRS Configurator. Select your regulatory domain (e.g., ISM 2.4GHz), select your receiver brand (e.g., Happymodel EP1 or RadioMaster RP1), enter your custom Binding Phrase, and click Build to compile the firmware binary file.
- Upload the Binary: Open a web browser and navigate to
http://10.0.0.1. A localized web interface will load. Drag and drop your compiled.binfile into the upload box and click Update. The receiver will flash itself, reboot, and immediately bind to your transmitter.

The EdgeTX LUA Script: Managing Rates and Power Output
To configure ExpressLRS settings directly from your radio, you must utilize the official ELRS LUA Script running on EdgeTX:
- Installing the Script: Download the
elrsV3.luascript file from the official ExpressLRS release page and save it to the/SCRIPTS/TOOLS/folder on your radio's SD card. - Executing the Script: On your radio, press the
SYSbutton, navigate to theToolsmenu, and run theExpressLRSscript. A specialized telemetry terminal will load. - Packet Rates (Hz): Represents how many times per second your radio sends control stick data to the drone. For beginners, a rate of 250Hz or 500Hz offers the perfect balance of ultra-low latency and excellent range.
- Telemetry Ratio: Dictates how often the drone transmits sensor data (such as Link Quality, RSSI, and battery voltage) back to your radio. A ratio of 1:32 or 1:64 ensures consistent data updates without overcrowding the RF link.
- Dynamic Power: ELRS can dynamically scale its output power based on signal strength. Enable dynamic power with a maximum threshold of 250mW. If you fly close, the radio will transmit at a safe, battery-saving 25mW; if you fly behind trees and signal drops, it will automatically boost up to 250mW in microseconds to prevent a failsafe.

ExpressLRS Safety Guidelines & Telemetry Auditing
To maintain operational safety, you must monitor your FPV link health in real-time. In your FPV goggles, customize your Betaflight OSD to display the following telemetry parameters:
- Link Quality (LQ): Displayed as a percentage or ratio (e.g.,
9:100representing RF Mode 9 and 100% packet delivery). This is your most critical safety metric. If your LQ falls below 70%, turn around immediately; if it drops below 50%, the drone is about to failsafe. - RSSI dBm: Measures the physical power of the received radio signal (e.g.,
-60dBmis excellent,-105dBmis the physical limit of the LoRa receiver before signal loss).
[!CAUTION] TRANSMITTER ANTENNA SAFETY Never power on your radio transmitter (TX) module or internal RF module without the transmitter antenna securely attached. Powering on an RF transmitter without a load (antenna) causes the outgoing high-frequency energy to bounce back into the amplifier circuitry, destroying the RF chip in seconds due to thermal overload. Always attach the antenna first.

RELATED GUIDES
Copyright-safe raster media generated locally by FPVLovers