First Hover Training: The Perfect Manual Takeoff Protocol
A step-by-step procedure for your first battery in the real world. Learn physical layout checks, proper arming protocols, throttle hovering, and crash avoidance.
First Hover Training: The Perfect Manual Takeoff Protocol
The moment you first arm your FPV drone, a surge of adrenaline is inevitable. That initial lift-off, the delicate balance between gravity and thrust, is your gateway to true FPV flight. But before you're powerlooping through gaps, you need to master the fundamental: the hover. This isn't just about keeping your drone airborne; it's about developing the precise stick discipline and intuitive throttle management that underpins every advanced maneuver. Welcome to the 'Crawl, Walk, Hover' method – your structured path to conquering your FPV first hover training with confidence and control. We'll guide you from simulator muscle memory to real-world stick finesse, ensuring your maiden flights are successful, safe, and incredibly rewarding.
The Foundation: Deconstructing FPV Controls for Hover
Before any prop spins, you need a crystal-clear understanding of how your inputs translate into drone movement. This fundamental knowledge is the bedrock of effective FPV beginner flight.
Understanding Your Sticks: Pitch, Roll, Yaw, and Throttle
For most FPV pilots operating on Mode 2, your radio's sticks govern four primary axes of control:
- Left Stick (Vertical Axis): Throttle. This is your power control, dictating how much thrust your motors generate. Pushing up increases thrust, pulling down decreases it. It directly controls your drone's altitude.
- Left Stick (Horizontal Axis): Yaw. This controls the drone's rotation around its vertical axis. Pushing left rotates the nose left; pushing right rotates it right. Think of it as steering horizontally.
- Right Stick (Vertical Axis): Pitch. This controls the drone's forward and backward tilt. Pushing up pitches the nose down (forward movement); pulling down pitches the nose up (backward movement).
- Right Stick (Horizontal Axis): Roll. This controls the drone's left and right tilt. Pushing left rolls the drone left; pushing right rolls it right, enabling sideways translation.
Each input has a direct, proportional effect on your drone's attitude and position. Mastering the subtle interplay of these inputs, often simultaneously, is the core of FPV basic controls.
Flight Modes: Acro vs. Stabilized Explained
Many off-the-shelf drones and some FPV-ready-to-fly kits offer 'stabilized' modes (often called Angle or Horizon mode). In these modes, the drone's flight controller actively tries to level itself when you release the sticks. While this offers a gentler introduction, true FPV flight, and the goal of effective hovering, happens in Acro mode.
In Acro mode (also known as Rate mode), your drone holds its last commanded attitude until you give a new input. There's no self-leveling. If you tilt it 30 degrees forward and release the stick, it will continue to fly forward at that 30-degree angle. This gives you complete, unfiltered control, which is essential for advanced maneuvers and precise stick discipline. We'll focus on training for Acro, as it builds the muscle memory essential for all future flying.
The Throttle: Your Vertical Lifeline and Gravity's Counterpart
Throttle management FPV is arguably the most critical skill for stable hovering. It's not just an 'on/off' switch; it's a delicate dance with gravity. Too little throttle, and your drone descends; too much, and it rockets skyward. The goal is to find the 'hover throttle' – the precise stick position where your drone neither gains nor loses altitude.
This sweet spot is dynamic. It will vary with:
- Battery voltage: A full battery provides more power, so less throttle is needed. As voltage drops, you'll need more throttle to maintain altitude.
- Drone weight: Heavier drones require more throttle.
- Environmental factors: Wind will necessitate active throttle adjustments.
Learning to feather the throttle with minute, continuous adjustments is paramount.
The Crawl: Mastering Muscle Memory in the Simulator
Is simulator practice truly essential? Absolutely. An FPV flight simulator is your risk-free sandbox, saving you countless dollars in broken props and frames.
Why Simulators Aren't Optional, They're Essential
A good FPV flight simulator allows you to:
- Develop muscle memory for stick inputs without consequence.
- Understand the physics of flight and how your inputs affect the drone.
- Make countless 'mistakes' and instantly reset, accelerating your learning.
This is where you'll begin to understand how to hover FPV drone without the pressure of actual hardware or the fear of a costly crash. It’s the most efficient way to get your FPV beginner flight skills honed.
Calibrating Your Virtual Rig: Controller Setup and Sensitivity
Connect your FPV radio to your computer and ensure it's properly calibrated within your chosen simulator (e.g., Velocidrone, LiftOff, DRL Simulator). Pay close attention to stick 'rates' and 'expo' settings.
- Rates: Determine how quickly your drone rotates in response to stick input. For initial hover training, slightly lower rates (e.g., 500-600 degrees/second on pitch/roll) can make inputs less twitchy, allowing for finer control.
- Expo (Exponential): Softens the stick response around the center, making small corrections less aggressive. A common starting point is 0.20-0.30 expo on pitch/roll/yaw.
Experiment to find a setup that feels natural and responsive, mirroring what you'll eventually use on your physical drone.
Drills for Days: Basic Hovering and Translational Practice
Start with simple, static hover drills. Aim to keep your virtual drone in a fixed position for increasing durations. Don't worry about perfection; focus on making small, continuous corrections.
Once you can hold a stable hover, introduce translational movements:
- Forward/Backward: Slowly move forward a short distance, then gently return to a stable hover. Repeat backward.
- Left/Right: Slowly drift left, then return to hover. Repeat right.
- Yaw Rotations: While maintaining altitude, practice gentle yaw rotations (e.g., 90 degrees left, then 90 degrees right), always returning to a stable, forward-facing hover.
These repetitive exercises are crucial for building the intuitive feel for FPV beginner flight and integrating multiple stick inputs.
Pre-Flight Protocols: Setting the Stage for Real-World Success
Before your drone leaves the ground, a meticulous pre-flight check and careful environment selection are paramount for a safe FPV maiden flight.
Drone Health Check: Props, Battery, VTX, and RX
Before any prop spins, conduct a thorough inspection:
- Propellers: Are they correctly installed (clockwise and counter-clockwise on the correct motors)? Are they free from nicks, cracks, or loose mounting? Even a tiny imperfection can cause significant vibrations.
- Battery: Is it fully charged? Is it securely mounted with a robust battery strap, preventing any shifting in flight? Check the XT60/XT30 connector for damage.
- VTX (Video Transmitter): Is it on the correct channel and power output (mW) to match your FPV goggles? Confirm a clear video feed.
- RX (Receiver): Has a solid link to your radio? Check the RSSI (Received Signal Strength Indicator) in your OSD (On-Screen Display) to ensure good signal integrity.
- Physical Inspection: Are all screws tight? Are motor wires clear of props? Is the antenna securely attached?
A pre-flight check is a non-negotiable step for safe FPV maiden flight.
Environment Scouting: The Ideal First Hover Spot
Choose an open, flat area free from obstacles, people, or animals. A large grassy field is ideal, as grass can cushion minor impacts and prevent immediate damage to props or motors. Avoid concrete or asphalt initially, as they offer no forgiveness.
Look for a spot with minimal to no wind. Even a slight breeze can make your first FPV flight tips much harder to implement, as your drone will constantly be pushed around. Ensure you have clear line of sight drone hover capability, meaning you can see your drone clearly at all times, even if you're flying FPV.
Safety First: Arming Procedures and Spotter Protocol
Always arm your drone with props clear of any obstructions, and never point it towards yourself or others. Understand your arming and disarming procedures thoroughly – typically a specific stick combination (e.g., yaw right and pitch down). Practice disarming quickly in the simulator.
For your very first hover, having a 'spotter' – an experienced FPV pilot or a responsible friend – is highly recommended. They can:
- Help monitor your drone's behavior from a different perspective.
- Alert you to potential hazards you might miss in the goggles.
- Provide immediate feedback on your stick inputs.
- Act as a safety cutoff if things go awry.
This enhances your safe FPV flight experience and provides an extra layer of confidence.
The Walk: Your First Real-World Hover Attempts
With your simulator practice under your belt and your pre-flight checks complete, it's time for the real deal. Remember the 'Crawl, Walk, Hover' philosophy: incremental progress is key.
The Gentle Lift: Throttle Management for Takeoff
With your drone armed and goggles on (or flying line-of-sight if more comfortable initially), slowly and smoothly increase throttle. The goal isn't to blast off, but to gently lift off the ground, perhaps 1-2 feet. This requires precise throttle management FPV – just enough to overcome gravity.
Resist the urge to yank the stick. If you lift too high, gently reduce throttle. If you sink, gently increase. This is the essence of how to hover FPV drone. Aim for a feather-light touch on the throttle stick.
Visual Anchors and Micro-Adjustments
Once airborne, use visual cues in your FPV feed to gauge your drift. Is the drone moving forward? Gently pitch back. Drifting left? Gently roll right. These are micro-adjustments, not large, jerky movements. Think of it as constantly 'nudging' the drone back to its desired position.
Initially, focus on one axis at a time, then gradually integrate them. For example, if you're drifting forward and sinking, address the pitch first, then adjust the throttle. Over time, these corrections will become simultaneous and instinctive.
The 'Bounce' Technique: Controlled Descents and Landings
Don't be afraid to land and reset. If you feel overwhelmed or lose control, gently reduce throttle to land. A great practice technique is the 'bounce' method: slowly descend until your props just touch the ground, then quickly but smoothly increase throttle to lift off again.
This helps you practice precise throttle control near the ground, where prop wash effects can be tricky, and builds confidence in controlled descents and soft landings – a key part of any quadcopter first flight guide.
Incremental Progress: From Static Hover to Controlled Drift
Your first hover training won't be perfect. Don't expect to hold a rock-solid hover for minutes on end. Aim for short, stable hovers (5-10 seconds). As you gain confidence, try to hold the hover for longer durations.
Then, introduce very slow, controlled movements – a slight forward drift, then back to hover. A slight yaw rotation, then back to hover. This incremental approach builds skill and confidence, making the process less daunting and more rewarding.
Troubleshooting & Refining Your Hover Technique
Even with diligent practice, challenges will arise. Understanding common pitfalls and how to interpret your drone's feedback is crucial for improvement.
Common Pitfalls: Drift, Oscillations, and Overcorrection
- Persistent Drift: One of the most common issues during FPV beginner flight. This can be due to imperfect stick centering (trim your radio if needed, though most modern flight controllers compensate), environmental factors like wind, or simply a lack of precise input.
- Oscillations (wobbling): Often stems from overcorrection – applying too much input, then too much in the opposite direction. This creates a pendulum effect.
- Punching Out/Dropping: Inconsistent throttle management, leading to sudden bursts of altitude or rapid descents.
Recognize these patterns and focus on smaller, smoother stick movements. Patience is key.
Analyzing Feedback: What Your Drone is Telling You
Your drone's behavior is a direct reflection of your inputs.
- If it's pitching forward, you're either pushing too much forward pitch or not enough backward pitch.
- If it's sinking rapidly, you need more throttle.
- If it's rolling violently, your roll inputs are too aggressive.
Learn to interpret these visual cues in your FPV feed and translate them into corrective stick actions. The immediate feedback loops are crucial for improvement. Record your flights if possible and review them to identify patterns in your mistakes.
The Power of Repetition and Focused Practice
Mastering the first hover training isn't a one-and-done event. It requires consistent, focused practice. Dedicate short, regular sessions (e.g., 15-30 minutes) to hovering drills. Don't get discouraged by setbacks; every crash in the simulator or clumsy landing in the field is a learning opportunity. Break down complex movements into smaller, manageable steps, and celebrate each small success.
Essential Gear for Your Hover Journey
Having the right tools can significantly smooth your learning curve.
The Right Simulator for Your Budget and Setup
For effective learning FPV flight simulator, invest in a quality sim. Popular choices include:
- Velocidrone: Known for its realistic physics and excellent race tracks.
- LiftOff: Offers great graphics and a wide variety of drones and environments.
- DRL Simulator: Features official DRL tracks and competitive elements.
Choose one compatible with your FPV radio and that provides realistic physics feedback for how to hover FPV drone. Many offer demo versions to try before you buy.
Beginner-Friendly Drone Options for Initial Hovers
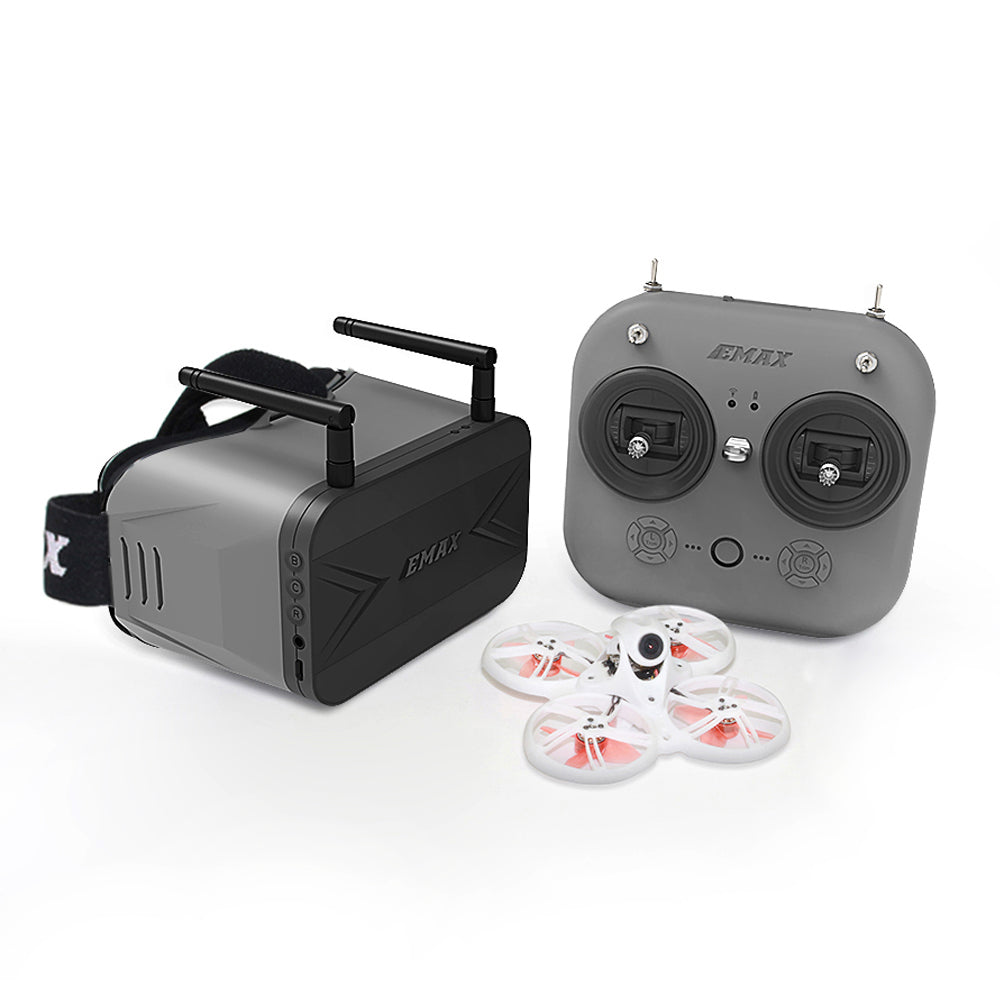
While you can learn on any FPV drone, a smaller, more durable option like a 'Tinywhoop' is excellent for initial indoor/calm outdoor hovers.
- Tinywhoops (e.g., Mobula7, Meteor75, Eachine Trashcan): These micro drones (65mm-75mm) are light, often have ducted props for safety, and are incredibly resilient to crashes. They are perfect for practicing basic FPV controls in smaller, safer environments.
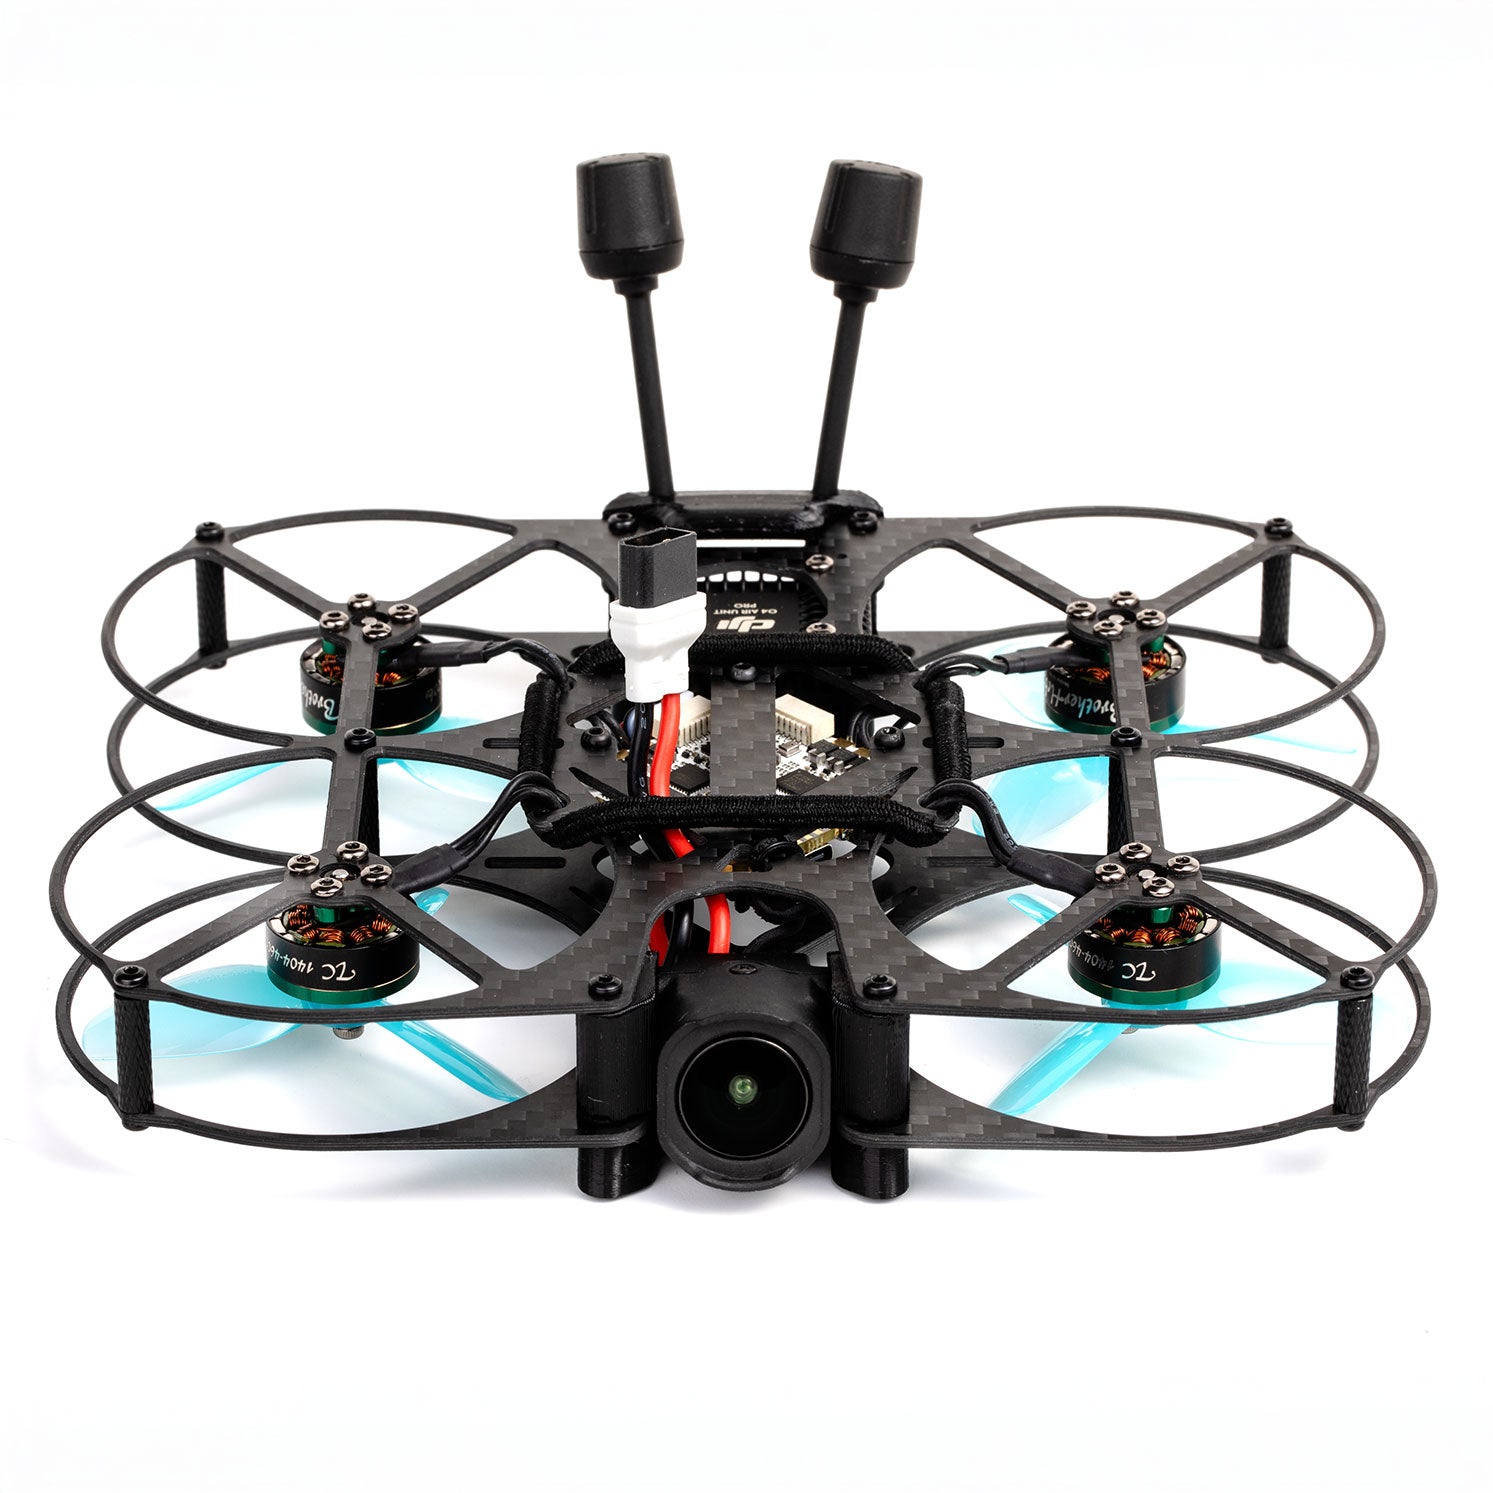
- Cinewhoops (e.g., CineLog25, Protek25): Slightly larger ducted drones that offer more stability and can carry a GoPro, but are still relatively safe for initial outdoor hovers.
- 5-inch Freestyle/Race Drones: For outdoor practice, a stable 5-inch setup with durable components (e.g., a sturdy carbon fiber frame, robust motors like the T-Motor F40 Pro IV or BrotherHobby Returner R5) is a good choice, but always prioritize safety and open spaces.
Controller Choice: Gamepad vs. Dedicated FPV Radio
While some simulators support gamepads, a dedicated FPV radio is highly recommended. It provides the authentic feel and stick throw you'll use in real flight, ensuring seamless transition from simulator to actual drone.
- Entry-Level Radios (e.g., Radiomaster Zorro, Jumper T-Pro): Excellent value, full-size gimbals, and OpenTX/EdgeTX compatibility.
- Mid-Range Radios (e.g., Radiomaster TX16S MkII, FrSky Taranis X9D Plus SE): More features, larger screens, and often premium gimbals.
This consistency is vital for developing accurate FPV basic controls and muscle memory.

Frequently Asked Questions About First Hover Training
Let's address some common concerns beginners have about their first hover training.
Is a simulator absolutely necessary for FPV first hover training?
While technically possible to skip, a simulator is highly recommended. It drastically reduces the learning curve, saves you money on broken parts, and builds essential muscle memory in a risk-free environment. Think of it as flight school before you get in the cockpit.
How much throttle should I use for my first FPV hover?
There's no single 'correct' throttle percentage, as it varies by drone, battery, and environment. The key is to slowly and smoothly increase throttle until your drone gently lifts off the ground, then make tiny adjustments to maintain altitude. Aim for the lowest possible throttle input that keeps you airborne, allowing for finer control.
What if my FPV drone keeps drifting uncontrollably?
Drifting is common. First, ensure your drone's accelerometer is calibrated on a level surface within Betaflight/INAV. Then, focus on making small, continuous stick corrections in the opposite direction of the drift. Wind is also a major factor; try practicing in a completely still environment or indoors initially. Persistent, severe drift might also indicate a slightly unbalanced drone, a bent prop, or a motor issue.
How long does it typically take to learn to hover an FPV drone?
Learning speed varies greatly among individuals. With consistent simulator practice (30-60 minutes daily) and short, focused real-world sessions, most beginners can achieve a basic, stable hover within a few days to a couple of weeks. Patience and persistence are your best allies; don't rush the process.
Can I learn to hover in a stabilized (Angle/Horizon) mode first?
Yes, you can. Stabilized modes offer self-leveling, making initial lift-off and basic control easier. However, the ultimate goal for true FPV flight is Acro mode. While stabilized modes can build initial confidence, transitioning to Acro as soon as possible is crucial for developing the precise stick control needed for advanced maneuvers and mastering how to hover FPV drone effectively.
Mastering your FPV first hover training is more than just a technical achievement; it's your rite of passage into the exhilarating world of FPV. By diligently following the 'Crawl, Walk, Hover' method – from simulator drills to real-world micro-adjustments – you're building a rock-solid foundation for all future flights. Embrace the process, celebrate small victories, and remember that every moment spent with sticks in hand is a step closer to becoming a truly proficient pilot. Now, take that deep breath, trust your training, and get ready to defy gravity. Are you ready to take the sticks and conquer your first FPV hover?
Copyright-safe media generated locally by FPVLovers