How to Choose Your First Tiny Whoop: Indoor Fun & Safe Training
A comparative review of the tiny whoop category (65mm, 75mm, 85mm), brushed vs brushless motors, choosing analog vs HD digital whoops, and battery stacks for indoor/outdoor garden flights.
How to Choose Your First Tiny Whoop: Indoor Fun & Safe Training
SEO Title: Choose Your First Tiny Whoop: Beginner FPV Drone Guide Meta Description: Ready to choose your first tiny whoop? Our ultimate guide helps beginners find the best RTF kits, durable drones, and essential accessories for indoor FPV flying. Start your FPV journey today!
Welcome to the World of Tiny Whoops: Your FPV Journey Begins!
Have you ever dreamed of flying like a bird, zipping through tight spaces, or seeing your home from a completely new perspective? If so, you're on the cusp of discovering the incredible world of FPV (First Person View) drones. And for many, the journey begins with a tiny whoop. These small, agile, and surprisingly powerful drones are the perfect gateway into the exhilarating hobby of FPV flying.
The Thrill of FPV Flight, Right in Your Living Room
Imagine donning a pair of goggles and suddenly being transported into the cockpit of a miniature drone, soaring effortlessly around your living room, navigating furniture, and diving through doorways. This isn't science fiction; it's the everyday reality for FPV pilots. The immersive experience of FPV is unlike anything else – a true extension of your senses that combines skill, precision, and pure adrenaline. With a tiny whoop, that thrill is instantly accessible, allowing you to practice and explore without ever leaving the comfort of your home.
Why a Tiny Whoop is the Perfect Starting Point for Beginners
For aspiring FPV pilots, the world of drones can seem daunting. There are racing drones, freestyle drones, cinematic drones, and a dizzying array of components. But for a true beginner looking to choose their first tiny whoop, the answer is clear: start small. Tiny whoops offer numerous advantages that make them the ideal training ground:
- Safety: Their small size and ducted propellers make them incredibly safe to fly indoors, minimizing damage to your home (and yourself!) in case of a crash.
- Durability: Designed to bounce off walls and furniture, they can take a beating, which is crucial when you're learning.
- Affordability: Compared to larger FPV setups, tiny whoops are relatively inexpensive, allowing you to get into the hobby without breaking the bank.
- Indoor Capability: They thrive in small indoor environments, meaning you can fly anytime, anywhere, regardless of weather conditions.
- Skill Transfer: The flight mechanics you learn on a tiny whoop directly translate to larger FPV drones, making it an excellent foundation for future progression.
What Exactly is a Tiny Whoop, and Why Choose One?
Before we dive into recommendations, let's clarify what a tiny whoop is and why it's become such a phenomenon in the FPV community.
Defining the Tiny Whoop: Small Drone, Big Fun
The term "Tiny Whoop" originally referred to a modified Blade Inductrix micro drone that FPV enthusiasts equipped with a small camera and video transmitter. Today, it's a generic term for any small, ducted-propeller FPV drone, typically weighing under 50 grams and powered by a single-cell (1S) LiPo battery. These drones are characterized by their:
- Ducted Propellers: Each propeller is enclosed within a protective ring, enhancing safety and making them incredibly durable against impacts.
- Brushless or Brushed Motors: While early whoops used brushed motors, most modern, performance-oriented tiny whoops now feature more powerful and durable brushless motors.
- Integrated FPV Camera & VTX: A tiny camera and video transmitter send a live feed to your FPV goggles, providing that immersive first-person perspective.
- Compact Size: Typically 65mm to 85mm motor-to-motor diagonal, allowing them to fly in very confined spaces.
Key Advantages for New FPV Pilots
Beyond the general benefits, tiny whoops offer specific advantages for those just starting out:
- Low Entry Barrier: The cost of an RTF (Ready-To-Fly) tiny whoop kit is significantly lower than a full-size FPV drone setup, making it an accessible entry point.
- Reduced Intimidation Factor: Their small size and inherent safety make them far less intimidating than larger, more powerful drones, allowing you to focus on learning without fear.
- Quick Setup & Flight: RTF kits mean you can often be flying within minutes of unboxing, minimizing frustration and maximizing flight time.
- Easy Maintenance: Swapping props, motors, or even frames is generally straightforward and inexpensive.
Indoor FPV: Mastering Flight in a Safe Environment
One of the greatest appeals of the tiny whoop is its ability to transform any indoor space into an FPV playground.
- All-Weather Flying: Rain, snow, or high winds? No problem. You can fly indoors regardless of the weather.
- Safe Learning: Bumping into a wall or furniture is part of the learning process. With ducted props, the whoop usually bounces right off with no damage.
- Controlled Environment: Indoor flying eliminates variables like wind gusts, giving you a more consistent and predictable environment to hone your skills.
- Proximity Flying: Learning to navigate tight gaps and obstacles indoors builds incredible precision and control that will serve you well when flying larger drones outdoors.
Essential Features to Look for in Your First Tiny Whoop
When you're ready to choose your first tiny whoop, understanding the key features will help you make an informed decision that aligns with your learning goals and budget.
Durability: Surviving Those Beginner Crashes
Let's be honest: you're going to crash. A lot. Especially when you're just starting. That's why durability is paramount.
- Prop Guards: The defining feature of a tiny whoop, these protective ducts around the propellers are your best friend. They prevent damage to the props, motors, and your surroundings.
- Flexible Frame Material: Look for frames made from resilient plastics like polypropylene (PP) or similar flexible compounds. These materials can absorb impacts and flex rather than snap. Brands like BetaFPV and Happymodel are known for their robust frames.
- Motor Mounting: Ensure motors are securely mounted, ideally with screws rather than friction fit, for better longevity.
Flight Modes: From Stabilized to Acro (and Everything In Between)
Most modern tiny whoops offer multiple flight modes, catering to different skill levels:
- Angle Mode (Stabilized): This is where every beginner should start. The drone automatically levels itself when you release the sticks, making it very easy to control. It has a limited tilt angle, preventing you from flipping the drone.
- Horizon Mode (Self-Leveling with Flips): A step up from Angle, Horizon mode still self-levels but allows you to perform flips and rolls if you push the stick far enough. It's a good intermediate step before Acro.
- Acro Mode (Rate Mode): This is the holy grail of FPV flying. The drone does not self-level; it holds whatever angle you command. This mode offers complete freedom and precision, allowing for advanced maneuvers like power loops, rolls, and dives. While challenging at first, learning Acro is essential for true FPV mastery. Your first tiny whoop should definitely have Acro mode capabilities, even if you don't use it immediately.
Brushless vs. Brushed Motors: Power and Longevity
This is a crucial distinction for tiny whoops:
- Brushed Motors: These are older, cheaper, and less powerful. They have carbon brushes that wear out over time, leading to reduced performance and shorter lifespan. While some very cheap, toy-grade tiny whoops still use them, they are generally not recommended for a serious FPV beginner due to their limitations.
- Brushless Motors: These are the modern standard. They are more powerful, efficient, durable, and have a much longer lifespan as there are no brushes to wear out. While slightly more expensive, the improved flight performance (more punch, better control) and longevity are well worth the investment. For your first tiny whoop, prioritize a model with brushless motors. Examples include the Happymodel Mobula7 and BetaFPV Cetus X.
Camera & Video Transmitter (VTX) Quality
The FPV camera and VTX are your "eyes" in the sky.
- Camera Resolution & Latency: For tiny whoops, you'll typically find small CMOS cameras. While not high-definition, they should offer a clear enough picture to navigate. More importantly, look for low latency. This means the delay between the camera seeing something and you seeing it in your goggles is minimal, which is critical for precise control.
- VTX Power: For indoor flying, 25mW (milliwatts) is usually sufficient and is often the legal limit in many regions. Some VTXs offer switchable power (e.g., 25mW/100mW/200mW), which is great if you plan to fly outdoors later.
- Antenna Type: Most tiny whoops come with simple dipole or whip antennas, which are fine for indoor use.
Navigating Your Purchase: RTF, BNF, or DIY?
Once you've decided on the features, you need to consider how you want to acquire your tiny whoop and its accompanying gear.
Ready-To-Fly (RTF) Kits: The Easiest Way to Start
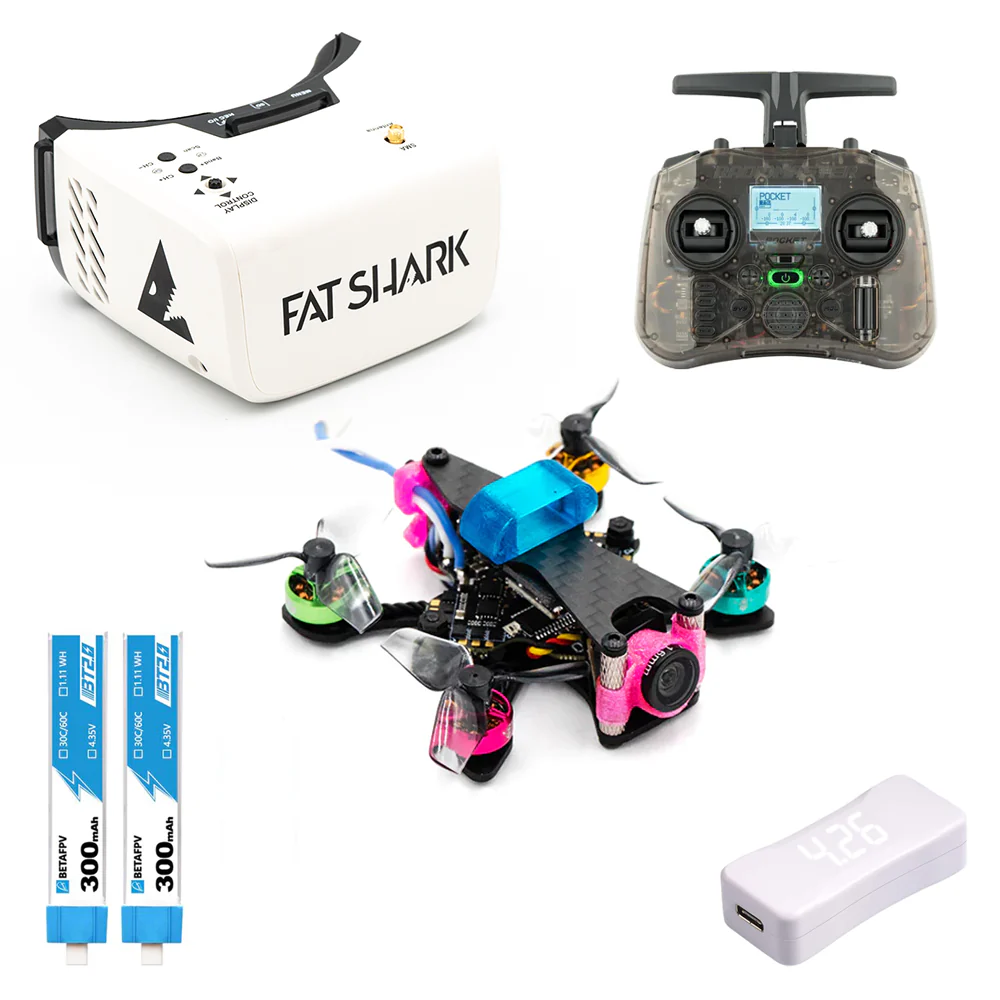
Highly Recommended for Beginners! An RTF kit includes everything you need to start flying: the tiny whoop itself, an FPV controller (radio transmitter), FPV goggles, batteries, and a charger.
- Pros: Ultimate convenience, guaranteed compatibility between components, often comes pre-bound and configured.
- Cons: Often uses entry-level components that you might outgrow, potentially less customizable.
- Best For: Absolute beginners who want to get in the air with minimal fuss and don't own any FPV gear yet.
- Popular Examples: BetaFPV Cetus X RTF Kit, Happymodel Mobula7 RTF Kit, EMAX Tinyhawk III Plus RTF Kit.
Bind-N-Fly (BNF) Options: When You Already Have a Controller
A BNF drone comes fully assembled but without a radio transmitter or goggles. You'll need to "bind" it to your existing FPV controller.
- Pros: Cheaper than an RTF kit if you already own a good radio, allows you to choose your preferred goggles.
- Cons: Requires you to have a compatible radio and potentially goggles, might need some basic setup in Betaflight (the drone's flight controller software).
- Best For: Beginners who might have received a radio as a gift, or those upgrading from a simulator and already invested in a quality transmitter. You'll need to ensure the drone's receiver protocol (e.g., ELRS, FrSky, Crossfire) matches your radio.
Building Your Own (DIY): For the More Adventurous Beginner
Building a tiny whoop from individual components is an option, but generally not recommended for your very first FPV drone.
- Pros: Deep understanding of how everything works, maximum customization, potentially more cost-effective in the long run if you source parts cleverly.
- Cons: Requires significant technical knowledge (soldering, flashing firmware, configuring Betaflight), troubleshooting can be complex and frustrating, higher upfront time investment.
- Best For: Individuals with electronics experience, a strong desire to learn the technical aspects, or those building a second or third drone.
Beyond the Drone: Essential Gear for Your First FPV Flight
Your tiny whoop is just one piece of the puzzle. To truly experience FPV, you'll need a few other critical components.
Choosing Your FPV Goggles: Immersion Starts Here
Your FPV goggles are your window into the drone's perspective. For tiny whoops, which transmit analog video, you'll need analog FPV goggles.
- Box Goggles (Recommended for Beginners): These are the most affordable option. They have a single large screen inside a "box" design. While less compact, they offer a wide field of view and are excellent for starting out.
- Examples: Eachine EV800D, Caddx Peanut.
- Compact Goggles: More expensive, these goggles use two smaller screens (one for each eye) and are much more portable and comfortable for extended use. You can upgrade to these later.
- Examples: Skyzone SKY04X, Fat Shark HDO2, Orqa FPV.One.
- Key Features: Look for a good receiver (diversity receivers are better at picking up signals), DVR (Digital Video Recorder) to record your flights, and a comfortable fit.
Selecting an FPV Controller (Radio Transmitter): Your Hands-On Connection
This is your primary interface with the drone, so choose wisely.
- Protocol Compatibility: Ensure your radio supports the receiver protocol of your chosen tiny whoop (e.g., ExpressLRS - ELRS, FrSky D8/D16, Crossfire). ELRS is rapidly becoming the standard for its range and performance.
- Gimbal Quality: Gimbals are the sticks you move. Hall effect gimbals are more precise and durable than potentiometer-based ones.
- Ergonomics: Choose a radio that feels comfortable in your hands. Some pilots prefer "gamepad" style (e.g., Radiomaster Zorro, Jumper T-Lite V2), while others prefer "box" style (e.g., Radiomaster Boxer, TX16S).
- Simulator Compatibility: Look for a radio that can connect to FPV simulators on your computer (via USB). Practicing on a simulator like Velocidrone or DRL Simulator is highly recommended before your first real flight.
- Recommendation for Beginners: Radios like the Radiomaster Zorro or Radiomaster Pocket with ELRS are fantastic choices, offering excellent features, build quality, and simulator compatibility at a reasonable price.
Batteries and Charger: Powering Your Flight Sessions
Tiny whoops typically use 1S (single cell) LiPo or LiHV batteries, ranging from 300mAh to 650mAh.
- LiPo vs. LiHV: LiHV batteries can be charged to a slightly higher voltage (4.35V vs. 4.2V for LiPo), offering a bit more punch and flight time. Ensure your charger supports LiHV if you use them.
- Quantity: You'll want several batteries (at least 4-6) to enjoy decent flight sessions, as tiny whoop flight times are typically 2-5 minutes per battery.
- Charger: A good balance charger is essential for safety and battery longevity. Look for a charger that can charge multiple 1S batteries simultaneously (e.g., a parallel charging board or a dedicated 1S charger like the BetaFPV 1S LiPo Charger & Voltage Tester).
- Safety Tip: Always charge LiPo batteries on a fire-safe surface and never leave them unattended. Store them in a LiPo safe bag.
Spare Parts and Tools: Preparing for the Inevitable
Crashes happen. Having spare parts on hand will save you downtime and frustration.
- Propellers: These are the most common casualties. Buy a few packs of spare props.
- Frame: A spare frame is a good idea, especially if you're prone to hard crashes.
- Motors: Even brushless motors can eventually wear out or get damaged.
- Small Screwdriver Set: For minor repairs.
- Tweezers: Incredibly useful for handling tiny wires and components.
Your First Tiny Whoop Buyer's Guide: Top Picks & What to Expect
Now that you know what to look for, let's talk about some solid recommendations and what your budget might look like.
Recommended RTF Tiny Whoop Kits for Absolute Beginners
For those looking to choose their first tiny whoop and get flying immediately, these RTF kits offer the best balance of performance, durability, and value:
- BetaFPV Cetus X RTF Kit:
- Why it's great: Often considered the gold standard for beginner RTF kits. It includes a powerful brushless Cetus X drone (often 1S/2S capable), the LiteRadio 3 radio (which can be used with simulators), and a pair of BetaFPV VR03 FPV goggles with DVR. The drone is durable, responsive, and the overall package offers a fantastic learning experience. The goggles are decent box goggles, and the radio is comfortable and functional.
- Real-world performance: Excellent indoor and light outdoor performance. The 2S option on some versions provides a significant power boost for later progression.
- Happymodel Mobula7 RTF Kit:
- Why it's great: The Mobula7 is a legendary tiny whoop, known for its performance and durability. The RTF kit typically includes the Mobula7 (brushless, 1S/2S capable), a basic radio, and a set of box goggles. It's a slightly more "racer-oriented" feel than the Cetus X, offering a bit more raw power.
- Real-world performance: Very zippy and agile, capable of flying both indoors and outdoors. A favorite for many experienced pilots, making it a great drone to grow with.
- EMAX Tinyhawk III Plus RTF Kit:
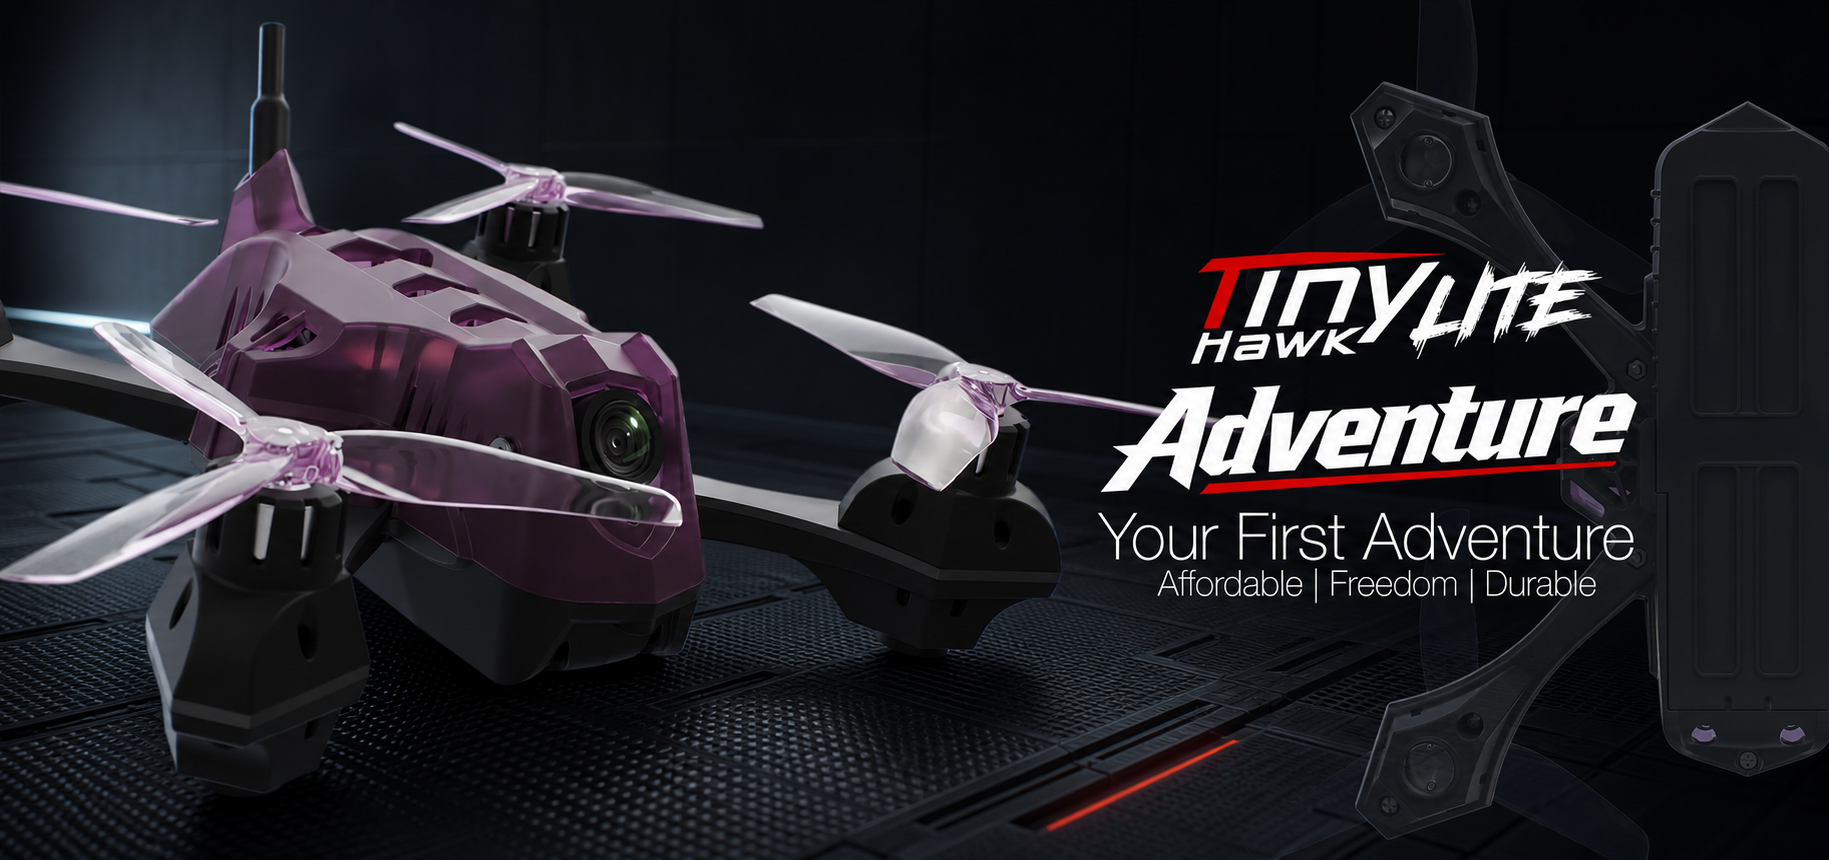
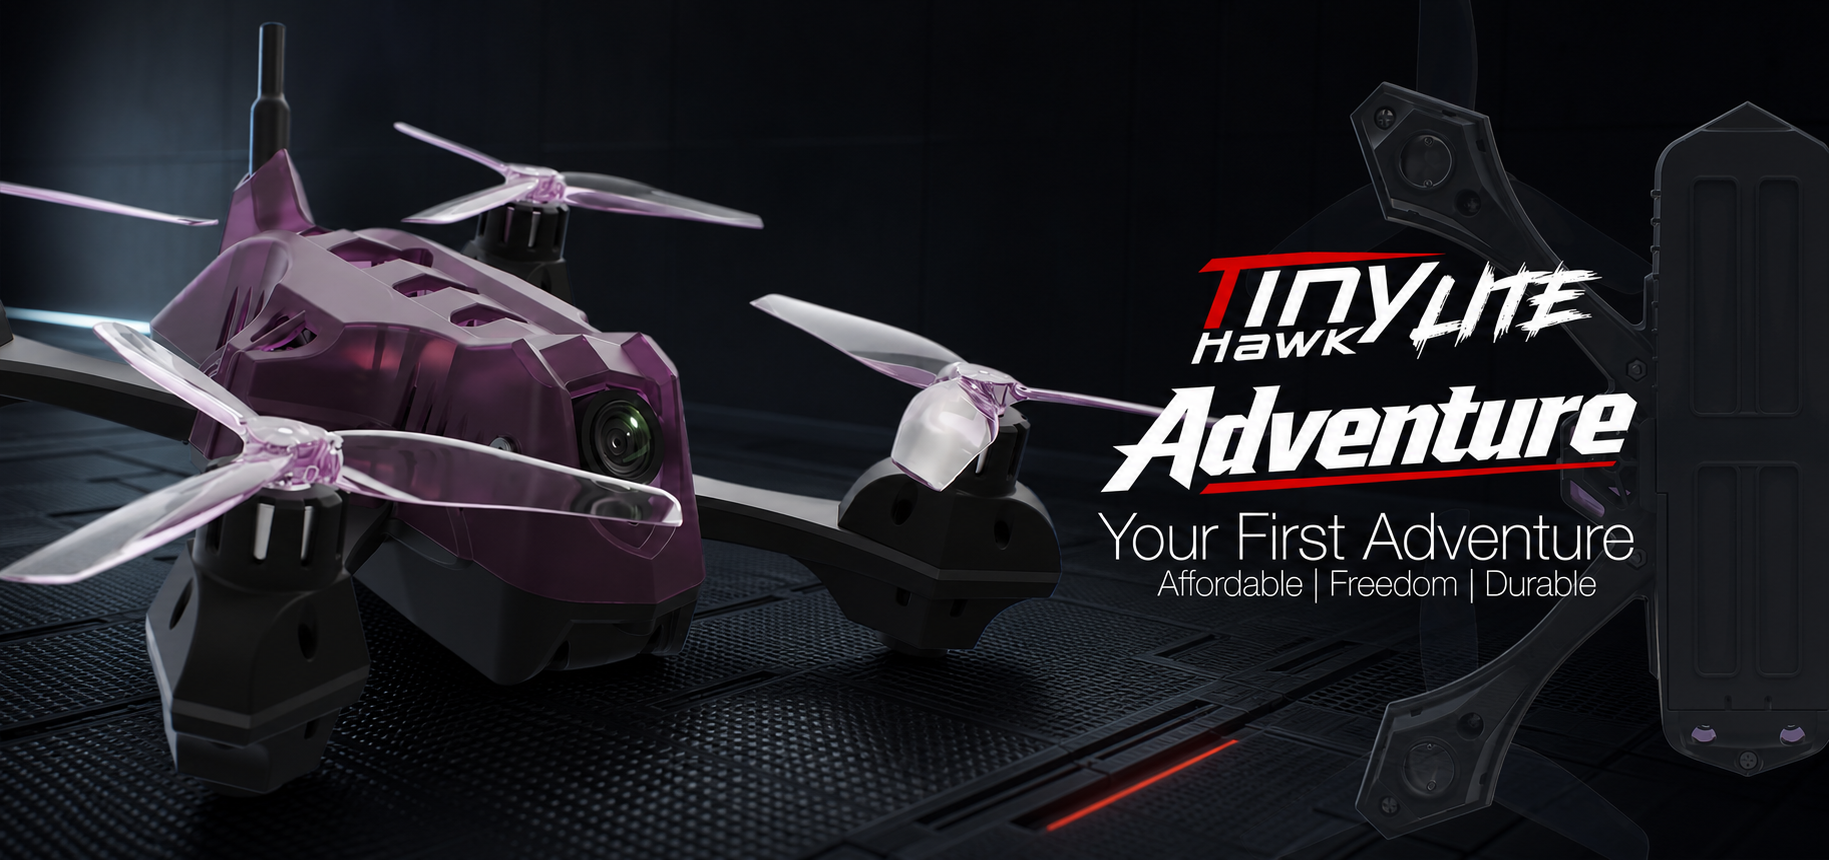
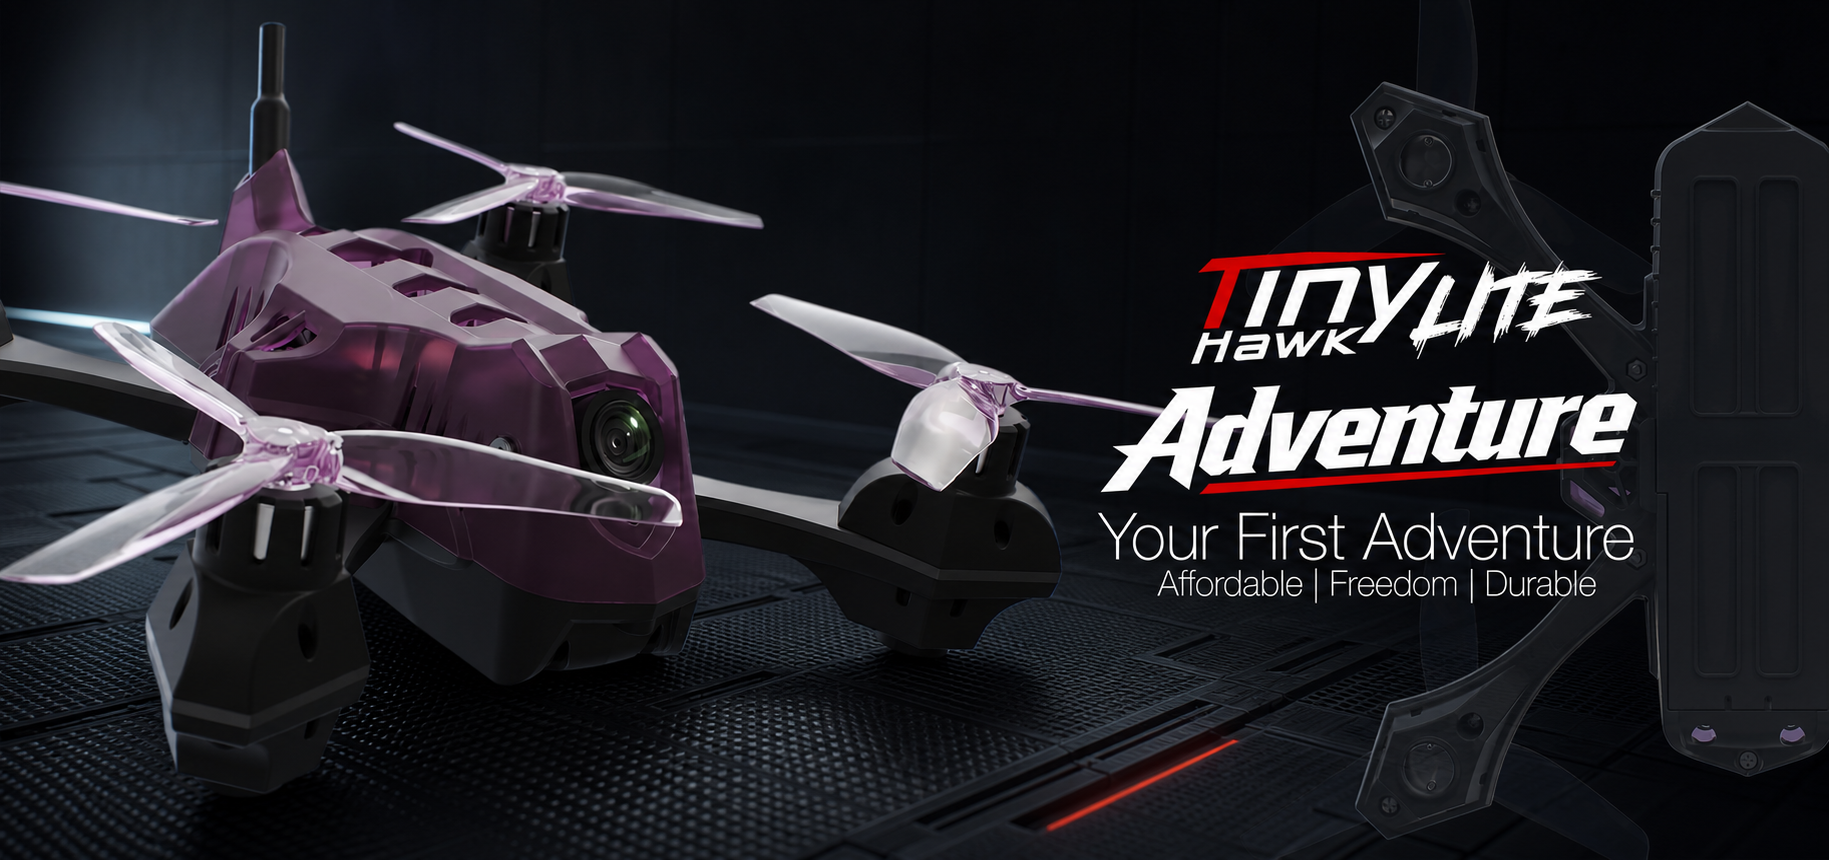
- Why it's great: EMAX has a strong reputation for beginner-friendly FPV products. The Tinyhawk III Plus is a robust and well-tuned 1S brushless tiny whoop. The RTF kit comes with a comfortable radio and decent box goggles. It's known for its stable flight characteristics and durability.
- Real-world performance: Smooth and predictable flight, making it very forgiving for new pilots. Great for learning basic maneuvers.
- Budget Option (with caveats): If your budget is extremely tight, you might find very basic brushed RTF kits like the Eachine E010 or similar for under $100. However, be aware that these will be significantly less powerful, less durable, and offer a poorer FPV experience compared to the brushless options above. They are more akin to toy drones with FPV.
Budgeting for Your Complete FPV Setup
A complete tiny whoop setup involves more than just the drone. Here's a general idea of what to expect:
- Tiny Whoop (BNF): $80 - $150 (e.g., Mobula7, Beta75 Pro)
- FPV Goggles:
- Basic Box Goggles: $50 - $100 (e.g., Eachine EV800D)
- Mid-Range Compact Goggles: $200 - $400 (e.g., Skyzone Cobra X)
- FPV Controller (Radio):
- Entry-Level: $50 - $100 (e.g., Radiomaster Pocket, Jumper T-Lite V2)
- Mid-Range: $100 - $200 (e.g., Radiomaster Zorro, Boxer)
- Batteries & Charger: $50 - $100 (for 4-6 batteries and a multi-charger)
- Spare Parts: $20 - $50 (props, frame, motors)
Total Estimated Cost for a Quality Beginner RTF Setup: Expect to spend $250 - $450 for a decent RTF kit that includes everything you need. If you buy components separately and opt for slightly better gear, it could range from $350 - $700. Remember, this is an investment in a fantastic hobby!
Where to Buy Your Tiny Whoop and Accessories
- Online FPV Retailers: These are your best bet for selection and often competitive pricing.
- International: GetFPV, RaceDayQuads, Banggood, AliExpress, HobbyKing.
- Local (if available): Check for FPV-specific hobby shops in your region.
- Amazon/eBay: Good for quick delivery on some accessories, but be wary of quality and authenticity for drones themselves. Always buy from reputable sellers.
Frequently Asked Questions About Beginner Tiny Whoops
What is the best tiny whoop for a beginner to buy?
For absolute beginners, the BetaFPV Cetus X RTF Kit or the Happymodel Mobula7 RTF Kit are highly recommended. They offer a complete package with a durable brushless drone, a capable radio, and FPV goggles, providing an excellent entry point into the hobby.
Do I need a specific FPV controller and goggles for my first tiny whoop?
Yes, you will need both. FPV drones require a dedicated FPV controller (radio transmitter) to fly them and FPV goggles to see the live video feed. RTF kits are designed to ensure all these components are compatible and ready to fly out of the box. If buying separately, ensure your radio's protocol (e.g., ELRS, FrSky) matches the drone's receiver, and that your goggles are analog for tiny whoops.
How much should I expect to spend on a complete tiny whoop setup?
For a quality, complete RTF tiny whoop setup (drone, radio, goggles, batteries, charger), you should budget approximately $250 to $450. If you choose to buy components separately and opt for slightly higher-end beginner gear, the cost could range from $350 to $700.
What features are important for a beginner's tiny whoop?
The most important features for a beginner's tiny whoop are:
- Durability: Look for prop guards and a flexible frame to withstand crashes.
- Flight Modes: Ensure it supports Angle mode (self-leveling) for learning, and Acro mode for progression.
- Brushless Motors: Provides better power, efficiency, and longevity compared to brushed motors.
- RTF Kit Availability: For ease of use and guaranteed compatibility.
Can I learn to fly FPV with a tiny whoop indoors?
Absolutely! Learning to fly FPV with a tiny whoop indoors is not only possible but highly recommended. Their small size, safety features, and ability to fly in a controlled environment make them perfect for mastering basic flight controls, practicing proximity flying, and building confidence before venturing outdoors or moving to larger drones.
Embark on Your FPV Adventure: The Sky (or Room) Awaits!
Choosing your first tiny whoop is the exciting first step into a hobby that will challenge, thrill, and inspire you. Don't be overwhelmed by the choices; focus on durability, ease of use, and a complete RTF package for the smoothest start.
Recap: Making the Right Choice for Your First Tiny Whoop
- Go RTF: For your very first setup, a Ready-To-Fly kit is your best friend.
- Prioritize Brushless: For better performance and longevity.
- Durability is Key: Expect crashes, and pick a whoop that can take them.
- Practice on a Simulator: Before your first real flight, spend time on an FPV simulator.
Your Next Steps: Practice, Explore, and Have Fun!
Once you have your tiny whoop, the real fun begins. Start slowly in Angle mode, getting a feel for the controls. Gradually move to Horizon, and eventually, dare to try Acro. There are countless tutorials on YouTube to guide you through every step. Remember, consistency is key – even short daily practice sessions will yield significant improvements.
Join the FPV Community: Share Your Flights and Learn More
The FPV community is one of the most welcoming and helpful out there. Join online forums, Facebook groups, or local FPV clubs. Share your beginner triumphs (and crashes!), ask questions, and learn from experienced pilots. You'll find a wealth of knowledge and encouragement that will accelerate your journey.
So, go ahead, choose your first tiny whoop, and prepare to see the world from an entirely new perspective. Happy flying!
RELATED GUIDES
Copyright-safe raster media generated locally by FPVLovers
Source: emax-usa.com
emax-usa.com