Receiver Tab No Movement in Betaflight: ELRS and Radio Checks
An evergreen FPVLovers guide focused on diagnosing receiver input problems without replacing parts too early.
Introduction: The Frustration of a Frozen Receiver Tab
You've just finished building or updating your FPV drone, eagerly plugging it into Betaflight, only to be met with a disheartening sight: a completely unresponsive receiver tab. No stick movement, no channel changes – just a static display that screams, "Your drone isn't listening!" This common issue can halt your flight plans dead in their tracks, but don't despair. The "Betaflight receiver tab no movement" problem is a frustrating but almost always solvable puzzle. This comprehensive guide is designed to systematically walk you through every potential cause, from basic wiring mishaps to intricate software configurations, empowering you to diagnose and fix this common FPV headache. We'll turn that frustration into triumph, getting your sticks talking to your drone again and ensuring your FPV receiver is detected and working correctly.
Laying the Groundwork: Understanding Your RC Link
Before diving into troubleshooting, it's crucial to understand the fundamental pathway of your control signals. This knowledge will help you pinpoint where the "RC link not working Betaflight" issue might originate.
How Your Receiver Communicates with Betaflight
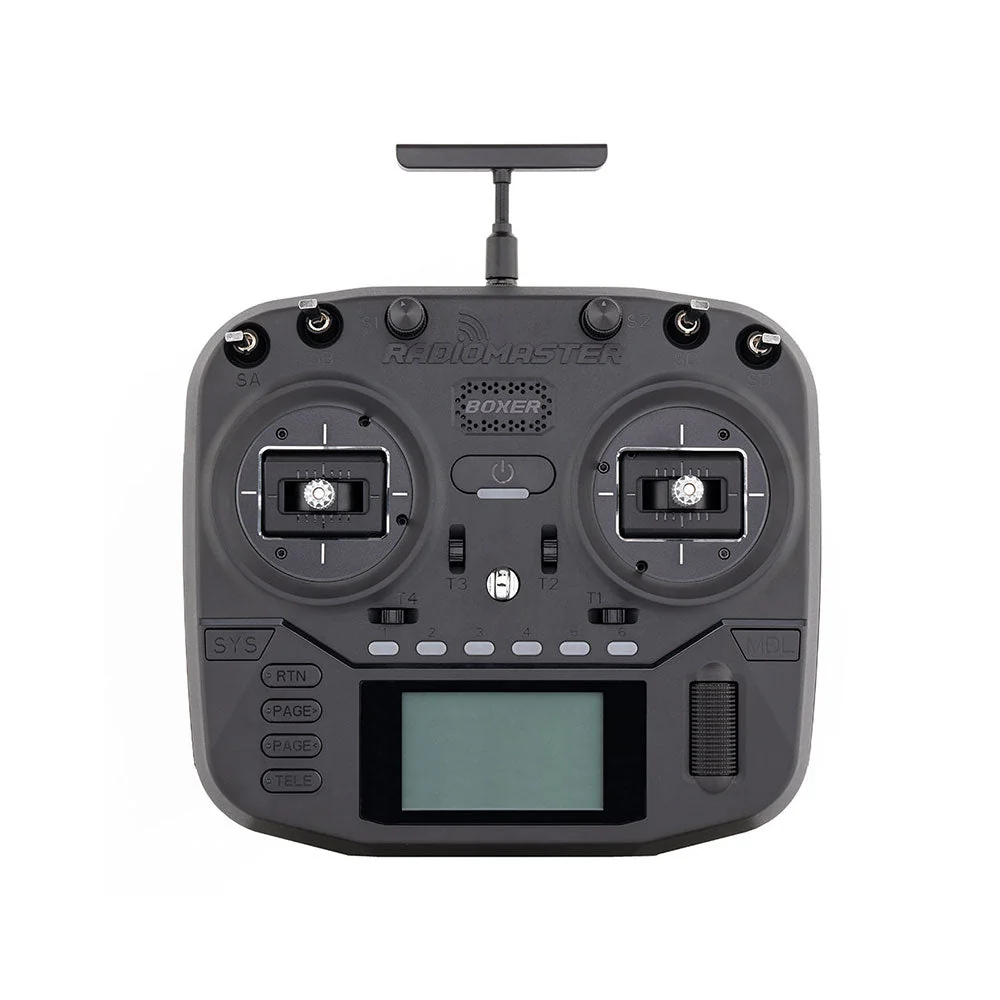
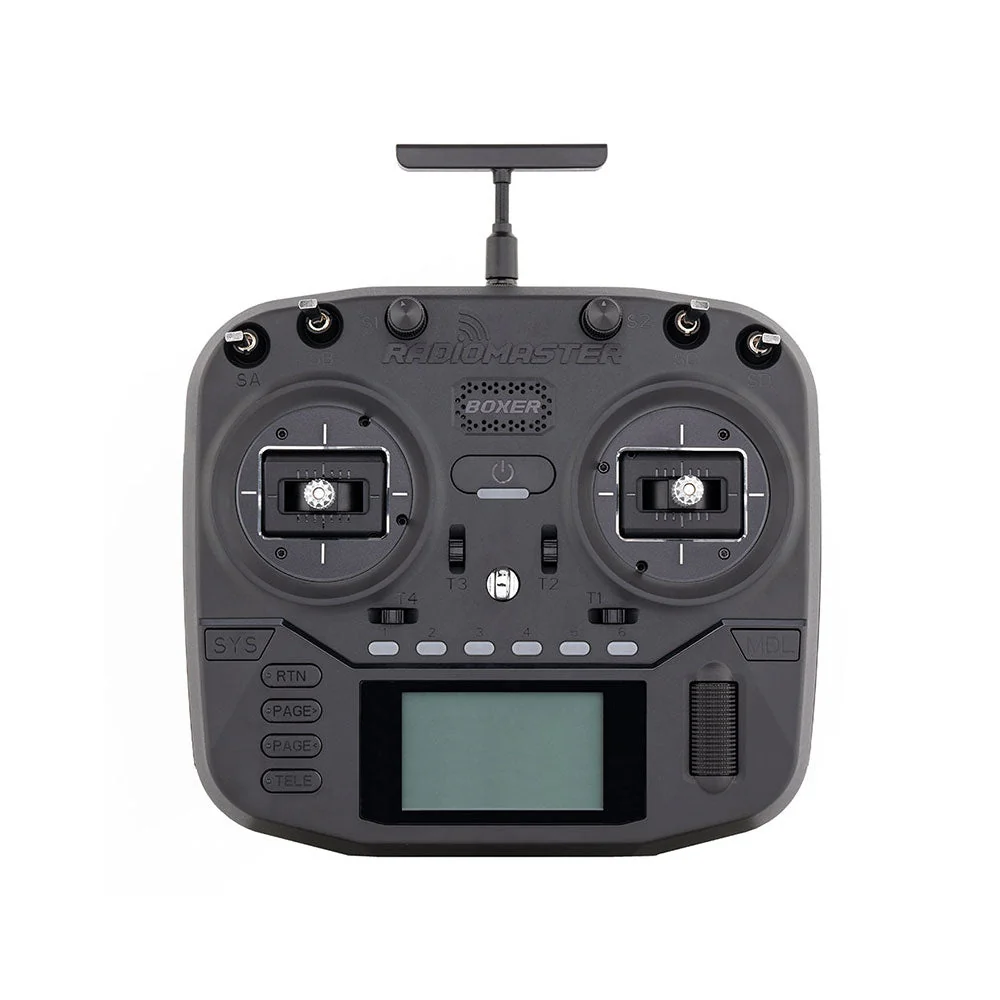
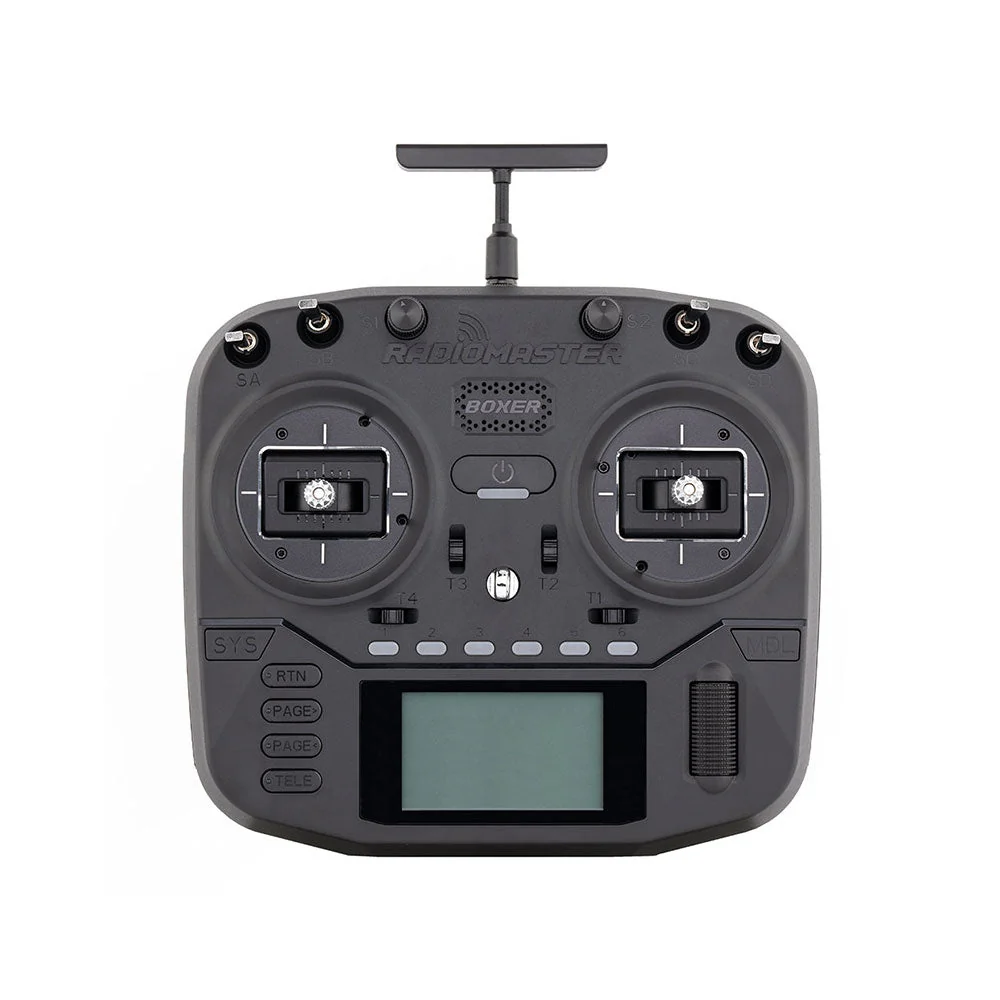
Your radio transmitter (TX) sends commands wirelessly to your FPV receiver (RX), typically mounted on your drone. The receiver's job is to catch these radio signals and translate them into a digital format that your flight controller (FC) can understand. This communication between the receiver and the flight controller usually happens over a specific serial protocol, such as SBUS, CRSF (Crossfire), ELRS (ExpressLRS), iBUS, F.Port, or SUMD. These protocols transmit data via a dedicated UART (Universal Asynchronous Receiver-Transmitter) port on your FC. The signal wire from your receiver connects to an RX pad on one of these UARTs. Any break, misconfiguration, or incompatibility in this chain – from your radio to your receiver, or from your receiver to your flight controller – will result in no movement in the Betaflight receiver tab.
Identifying Your Receiver and Protocol
Knowing your receiver's brand and its default or configured protocol is the first critical step in diagnosing a "Betaflight receiver not detected" issue. Different receivers use different protocols, and your Betaflight configuration must match this exactly.
- TBS Crossfire and Tracer receivers exclusively use the CRSF protocol.
- ExpressLRS (ELRS) systems also use the CRSF protocol (specifically, a variant of it).
- Many FrSky receivers (like the X4R-SB, XSR, R-XSR) commonly use SBUS. Newer FrSky receivers might use F.Port.
- Flysky receivers often use iBUS or PPM (though PPM is older and less common now).
- Spektrum receivers use SRXL or DSM2/DSMX.
This information is usually found in your receiver's manual, on the manufacturer's website, or sometimes printed directly on the receiver itself. Double-check this vital detail before proceeding, as an incorrect protocol selection in Betaflight is one of the most common causes of a "receiver tab stuck Betaflight" scenario.
Initial Checks: The Quick Wins for Troubleshooting
Before you pull out your soldering iron or dive deep into Betaflight CLI commands, let's cover some basic checks. These often resolve the "Betaflight no stick input" problem quickly.
Powering Up Your Drone Safely and Correctly
For your receiver to function and communicate with the flight controller, both components need stable power.
- LiPo Battery: Many receivers, especially those from TBS Crossfire or ExpressLRS, require full battery power (connected via your PDB or FC) to initialize correctly and establish a bind. Always connect your LiPo battery with props off for safety when troubleshooting on the bench.
- USB Connection: While a USB connection to your FC usually powers the FC and receiver, some receivers might draw more current than a typical USB port can provide, or they might not fully initialize without the main battery.
- Receiver LEDs: Observe your receiver's LED indicators. A solid green light often indicates a successful bind and proper power. A flashing LED usually means it's powered but not bound, or it's in binding mode. No LEDs at all could indicate a power issue or a dead receiver. For instance, a TBS Crossfire Nano RX will show a solid green LED when linked, and two slow flashes when waiting for a link. An ExpressLRS receiver will typically flash slowly when not bound and solid when bound.
Basic Visual Inspection: Wires and Soldering
A simple visual check can often reveal obvious issues that cause your FPV receiver not working.
- Loose Wires: Gently tug on each wire connecting your receiver to the flight controller (signal, 5V, Ground). Ensure they are firmly attached.
- Cold Solder Joints: Look for dull, lumpy, or cracked solder joints. A good solder joint is shiny and forms a smooth concave curve. Cold joints make intermittent or no electrical contact.
- Detached Wires: Sometimes, a wire can completely detach from a pad, especially after a crash or rough handling.
- Shorts: Check for any stray strands of wire or blobs of solder that might be shorting against adjacent pads, carbon fiber, or other components. This can prevent communication or even damage components.
Verifying Your Radio Transmitter Link
Even if your receiver is powered, it needs to be actively communicating with your radio transmitter.
- Radio Power: Ensure your radio transmitter is powered on and fully charged.
- Model Memory: Confirm that you have selected the correct model memory on your radio that corresponds to the drone you're working on. Many pilots have multiple drone profiles, and selecting the wrong one will prevent a bind.
- Binding Status: Your receiver must be successfully bound to your radio. As mentioned, receiver LEDs are your best indicator here. If your receiver isn't bound, it won't send any data to the flight controller, resulting in no movement in Betaflight. If necessary, re-bind your receiver following its specific instructions. This often involves putting your radio into bind mode and then powering up the receiver while holding a bind button, or cycling power a specific number of times. For ExpressLRS, ensure your TX module is outputting the same bind phrase as your RX.
Deep Dive into Hardware: Wiring and Connections
If the initial checks didn't resolve the "Betaflight receiver tab no movement" issue, it's time to meticulously inspect the physical connections. Incorrect wiring is perhaps the single most common cause.
Confirming Correct Receiver Wiring to Flight Controller
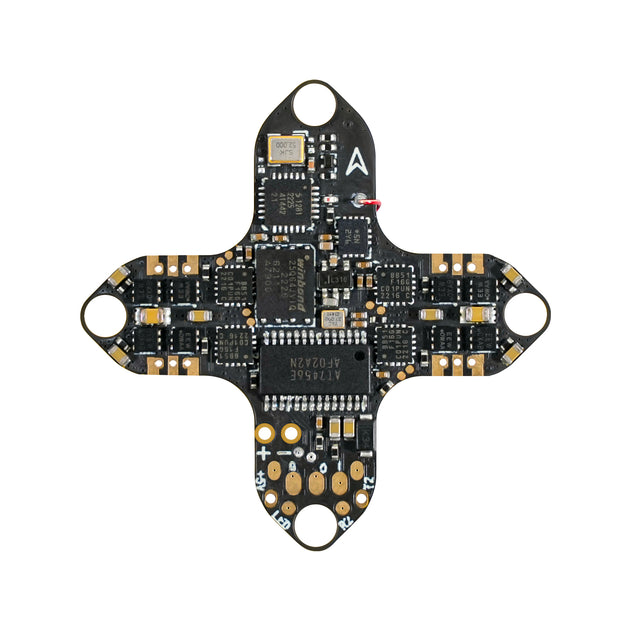
This is where the "Betaflight receiver wiring diagram" comes into play. You absolutely must consult your specific flight controller's wiring diagram and your receiver's manual.
- Signal Wire: The most critical connection is the receiver's signal wire to the correct RX pad on a designated UART on your FC. For example, if your FC diagram shows UART2_RX, connect your receiver's signal output to that specific pad. Common mistakes include connecting to a TX pad instead of an RX pad, or using a different UART than the one configured in Betaflight.
- UART Mismatch: Ensure that the UART you connect your receiver to physically (e.g., RX1, RX2, RX3) is the same UART you plan to enable 'Serial RX' for in Betaflight.
- 5V and GND: The 5V (power) and GND (ground) wires must also be connected to their respective pads on the FC. These are usually clearly labeled.
Practical Tip: Many modern flight controllers, like the SpeedyBee F7 V3 or HGLRC Zeus F745, have multiple UARTs. Choose one that's readily accessible and not already used by another peripheral (like your VTX SmartAudio/TrampHV or GPS).
Ensuring Proper Power and Ground Connections
A stable 5V power supply and a solid ground connection are vital for the receiver to function.
- Multimeter Check: Use a multimeter to check for continuity between the receiver's 5V and GND pads and the corresponding pads on the FC. A beep indicates a good connection.
- Voltage Check: While the drone is powered (props off!), use your multimeter to verify that the receiver is actually receiving approximately 5V across its 5V and GND pads. A voltage significantly lower than 5V or an unstable reading indicates a power supply issue from the FC.
- Ground Loop Issues: Sometimes, an unstable ground can cause erratic behavior. Ensure all ground connections are solid and not subject to interference.
Inspecting for Cold Solder Joints or Shorts
Even if wires look connected, a "cold" solder joint might not be making proper electrical contact, leading to intermittent or no signal.
- Visual Inspection: Re-examine all solder joints under good light, perhaps with magnification. Look for the characteristics of a cold joint (dull, granular, convex shape).
- Gentle Tug Test: Gently tug on each wire at the solder joint. If the wire moves or detaches easily, the joint is bad.
- Continuity Test: Use your multimeter's continuity mode to check the path from the receiver's pad to the FC's pad for each wire.
- Short Circuit Check: Carefully inspect for any tiny solder bridges between adjacent pads on the FC or receiver, especially between the signal, 5V, and GND pads. Even a tiny strand of wire can cause a short, preventing proper communication.
Betaflight Configuration: The Software Side of the Equation
With hardware thoroughly checked, the next most likely culprit for "Betaflight receiver tab no movement" is incorrect Betaflight configuration. This is where you configure the FC to listen for your specific receiver protocol on the correct port.
UART Selection and Configuration
This is a critical step for "Betaflight UART configuration."
- Ports Tab: In Betaflight Configurator, navigate to the 'Ports' tab.
- Identify UART: Locate the UART to which your receiver's signal wire is physically connected. If you wired your receiver to RX2 on your FC, you need to configure UART2.
- Enable Serial RX: For serial receivers (SBUS, CRSF, ELRS, iBUS, F.Port), you must enable 'Serial RX' for the correct UART. In the 'Serial RX' column, switch the toggle to ON for the specific UART your receiver is connected to.
- One UART Only: Crucially, only one UART should have 'Serial RX' enabled. Having multiple 'Serial RX' enabled can cause conflicts and prevent any receiver data from being processed.
- Save and Reboot: After making changes in the Ports tab, click 'Save and Reboot'.
Practical Tip: Many FCs have a dedicated pad like 'SBUS' or 'CRSF' which might internally route to a specific UART (e.g., SBUS to RX2). Always refer to your FC's diagram.
Receiver Protocol Mismatch (SBUS, CRSF, ELRS, PPM, etc.)
This is another extremely common reason for "Betaflight receiver protocol setup" issues.
- Configuration Tab: Go to the 'Configuration' tab in Betaflight.
- Receiver Section: Under the 'Receiver' section, you'll find 'Receiver Mode' and 'Serial Receiver Provider'.
- Receiver Mode: For almost all modern receivers, 'Receiver Mode' should be set to 'Serial-based receiver'. Only select 'PPM RX Input' if you are using an old PPM receiver.
- Serial Receiver Provider: This is where you select the specific protocol that matches your receiver.
- For TBS Crossfire or ExpressLRS: Select 'CRSF'.
- For most FrSky SBUS receivers: Select 'SBUS'.
- For FrSky F.Port receivers: Select 'FPORT'.
- For Flysky iBUS receivers: Select 'IBUS'.
- For Spektrum DSMX/DSM2: Select the appropriate DSMX/DSM2 option.
- Save and Reboot: After selecting the correct protocol, click 'Save and Reboot'. Now, go to the 'Receiver' tab. If everything is correct, you should see stick movements!
Channel Mapping and Stick Mode
While less likely to cause no movement, incorrect channel mapping can lead to unresponsive sticks or strange behavior (e.g., yaw controlling roll).
- Receiver Tab: In the 'Receiver' tab, ensure your 'Channel Map' matches your radio transmitter's configuration. The default Betaflight map is usually AETR1234 (Aileron, Elevator, Throttle, Rudder). However, some radios might use TAER1234 (Throttle, Aileron, Elevator, Rudder) or other combinations.
- Radio Configuration: Check your radio's mixer settings to confirm its channel order. Adjust the 'Channel Map' in Betaflight to match.
- Stick Mode: Ensure your radio's stick mode (Mode 1, Mode 2, etc.) is consistent with your expectations. Mode 2 (throttle and yaw on the left stick, pitch and roll on the right) is most common in many regions.
CLI Commands for Advanced Diagnostics
For deeper "How to troubleshoot Betaflight receiver" diagnostics, the Betaflight CLI (Command Line Interface) is invaluable.
resource list: This command shows you the mapping of physical pins to functions. You can verify which physical RX pad corresponds to which UART. For example,resource RX1_PINmight showPB0.serial: This command displays your UART configurations. Look for the UART you're using for your receiver and ensure 'RX' is enabled.- Example output:
serial 0 1 115200 57600 0 115200(where0is UART1,1is UART2, etc. and the second number1indicates 'Serial RX' is enabled).
- Example output:
get serialrx_provider: This will show you the currently configured receiver protocol (e.g.,serialrx_provider = CRSF). Confirm this matches your receiver.set crsf_uart_halfduplex = ON: If you are using a TBS Crossfire or ExpressLRS receiver with an older F4 flight controller, you might need to enable half-duplex communication. Many F4 FCs only have hardware inverters on TX pins, and CRSF requires half-duplex on a single wire, so this command tells Betaflight to use the TX pin as a bi-directional half-duplex line. Modern F7/H7 FCs often don't require this.status: This command provides a general overview of your FC's state, including CPU load and connected devices. Look forRX_SERIALin theFeaturessection.
Advanced Troubleshooting & Specific Scenarios
If you've systematically checked everything above and still have no movement in the Betaflight receiver tab, it's time for more advanced considerations.
Firmware Incompatibilities (Receiver, Transmitter, FC)
Ensuring compatible firmware across your entire RC link is crucial.
- ExpressLRS (ELRS): This is particularly important for ELRS systems. Your radio's ELRS TX module and your drone's ELRS RX module must be on matching major firmware versions (e.g., both 2.x.x or both 3.x.x). A mismatch will prevent binding and communication. Always check the ELRS release notes for compatibility.
- Crossfire/Tracer: While usually more forgiving, ensure your TBS TX module and RX module are running reasonably current and compatible firmware. Updating both to the latest stable versions is often a good troubleshooting step.
- Flight Controller Firmware: Ensure your Betaflight firmware on the FC is up-to-date or at least compatible with the receiver protocols you're using. Very old Betaflight versions might not fully support newer receiver features or protocols.
Checking for Inverted vs. Non-Inverted Signals
This is a niche but important issue for some setups, especially older ones.
- SBUS Inversion: The SBUS protocol typically outputs an inverted signal. Older F4 flight controllers often required you to connect to a specific 'uninverted' SBUS pad or use a software inverter. If you're using an older F4 FC with SBUS and connected to a regular RX pad, you might need to use the CLI command
set sbus_inversion = OFF(orONif it's already OFF and needs to be inverted). - Modern FCs: Most modern F7 and H7 flight controllers have built-in hardware inverters on their UARTs, simplifying wiring as they can automatically handle inverted SBUS or non-inverted CRSF/ELRS signals without special pads or CLI commands.
- F.Port: FrSky's F.Port protocol also often requires an uninverted signal, similar to SBUS.
When to Suspect a Faulty Receiver or Flight Controller
After systematically going through all hardware and software checks, if you still have no movement, it's time to consider a faulty component.
- Isolation Method: The best way to pinpoint the problem is to isolate the component.
- Test Receiver: If possible, test your receiver with another known-good flight controller. If it works there, your original FC is likely the issue.
- Test Flight Controller: Test your flight controller with another known-good receiver. If a different receiver works, your original receiver is likely faulty.
- Physical Damage: Look for signs of physical damage on either component, such as burnt components, bent pins, liquid damage, or corrosion.
- Heat: Feel if any components on the receiver or FC are getting unusually hot when powered. This can indicate a short or a failing component.
Buyer's Guide: When Replacement is the Only Option
Sometimes, despite all troubleshooting efforts, a component is simply dead. Here's how to proceed.
Identifying a Truly Dead Component
- No Power LEDs: A receiver that shows no power LEDs at all, even with correct 5V and GND, is likely dead.
- No Binding: If a receiver refuses to bind to your radio despite multiple attempts and confirming TX firmware/model, it could be faulty.
- Unresponsive UART: If you've confirmed correct wiring, power, and Betaflight settings, but a specific UART on your FC simply won't register any input from any receiver, that UART (or the FC itself) might be damaged.
- Physical Damage: Clear signs of physical damage, like a snapped antenna connector, burnt chip, or obvious corrosion, are strong indicators.
Choosing a Compatible Receiver for Your Setup
If your receiver is the culprit, selecting a replacement involves a few key considerations:
- Radio Transmitter Protocol: This is paramount. If you have an ELRS radio, you need an ELRS receiver. If you have a TBS Crossfire module, you need a Crossfire receiver. If you're on FrSky ACCST/ACCESS, choose a compatible FrSky RX.
- Size and Antenna: Consider the physical constraints of your drone. Nano receivers (like the Happymodel EP1/EP2 for ELRS or TBS Crossfire Nano RX) are tiny and suitable for small builds. Choose an antenna type (e.g., dipole, T-antenna, ceramic) appropriate for your build and range requirements.
- Betaflight Compatibility: Most modern serial receivers (CRSF, ELRS, SBUS) offer excellent performance and compatibility with Betaflight. Ensure the chosen receiver outputs a protocol Betaflight supports.
Flight Controller Considerations for Receiver Compatibility
If your flight controller is the issue, or if you're taking this opportunity to upgrade, keep these in mind:
- Sufficient UARTs: Choose an FC with enough UARTs for all your peripherals. A typical setup needs one for the receiver, one for the VTX (SmartAudio/TrampHV), and potentially one for GPS or other accessories. An F7 or H7 based FC will generally have more UARTs and processing power.
- Processor: F7 and H7 flight controllers are highly recommended for their processing power, which allows for more advanced features, higher loop times, and better overall performance. They also typically handle signal inversion automatically, simplifying wiring for protocols like SBUS.
- Layout and Pads: Look for an FC with a logical pad layout that makes wiring clean and straightforward, especially for receiver connections (clearly labeled RX pads).
Frequently Asked Questions (FAQ)
Why is my Betaflight receiver tab not responding?
The receiver tab typically doesn't respond due to a break in the communication chain between your radio transmitter, receiver, and flight controller. Common causes include incorrect wiring between the receiver and FC, a mismatched serial port configuration in Betaflight, an incompatible receiver protocol selected, or a failure to bind your receiver to your radio.
What are the common causes for no movement in Betaflight's receiver tab?
The most frequent culprits are:
- Incorrect UART selection in Betaflight's 'Ports' tab (e.g., enabling 'Serial RX' on UART1 when your receiver is wired to UART2).
- An incorrect 'Serial Receiver Provider' in the 'Configuration' tab (e.g., selecting SBUS when you have a CRSF receiver).
- Faulty wiring (signal, 5V, or GND) or cold solder joints.
- A receiver that isn't properly bound to your radio transmitter.
- Mismatched firmware versions between your radio TX module and receiver RX module (especially common with ExpressLRS).
How do I diagnose and fix Betaflight receiver input issues?
Start with basic checks: ensure your receiver is powered (LEDs on) and successfully bound to your radio. Then, methodically check wiring for continuity, correct 5V/GND, and proper signal connections to the FC. In Betaflight, verify the correct UART is enabled for 'Serial RX' in the 'Ports' tab and that the 'Serial Receiver Provider' matches your receiver's protocol in the 'Configuration' tab. Use the CLI (serial, get serialrx_provider) for deeper diagnostics if needed. If all else fails, try swapping components (receiver or FC) to isolate a faulty part.
What Betaflight settings do I need to check for receiver functionality?
The key Betaflight settings are:
- Ports Tab: Ensure 'Serial RX' is enabled on the exact UART to which your receiver's signal wire is connected. Only one UART should have 'Serial RX' enabled.
- Configuration Tab: Verify 'Receiver Mode' is 'Serial-based receiver' and that 'Serial Receiver Provider' matches your receiver's protocol (e.g., CRSF for TBS Crossfire/ExpressLRS, SBUS for FrSky SBUS).
- Receiver Tab: Confirm your 'Channel Map' (e.g., AETR1234) is correct and matches your radio transmitter's channel order.
Is my FPV receiver broken if Betaflight shows no movement?
Not necessarily. While a broken receiver is a possibility, it's more often a configuration or wiring issue. Exhaust all troubleshooting steps outlined in this guide (power, bind, correct wiring, Betaflight settings, firmware compatibility) before concluding your receiver is faulty. Only after thoroughly checking everything, and ideally testing with another known-good component, should you consider the receiver broken.
Conclusion: Get Back in the Air with Confidence
The "Betaflight receiver tab no movement" issue is a rite of passage for many FPV pilots, but it's rarely insurmountable. By following this systematic troubleshooting guide, you've gained the knowledge and confidence to diagnose and resolve a wide array of potential problems, from simple wiring errors and cold solder joints to complex software configurations and firmware incompatibilities. Remember, patience and methodical testing are your best tools.
With your FPV receiver now communicating flawlessly, there's only one thing left to do: unplug from Betaflight, arm your drone, and get back to flying! Share your success stories and tips with the FPV community, and happy flying!
Copyright-safe media generated locally by FPVLovers