Long-Range FPV Setup Guide: Safety, Signal, and Power
A serious long-range planning guide that prioritizes safety and system reliability over hype.
Long-Range FPV Setup Guide: Safety, Signal, and Power
The Unbreakable Link: A Comprehensive Guide to Building a Reliable & Redundant Long-Range FPV Setup
The world of FPV offers unparalleled freedom, but for many, the true allure lies in pushing the boundaries of exploration. Beyond the confines of a park or race track, lies the vast, uncharted horizon – a realm best experienced with a finely tuned, incredibly reliable long-range FPV setup. At fpvlovers.com.tr, we understand this passion. This guide is crafted to help you build not just a drone that flies far, but one that ensures an unbreakable link, allowing you to venture further with confidence and return safely every time.
Introduction: Unlock the Horizon with Long-Range FPV
Long-range FPV isn't just about covering vast distances; it's about the journey, the discovery, and the unparalleled feeling of immersion as you glide over landscapes previously inaccessible. It's an art that combines meticulous planning, advanced technology, and a deep understanding of your equipment.
What Defines Long-Range FPV? Beyond the Backyard
While a typical freestyle or racing drone might offer a range of a few hundred meters to a couple of kilometers, a true long-range (LR) FPV setup aims for 5 kilometers and beyond, often pushing towards 10-20 kilometers or even more in ideal conditions. It's characterized by sustained, reliable signal integrity for both control and video, extended flight times, and robust safety features. Unlike a quick sprint, LR FPV is an endurance marathon for your drone and your skills.
Why Build for Distance? The Thrill of Uninterrupted Exploration
The motivation for long-range FPV is simple: exploration. Imagine soaring over majestic mountain ranges, tracing the winding paths of rivers, or discovering hidden valleys – all from the comfort of your pilot's seat. Long-range FPV opens up cinematic opportunities, allows for breathtaking scenic flights, and satisfies that innate human desire to see what's "just over the next hill." It's about pushing personal and technological boundaries, achieving a sense of scale and adventure that few other hobbies can offer.
What This Comprehensive Guide Will Cover
This guide will take you on a journey from the fundamental principles of signal science and power management to the practicalities of component selection, meticulous building techniques, and essential safety protocols. We'll delve into the best control and video systems, discuss battery longevity, motor efficiency, and crucial navigation tools like GPS. By the end, you'll have a holistic understanding of how to build an unbreakable, redundant long-range FPV system that’s ready for epic journeys.
Pillars of Long-Range FPV: Understanding the Fundamentals
Before we dive into specific components, it's crucial to grasp the underlying principles that govern long-range flight. These pillars form the foundation of a reliable and safe setup.
The Science of Signal Integrity: dBm, mW, and Link Budgets
The key to long-range FPV lies in maintaining robust control and video signals. This involves understanding terms like dBm (decibel-milliwatts, a logarithmic measure of power), mW (milliwatts, a linear measure of power), and link budget. The link budget is the sum of all signal gains (transmitter power, antenna gain) and losses (cable loss, free-space path loss, receiver sensitivity). Maximizing this budget means not just increasing transmitter power, but also using efficient antennas, minimizing cable losses, and, crucially, having sensitive receivers. Remember, signal strength diminishes rapidly with distance due to the inverse square law, making every decibel count.
Power Management for Extended Flight Times and Reliability
Long-range flights demand significantly more battery capacity and efficient power utilization. This isn't just about slapping on the biggest battery; it's about optimizing every component for minimal current draw. Efficient motors, propellers, and ESCs, combined with high-energy-density Li-Ion batteries, are critical. Proper power distribution, clean wiring, and adequate capacitors also play a vital role in preventing voltage sags and signal interference, ensuring consistent performance throughout your extended flight.
Redundancy and Reliability: Your Essential Safety Net
For long-range FPV, redundancy is not a luxury, it's a necessity. A single point of failure can mean a lost drone. This includes using reliable, robust components, but also having backup plans. Think about dual GPS modules (some flight controllers support this), robust failsafe configurations, and even considering a separate, independent power source for critical components if possible. Every solder joint, every wire connection, and every firmware setting must be meticulously checked for maximum reliability.
Legal & Ethical Considerations for Long-Range Flights
This is paramount. Always know and adhere to your local aviation regulations. In many regions, flying beyond Visual Line of Sight (VLOS) is illegal without specific permits or certifications. Power output limits for VTX and control links vary by country (e.g., CE vs. FCC regulations). Respect privacy, avoid flying over people, private property, or restricted airspace. Long-range FPV demands a high degree of responsibility and ethical conduct. Fly responsibly to ensure the hobby remains enjoyable and accessible for everyone.
Forging the Unbreakable Link: Control & Video Systems
The control link and video feed are your lifeline to the drone. Investing in the best systems and optimizing their setup is non-negotiable for long-range FPV.
Choosing Your Control Link: Crossfire vs. ELRS for Maximum Range
Two dominant technologies stand out for long-range control:
- TBS Crossfire (Team BlackSheep): A pioneer in long-range FPV, Crossfire operates on 868MHz (EU) or 915MHz (US) frequencies. It's renowned for its robust, highly penetrative signal, excellent reliability, and good latency. The TBS Crossfire Micro TX V2 or Lite TX modules paired with TBS Crossfire Nano RX receivers (often with the iconic Immortal T antenna) are a proven combination. Its adaptive hopping technology and high receiver sensitivity make it incredibly dependable in challenging RF environments.
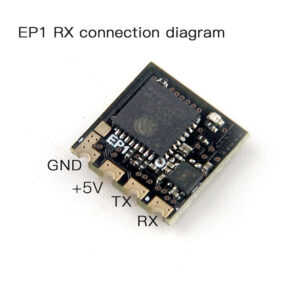
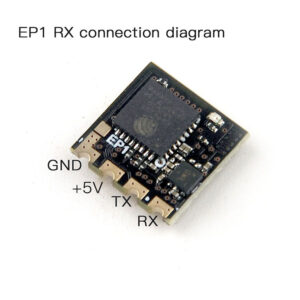
- ELRS (ExpressLRS): An open-source, high-performance radio link that has rapidly gained popularity. ELRS is available in 2.4GHz, 900MHz, and 433MHz versions. It boasts incredibly low latency, high refresh rates, and exceptional range, often outperforming Crossfire at similar power levels, especially the 900MHz version. Happymodel ES24TX Pro (2.4GHz) or BetaFPV ELRS Micro TX (900MHz) modules are popular choices, paired with tiny Happymodel EP1/EP2 (2.4GHz) or BetaFPV Nano 900MHz RX receivers. ELRS offers fantastic value and community support.
Both systems are excellent for LR, with Crossfire offering a slightly more "set-and-forget" experience and ELRS providing cutting-edge performance and customization for those willing to tinker.
Optimizing Your Video System: Analog vs. Digital & VTX Power
Your choice of video system significantly impacts your long-range experience:
- Analog (5.8GHz): Still highly viable for LR due to its graceful signal degradation. Instead of a sudden cut-off, you get static, giving you time to react. High-power VTXs like the TBS Unify Pro32 HV or Rush Tank Ultimate Plus can push up to 1W or more (check local legality!), providing impressive range. However, image quality is lower, and interference can be an issue.
- Digital (HDZero, Walksnail Avatar, DJI O3 Air Unit): Offers stunning, high-definition clarity. The DJI O3 Air Unit is particularly popular for LR due to its integrated system, decent range, and generally robust signal. HDZero offers incredibly low latency for a digital system, while Walksnail provides a good balance. The trade-off with digital is often a hard cut-off when the signal is lost, meaning no "snow" to warn you. VTX power for digital systems is also crucial, with the O3 Air Unit capable of up to 1200mW in certain modes, significantly boosting range.
The Art of Antenna Selection & Strategic Placement
Antennas are the eyes and ears of your drone. Poor antenna choice or placement can cripple even the most powerful system.
- Control Link Antennas: For Crossfire, the Immortal T is standard, offering excellent omnidirectional performance. For ELRS, a simple dipole is effective, but upgrading to a Moxon or a higher-gain dipole can further improve range. Placement is critical: mount your RX antenna vertically, away from carbon fiber (which blocks RF), metal, and other antennas. Ensure it has a clear line of sight in all directions.
- Video Antennas (Drone): Omnidirectional antennas like the Lumenier AXII 2 or TBS Triumph Pro are common. Ensure correct polarization (LHCP or RHCP) is matched between your drone and ground station.
- Video Antennas (Ground Station): This is where you can significantly boost range. Combine a high-quality omnidirectional antenna (e.g., Lumenier AXII 2 or TBS Triumph Pro) with a high-gain directional antenna like a TrueRC X-Air MK.II (patch) or a Menace RC PicoPatch on a diversity receiver (e.g., ImmersionRC Rapidfire or Foxeer Wildfire module). Pointing the directional antenna correctly is paramount.
Ground Station Essentials for Extended Range and Clarity
Your ground station is equally important. A robust setup includes:
- High-Quality Goggles: Comfortable goggles with clear screens are essential.
- Diversity Receiver Module: For analog, modules like Rapidfire or Fusion provide the best signal by intelligently switching between two antennas.
- High-Gain Antennas: As mentioned, a patch or helical antenna paired with an omni for diversity.
- Sturdy Tripod: To keep directional antennas stable and aimed.
- DVR: Always record your flights! This is invaluable for reviewing footage, troubleshooting issues, and even locating a lost drone.

Powering Your Expedition: Batteries, Motors & Efficiency
Long-range flights demand longevity, which means optimizing every aspect of your drone's power system for maximum efficiency.
The Endurance Advantage: Li-Ion Battery Selection & Care
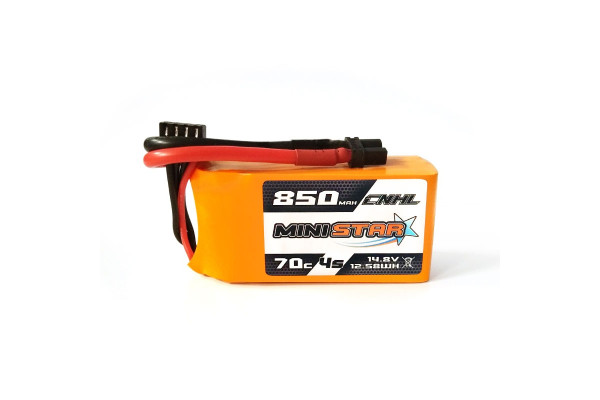
Unlike LiPo batteries which prioritize high current output for aggressive flying, Li-Ion batteries excel in energy density, offering significantly longer flight times for their weight. Popular choices include 18650 cells (e.g., Samsung 30Q, Sony VTC6) and 21700 cells (e.g., Molicel P42A, Samsung 40T) due to their higher capacity and decent discharge rates.
- Configurations: Common setups are 4S2P (four cells in series, two in parallel) or 6S2P, providing increased voltage and capacity (e.g., 4S2P with 3000mAh 18650 cells yields 6000mAh).
- Care: Use a compatible charger (e.g., iSDT K4, Hota D6 Pro) and always monitor cell voltage. Consider adding a small BMS (Battery Management System) for balancing and protection, especially for custom-built packs.
Propelling Your Journey: Motor & Propeller Efficiency for Long Flights
Efficiency is king. Long-range drones typically use:
- Lower KV Motors: Motors with lower KV ratings (e.g., 1300-1700KV for a 6-7 inch quad) are more efficient at lower RPMs, consuming less current at cruising speeds. Examples include BrotherHobby Avenger 2806.5 1300KV or iFlight XING2 2207 1750KV.
- Larger, Higher-Pitch Propellers: 6-inch, 7-inch, or even 10-inch propellers with a moderate to high pitch (e.g., HQProp 7x4x3, Gemfan 7040) generate more thrust per revolution. This allows the drone to cruise efficiently at a lower throttle percentage. The goal is to maximize thrust-to-weight ratio at your desired cruising speed, not peak power.
ESCs and Power Distribution for Uncompromised Reliability
Your Electronic Speed Controllers (ESCs) and power distribution system must be robust:
- Reliable ESCs: Choose ESCs known for their efficiency and reliability, capable of handling sustained current without overheating. BLHeli_32 ESCs are a popular choice due to their advanced features and telemetry.
- Adequate Current Rating: Ensure your ESCs are rated for the continuous current draw of your motors, with a comfortable margin.
- Clean Power: Add a high-quality low ESR capacitor (or multiple) to your main power lead to smooth out voltage spikes and reduce electrical noise, which can interfere with sensitive components like GPS and video. Use appropriate gauge wiring (e.g., 12-14 AWG for main battery leads) to minimize resistance and heat.
Navigating Safely: GPS, Failsafes & Pre-Flight Protocols
Safety is paramount in long-range FPV. These features are your guardian angels, ensuring your drone can find its way home even when you can't see it.
The Indispensable Role of GPS in Long-Range FPV
A reliable GPS module is the cornerstone of long-range safety. It provides:
- Return-to-Home (RTH): The most critical feature. In case of control link loss or low battery, the drone can automatically navigate back to its launch point.
- Position Data: Real-time coordinates, speed, and altitude displayed on your OSD. Essential for navigation and drone recovery.
- Navigation: Allows for waypoint missions (with INAV/ArduPilot) and precise position holding.
- Recommended Modules: Matek M10Q-5883 (combining GPS and compass) or HGLRC M80PRO are excellent choices, known for their fast satellite acquisition (M10 series supports more constellations) and accuracy. Mount it on a mast for optimal signal reception, away from noise-generating components.
Configuring Advanced Failsafe Measures (RTH, Link Loss, Battery)
Beyond GPS, your flight controller's failsafe settings are your last line of defense:
- Link Loss Failsafe: Configure your flight controller (e.g., Betaflight, ArduPilot, INAV) to initiate RTH upon loss of control signal. Set a safe altitude for the return journey to clear obstacles.
- Battery Voltage Failsafe: Program an automatic RTH or land command when the battery voltage drops below a critical threshold. This prevents a complete power loss mid-flight. Set a warning voltage, then a critical voltage for RTH.
- Arming Checks: Enable arming checks for RSSI (ensure strong control signal), GPS lock (minimum 8-10 satellites for accurate RTH), and battery voltage to prevent launching with critical issues.
Pre-Flight Checks, Environmental Awareness & Flight Planning
Thorough preparation is non-negotiable for long-range flights:
- Physical Checks: All screws tight, props on correctly, antennas secured, battery fully charged and balanced, components cool.
- Software Checks: Test failsafe functionality on the ground, confirm GPS lock (wait for at least 8-10 satellites), verify voltage calibration, check OSD data.
- Environmental Awareness: Check wind speed and direction (especially at altitude), weather forecast, sun position (to avoid glare), and potential obstacles along your planned route.
- Flight Planning: Plan your route, identify potential emergency landing spots, and consider your ground station's line of sight for directional antennas. Always have a spotter if flying beyond VLOS (where legal).
Compass Calibration and Barometer Setup for Stable Navigation
For accurate RTH and stable flight, especially in Altitude Hold or GPS Hold modes:
- Compass (Magnetometer) Calibration: Perform a thorough calibration in Betaflight, ArduPilot, or INAV to ensure accurate heading. Keep the GPS module (and thus the compass) away from magnetic interference sources like motors and power wires.
- Barometer: Most modern flight controllers include a barometer for accurate altitude readings. Ensure it's covered by foam to prevent prop wash from affecting its readings, providing stable altitude hold and accurate RTH altitude.
The Build: Crafting a Robust Long-Range Platform
The physical construction of your long-range drone is just as important as the components themselves. A well-built drone is a reliable drone.
Frame Selection: Durability vs. Weight for Long Flights
- Size: Long-range quads typically use larger frames (6-inch, 7-inch, or even 10-inch) to accommodate larger props, motors, and batteries.
- Material: High-quality carbon fiber is standard for its strength-to-weight ratio.
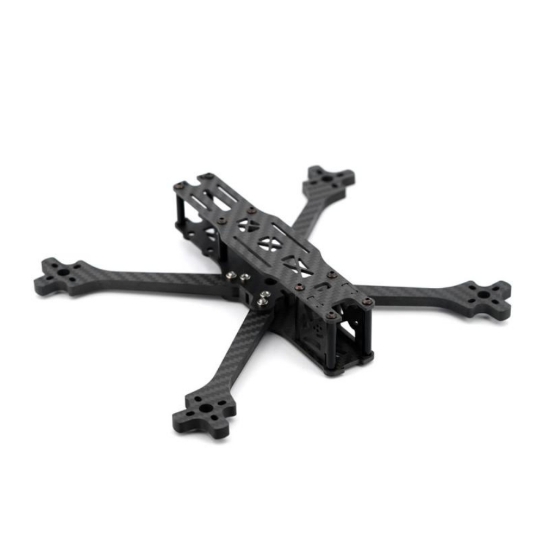
- Design: Look for stiff frames with ample space for component placement and good protection for electronics. Examples include the iFlight Chimera series (Chimera7 Pro, Chimera7 HD) or similar designs from AOS (AOS 7), known for their rigidity and vibration dampening. Avoid overly flexible frames that can cause oscillations.
Strategic Component Placement & Wiring Best Practices
Meticulous placement and wiring are crucial:
- Antenna Separation: Maximize the distance between your control link, video, and GPS antennas. Ideally, place them on different planes and orientations to minimize interference. GPS should be on a mast, away from EMI.
- EMI Isolation: Keep sensitive components (GPS, RX) as far as possible from noise-generating components (VTX, ESCs, motors, power wires).
- Neat Wiring: Route wires cleanly, use zip ties or heat shrink to secure them, and apply strain relief where necessary. Avoid loose wires that can snag or interfere with props.
- VTX Placement: Ensure your VTX has adequate airflow to prevent overheating, especially when running at higher power outputs.
Weatherproofing and Vibration Isolation Techniques
Protect your investment and ensure stable flight:
- Conformal Coating: Apply a thin layer of MG Chemicals 422B conformal coating to your flight controller, ESCs, and receiver to protect them from moisture, dust, and corrosion.
- Vibration Isolation: Soft-mount your flight controller using rubber standoffs or O-rings to isolate it from motor vibrations. This improves gyro accuracy and flight stability. Ensure your motors are balanced and props are free of nicks.
- Camera Protection: Use a robust camera mount and consider weather-sealing any exposed camera components if flying in damp conditions.
Firmware Configuration and Tuning for Optimal Stability
The flight controller firmware (Betaflight, ArduPilot, INAV) needs careful configuration:
- PID Tuning: While default PIDs can get you flying, fine-tuning them for your specific long-range setup (larger props, heavier battery) will result in smoother, more efficient flight. Aim for a stable, floaty feel rather than aggressive responsiveness.
- Filter Settings: Adjust filters to reduce noise without introducing latency, especially important for larger, slower quads.
- OSD (On-Screen Display): Configure your OSD to show critical information clearly: battery voltage (per cell and total), current draw, RSSI (control link signal strength), Link Quality, GPS coordinates, altitude, speed, and distance from home.
- Modes: Set up appropriate flight modes, including Angle, Horizon, Acro, Altitude Hold, GPS Hold, and, most importantly, Return-to-Home (RTH).
Buyer's Guide: Recommended Components for Your LR Setup
To help you get started, here are some highly recommended components that have proven their worth in the long-range FPV community.
Top Control Link Systems (Crossfire, ELRS modules & receivers)
- TBS Crossfire:
- Transmitter Module: TBS Crossfire Micro TX V2 or TBS Crossfire Lite TX.
- Receiver: TBS Crossfire Nano RX (with Immortal T antenna).
- ExpressLRS (ELRS):
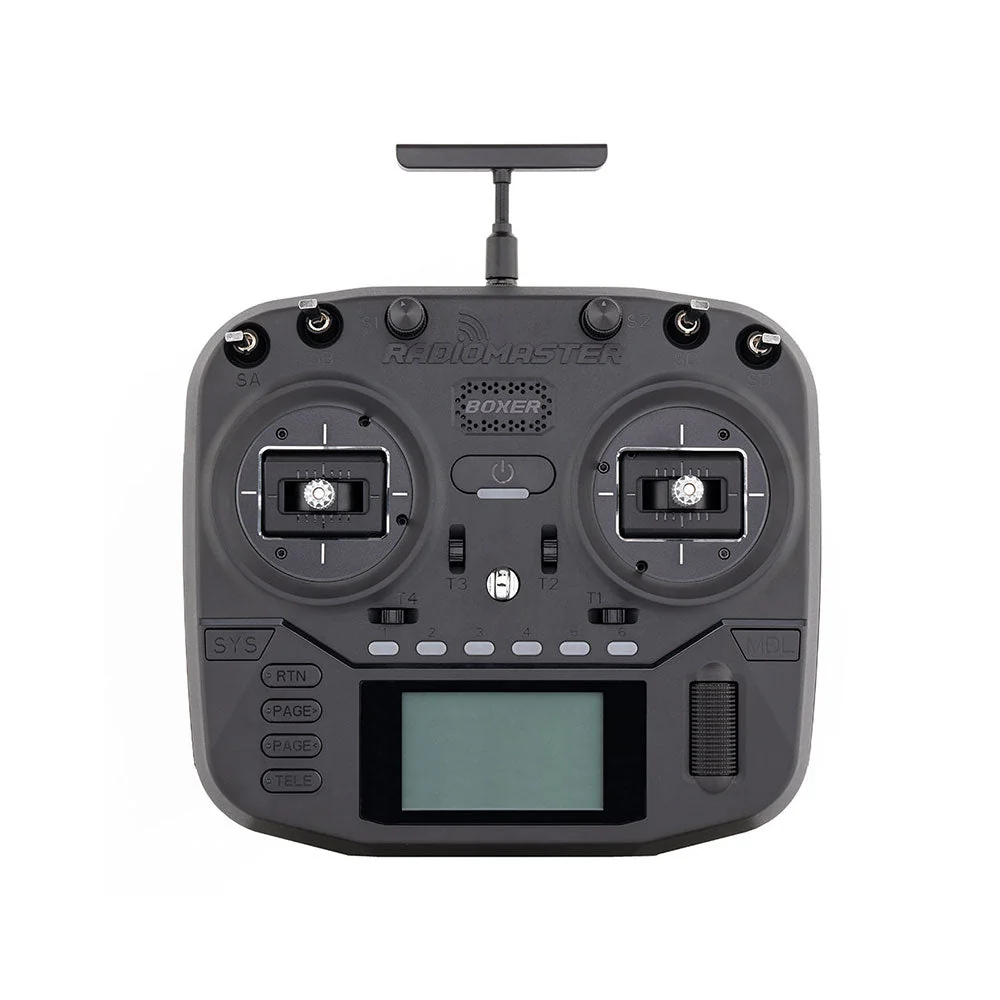
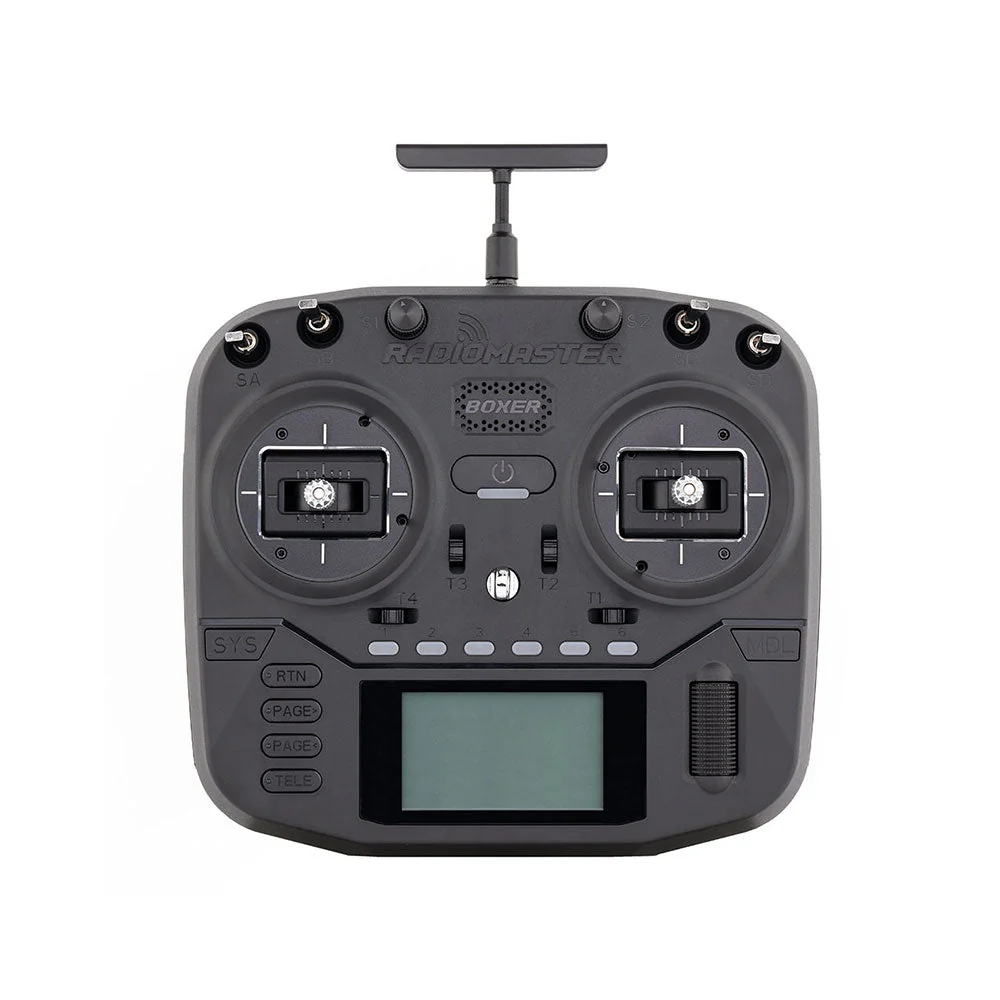
- Transmitter Module (2.4GHz): Happymodel ES24TX Pro, Radiomaster Ranger Micro.
- Transmitter Module (900MHz): BetaFPV ELRS Micro TX, Radiomaster Ranger Micro.
- Receiver (2.4GHz): Happymodel EP1 or EP2 (tiny, lightweight).
- Receiver (900MHz): BetaFPV Nano 900MHz RX.
Best Video Transmitters & Antennas for Long-Range Performance
- Analog (5.8GHz):
- VTX: TBS Unify Pro32 HV, Rush Tank Ultimate Plus.
- Drone Antenna: Lumenier AXII 2, TBS Triumph Pro.
- Ground Station Receiver Module: ImmersionRC Rapidfire, Foxeer Wildfire, AKK Diversity.
- Ground Station Antennas: TrueRC X-Air MK.II (patch), Menace RC PicoPatch (patch), Lumenier AXII 2 (omni).
- Digital:
- Integrated System: DJI O3 Air Unit (VTX, Camera, RX built-in).
- HDZero: HDZero Freestyle VTX with HDZero Nano/Micro Cam.
- Walksnail: Walksnail Avatar HD Mini 1S Kit (VTX, Camera).
- Goggles: DJI Goggles 2/Integra, Walksnail Avatar HD Goggles X, Orqa FPV.One Pilot (for analog with module bay).
High-Capacity Li-Ion Batteries & Compatible Chargers
- Cells (18650): Samsung 30Q, Sony VTC6.
- Cells (21700): Molicel P42A, Samsung 40T.
- Chargers: iSDT K4 Smart Charger, Hota D6 Pro.
Essential GPS Modules and Safety Hardware
- GPS Module: Matek M10Q-5883 (GPS + Compass), HGLRC M80PRO.
- Buzzers: A loud, self-powered buzzer (e.g., VIFLY Finder 2) is essential for locating a downed drone.
Frequently Asked Questions (FAQ)
What's the maximum legal range for FPV flights?
The maximum legal range is highly dependent on your country's aviation regulations. In many regions, flying beyond Visual Line of Sight (VLOS) is illegal without specific permits or certifications. This means the drone must always be visible to the naked eye of the pilot or a designated spotter. Always check your local laws before attempting long-range flights.
How much power (mW) do I need for reliable long-range FPV video?
For reliable 5.8GHz analog long-range FPV, a VTX capable of 200mW to 800mW is generally sufficient when combined with good antennas on both the drone and ground station. For extreme ranges, some pilots use 1W or higher (where legal). Digital systems like the DJI O3 Air Unit can effectively push even further with their higher power outputs (up to 1200mW in some modes) and more advanced encoding. However, remember that VTX power must always comply with local regulations.
Can I convert my existing FPV drone into a long-range setup?
While possible, converting a freestyle or racing drone into a true long-range setup usually requires significant component upgrades. You'll likely need:
- Li-Ion batteries for endurance.
- More efficient, lower KV motors and larger propellers.
- A long-range control link (Crossfire/ELRS).
- A higher-power VTX and optimized antennas.
- A GPS module for RTH and navigation. The frame might also need to be replaced if it's too small or inefficient for larger props and batteries. It's often more cost-effective and reliable to build a dedicated LR drone.
What is the single most critical component for long-range reliability?
While every component plays a role, the reliability of your control link and the functionality of your GPS-enabled failsafe (RTH) are arguably the most critical. A lost control signal without a working RTH is a lost drone. However, the pilot's knowledge, meticulous pre-flight checks, and adherence to safety protocols are ultimately the most important factors for success.
How do I improve my FPV video signal penetration through obstacles?
Improving signal penetration, especially through trees or terrain, is challenging. Here are some tips:
- Lower Frequency Control Link: 900MHz (Crossfire, ELRS) offers significantly better penetration than 2.4GHz or 5.8GHz.
- Higher VTX Power: Within legal limits, increasing VTX power can help push through some interference.
- Better Antennas: High-gain directional antennas on your ground station (patch, helical) can focus the signal and pick up weaker signals. On the drone, choose robust omnidirectional antennas.
- Avoid Obstacles: The best way to maintain signal is to avoid flying behind large, dense obstacles altogether. Maintain a clear line of sight from your ground station to the drone whenever possible.
Conclusion: Your Journey to Uninterrupted Exploration Begins
Building a long-range FPV setup is a rewarding endeavor that pushes the boundaries of your piloting skills and technical understanding. It's a journey that demands patience, precision, and a commitment to safety, but the rewards are immeasurable.
Recap of Key Principles for an Unbreakable Link
We've covered the critical elements: from understanding signal science and power management to selecting the right control and video systems, optimizing battery and motor efficiency, and implementing robust safety measures like GPS and failsafes. Remember the synergy – every component works together to create that unbreakable link. Meticulous building, thorough pre-flight checks, and continuous learning are your best allies.
The Reward of a Well-Built, Reliable Long-Range System
The satisfaction of a perfectly executed long-range flight is truly unique. It's the thrill of discovering new vistas, the peace of gliding effortlessly over expansive landscapes, and the confidence that comes from a drone you've built to withstand the challenges of distance. With a reliable system, you're not just flying a drone; you're embarking on an epic journey of exploration and discovery.
Call to Action: Start Your Long-Range FPV Build Today!
Are you ready to unlock the horizon and experience the unparalleled freedom of long-range FPV? Use this guide as your blueprint, research your components, plan your build, and always prioritize safety. The world is waiting to be explored from a new perspective. Start your long-range FPV build today and prepare for adventures that will redefine your FPV experience!
Copyright-safe media generated locally by FPVLovers
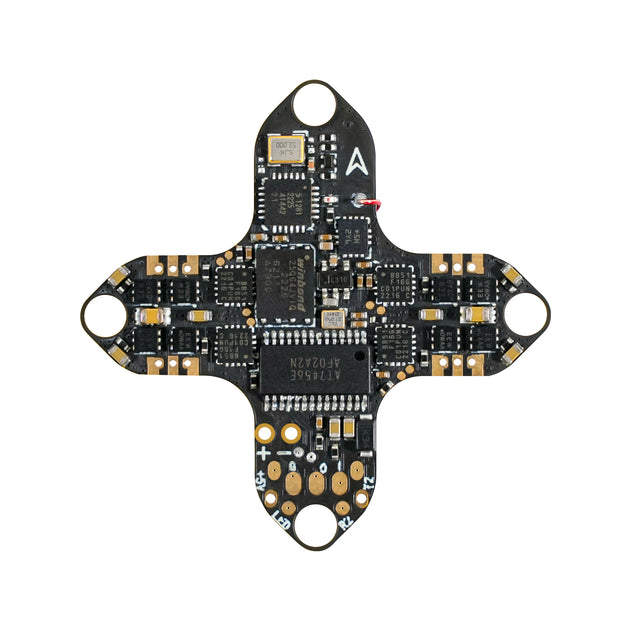
Catalog/source image: Happymodel
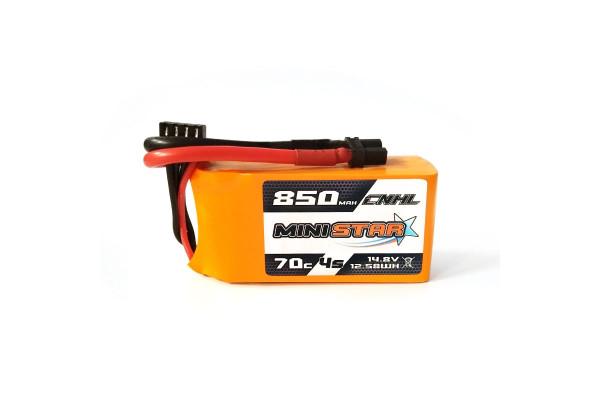
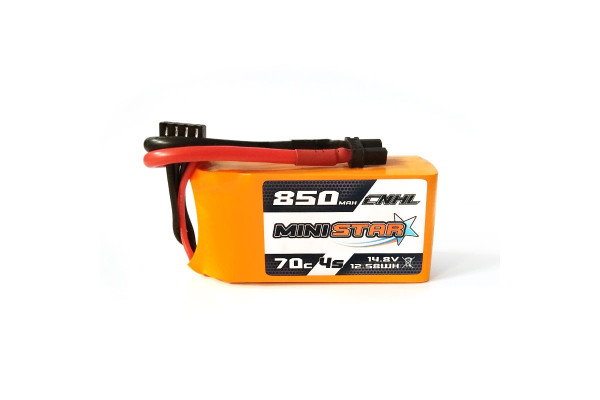
Catalog/source image: CNHL
Catalog/source image: DJI
Catalog/source image: TBS
Happymodel
CNHL
DJI
TBS