FPV Hardware Reference Guide: Motors, ESCs, and Flight Controllers
A comprehensive reference covering motor sizing, ESC protocols, and flight controller selection for reliable FPV builds.
FPV Hardware Reference Guide: Motors, ESCs, and Flight Controllers
FPV Hardware Reference Guide: Motors, ESCs, and Flight Controllers
A comprehensive reference covering motor sizing, ESC protocols, and flight controller selection for reliable FPV builds.

What This Guide Covers
Motors, ESCs, and flight controllers form the core control stack of every FPV quad. The frame gives the aircraft shape, but this hardware stack decides how fast it responds, how cleanly it holds attitude, how efficiently it uses battery power, and how much room you have for future upgrades.
This guide explains the practical role of each component, the specifications that actually matter, and the common beginner mistakes that make builds unreliable.
Flight Controllers: The Brain Of The Aircraft
A flight controller, usually shortened to FC, is the board that stabilizes the quad and translates pilot commands into motor output. It reads data from sensors, combines that data with receiver input, runs firmware such as Betaflight or ArduPilot, and sends motor commands to the ESCs.
Core FC Specifications
- MCU: The microcontroller is the processor on the FC. STM32F4, STM32F7, and STM32H7 chips are common in FPV. Faster chips provide more processing headroom for filters, telemetry, OSD, GPS, and future firmware features.
- Gyro and accelerometer: Sensors such as MPU6000, ICM20689, and BMI270 measure movement and attitude. Clean gyro data helps the quad feel locked-in and reduces tuning problems.
- UART count: UART ports connect receivers, GPS modules, VTX control, telemetry, and other peripherals. Beginner builds should still leave at least one spare UART for upgrades.
- OSD support: On-screen display lets the pilot see battery voltage, flight time, RSSI/LQ, warnings, and other critical flight data inside the goggles.
- BEC outputs: Regulated 5V or 9V outputs power receivers, cameras, GPS, and video transmitters. Check current limits before adding high-draw accessories.
Standalone FC vs AIO Board
A traditional stack uses a separate FC and ESC board. This gives more flexibility, easier repair, and better heat handling for larger freestyle or racing builds.
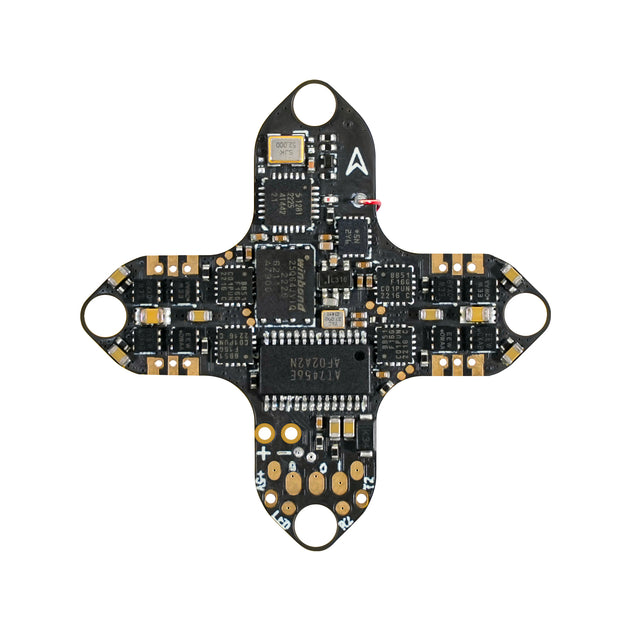
An AIO board combines the FC and ESCs on one board. AIO boards reduce wiring and weight, which makes them popular for whoops, toothpicks, cinewhoops, and first builds. The tradeoff is repair cost: if one ESC channel fails, the entire board may need replacement.
Beginner recommendation: A modern F4 or F7 AIO is a practical choice for small first builds. For 5-inch freestyle, a separate FC and 4-in-1 ESC stack is usually more durable.
ESCs: Motor Power Control
Electronic Speed Controllers, or ESCs, convert flight controller commands into controlled power for each motor. A quad needs four ESC channels, one for each motor.
ESC Formats
- Individual ESCs: One ESC per arm. This layout can be useful for specialty builds and makes a single failed ESC easier to replace.
- 4-in-1 ESCs: Four ESC channels on one board. This is the most common format for modern 5-inch freestyle, racing, and cinematic builds because wiring is cleaner and the stack is compact.
- AIO ESCs: ESC channels integrated into the same board as the flight controller. Best for lightweight or compact builds.
ESC Specs That Matter
- Current rating: Choose an ESC with enough continuous and burst current for the motor and propeller combination. A typical 5-inch freestyle build often uses 45A to 60A ESCs.
- Voltage support: Match the ESC to the battery system, such as 4S or 6S LiPo.
- Firmware: BLHeli_S, Bluejay, and BLHeli_32 are common. Firmware support affects features such as bidirectional DShot, RPM filtering, and motor braking behavior.
- Protocol: DShot is the standard for modern builds. DShot300 and DShot600 are common choices.
- Thermal headroom: ESCs fail when overloaded or overheated. Good airflow, conservative current margins, and clean soldering matter.
Motors: Thrust, Torque, And Flight Feel
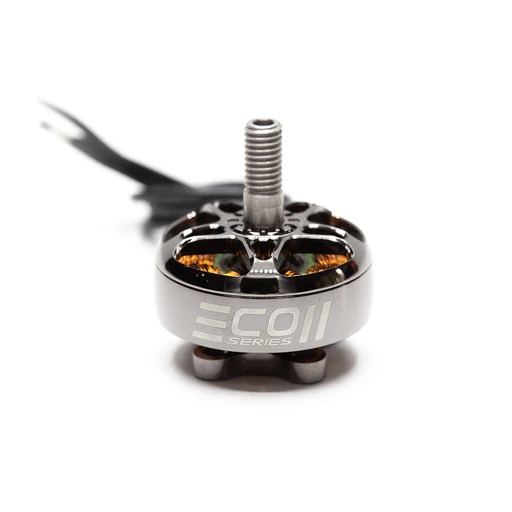
FPV quads use brushless motors. Motor choice affects acceleration, efficiency, top speed, prop control, and battery draw.
Motor Size
Motor size is usually written as a four-digit stator size, such as 2207 or 2306. The first two digits describe stator width in millimeters. The last two describe stator height.
- Wider or taller motors usually produce more torque.
- More torque helps spin aggressive props and recover from fast throttle changes.
- Larger motors also add weight and can draw more current.
KV Rating
KV describes how many RPM a motor tries to spin per volt with no load. Higher KV gives more speed at a given voltage, but usually draws more current. Lower KV is better for higher-voltage batteries and efficiency-focused builds.
Common examples:
- 5-inch 4S freestyle: around 2300KV to 2600KV.
- 5-inch 6S freestyle: around 1700KV to 2000KV.
- Long-range 7-inch builds: lower KV for efficiency and larger props.
- Tiny whoops: very small high-KV motors matched to 1S or 2S power.
Motor Selection Rule
Choose the motor, propeller, ESC, and battery as one system. A motor that looks powerful on paper can become unreliable if the ESC cannot handle current spikes or if the propeller is too aggressive.
Propellers: The Final Link In The Power System
Propellers turn motor rotation into thrust. They are cheap, but they completely change how a quad feels.
Important prop specs:
- Diameter: The overall size, such as 5 inches.
- Pitch: The theoretical forward movement per rotation. Higher pitch can add speed but increases load.
- Blade count: Three-blade props are common for freestyle because they balance grip, response, and efficiency.
- Material and stiffness: Stiffer props feel precise but can transmit more vibration.
Practical tip: When tuning a new build, start with a known balanced prop rather than the most aggressive option. This makes troubleshooting easier.
Cameras, VTX, And Receiver Connections
The control stack does not work alone. It must connect cleanly to video and radio systems.
- FPV camera: Sends the live image to the video system. Analog cameras are simple and low latency; digital systems use camera and air unit combinations.
- VTX or digital air unit: Transmits video to goggles. Mount it with airflow and respect antenna rules. Never power a VTX without an antenna attached unless the manufacturer allows it.
- Receiver: Receives radio commands and sends them to the FC, commonly through a UART using protocols such as CRSF for ExpressLRS or Crossfire.
- GPS: Useful for long-range builds, return-to-home workflows, speed data, and recovery after a crash.
Battery And Power Distribution
LiPo batteries provide the power budget for the entire aircraft. Match battery voltage, ESC rating, motor KV, and propeller load.
Key terms:
- S count: Number of cells in series. 4S and 6S are common on 5-inch builds.
- Capacity: Measured in mAh. More capacity can increase flight time but adds weight.
- C rating: A rough current-delivery rating. Treat marketing C ratings cautiously and watch real voltage sag.
- Connector: XT30 is common on small builds; XT60 is common on 5-inch and larger builds.
Always use proper LiPo charging practices, storage voltage, and fire-safe charging habits.
Beginner Build Paths
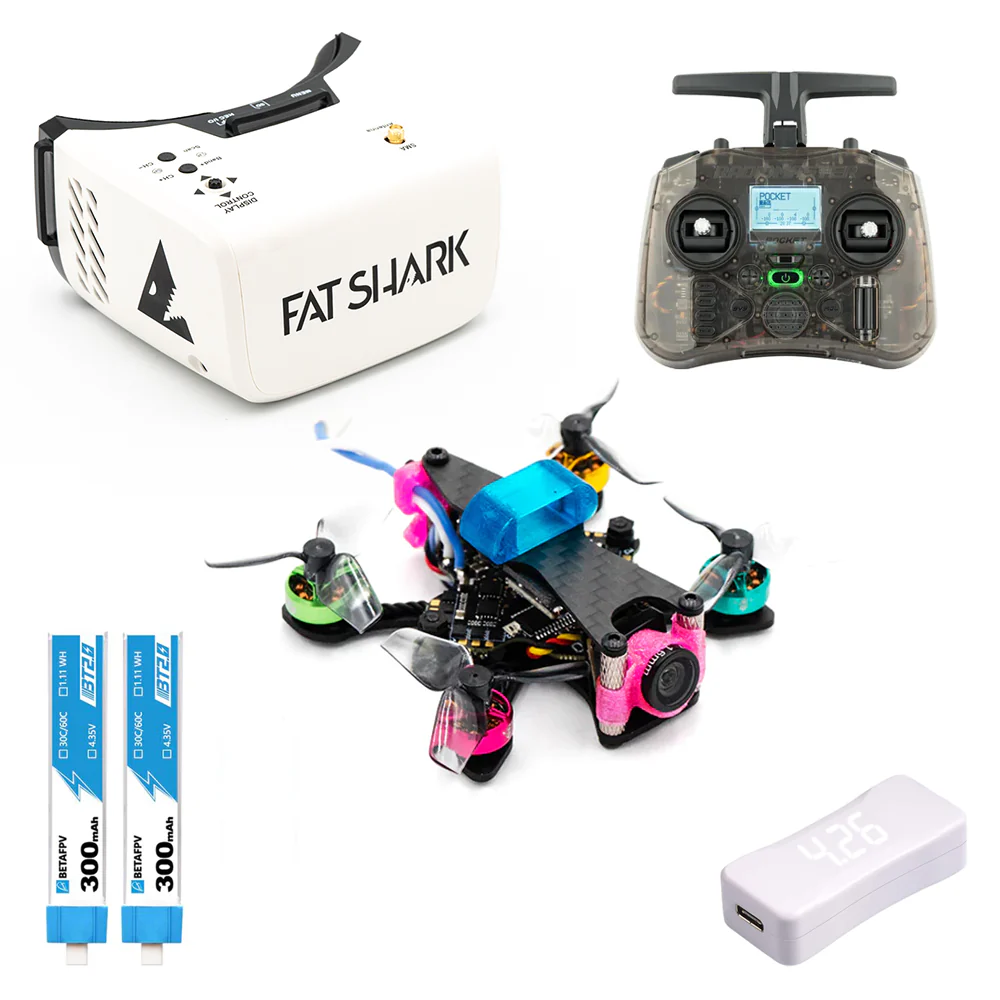
Ready-To-Fly Kit
A Ready-To-Fly kit includes the drone, radio, goggles, batteries, and charger. This is the fastest path to first flights, but upgrade flexibility may be limited.
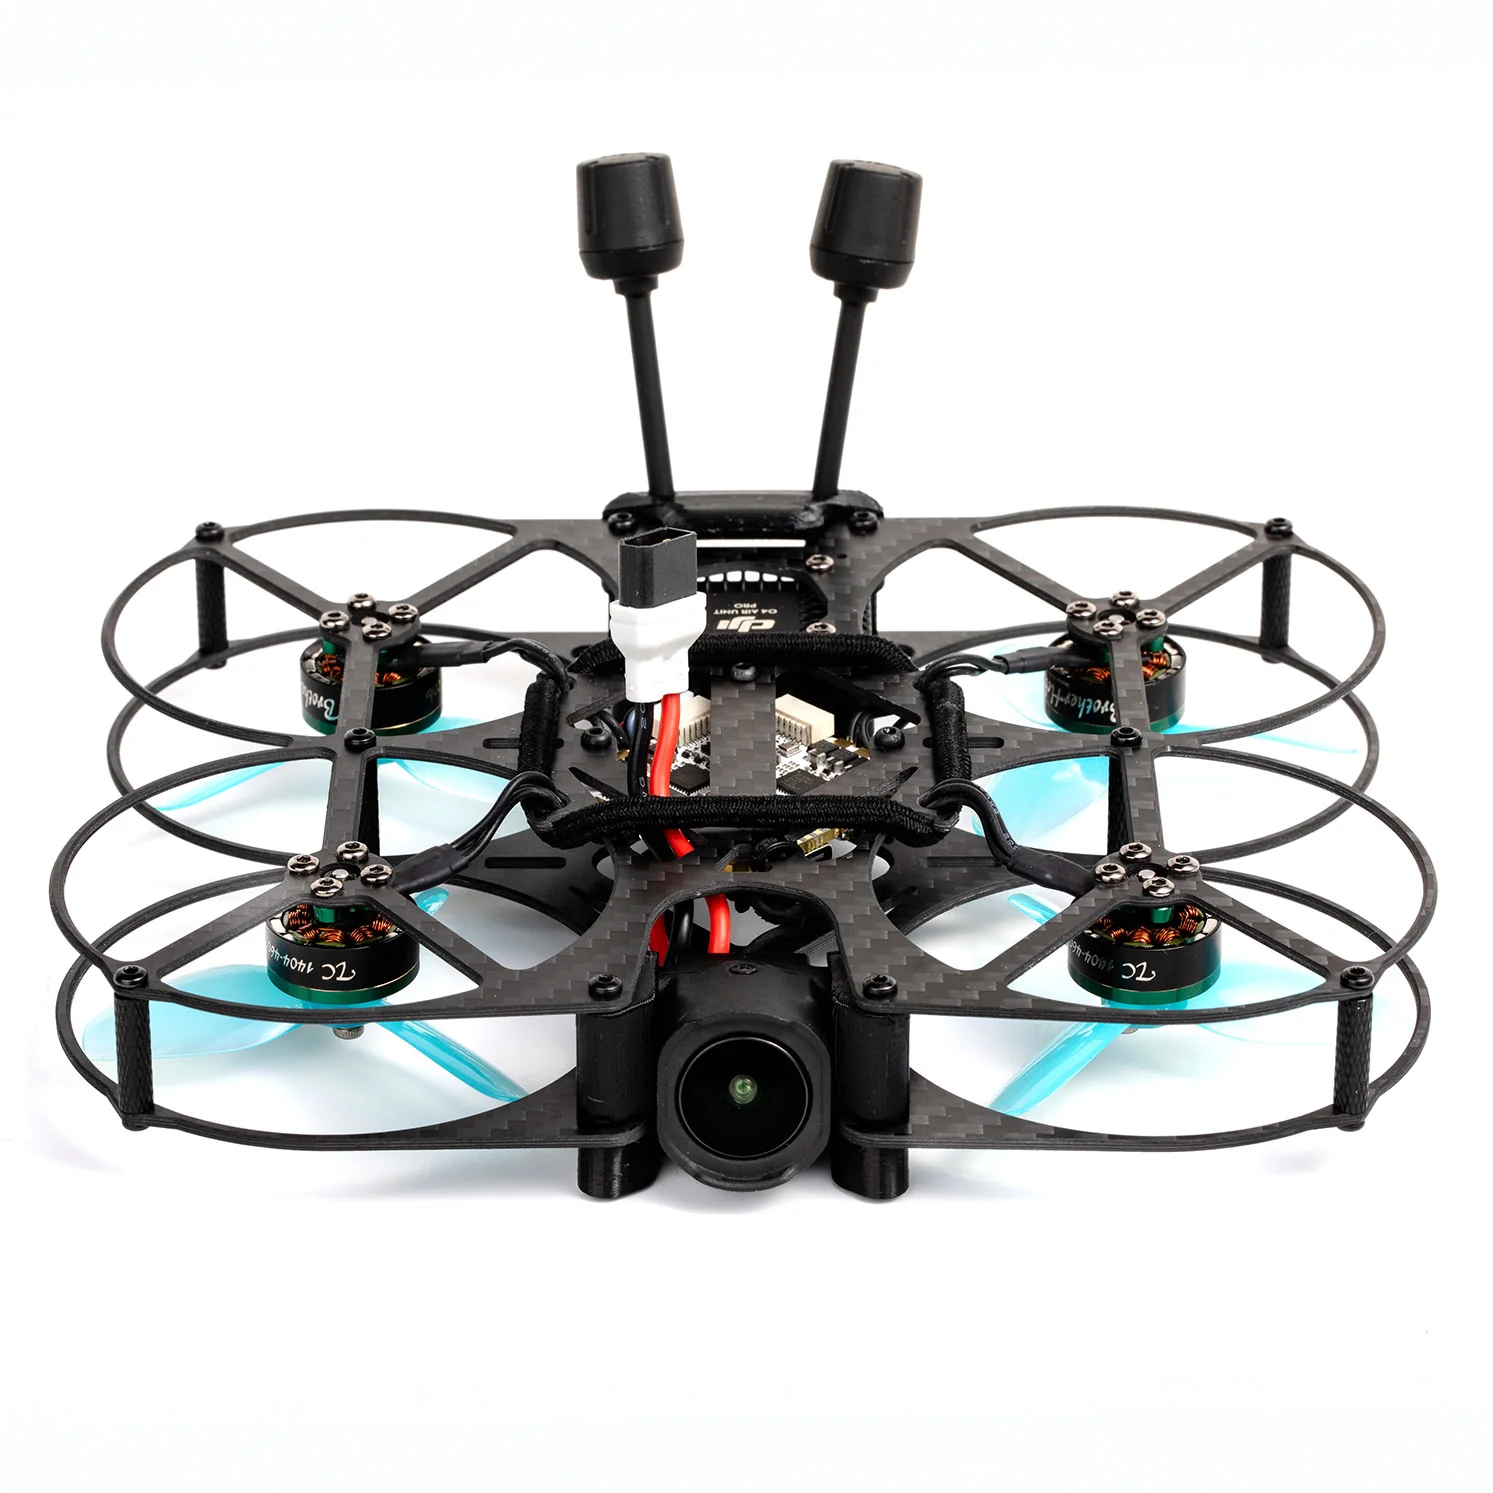
Bind-And-Fly Drone
A Bind-And-Fly drone arrives assembled. You provide compatible radio gear and goggles. This is a good path if you already know which radio/video ecosystem you want.
DIY Build
A DIY build gives the most learning value and customization. It also requires soldering, wiring, firmware setup, and troubleshooting. DIY is excellent if your goal is to understand FPV hardware deeply.
Pre-Flight Hardware Checklist
Before flying any new or repaired build:
- Remove propellers before USB setup or motor tests.
- Check solder joints for bridges and weak joints.
- Confirm FC orientation in configurator software.
- Verify motor order and motor direction.
- Confirm receiver channels and failsafe behavior.
- Check video output and antenna connection.
- Confirm battery voltage and connector polarity.
- Inspect propellers, frame screws, arms, and battery strap.
Common Hardware Mistakes
- Using motors with KV that does not match battery voltage.
- Choosing ESCs with too little current headroom.
- Powering a VTX without an antenna.
- Reversing battery polarity.
- Leaving wires where propellers can strike them.
- Forgetting to configure failsafe.
- Mounting the FC with the wrong orientation.
- Treating an AIO board like a high-current 5-inch racing stack.
Final Recommendation
For a first serious FPV build, choose proven parts that other pilots already fly successfully. A reliable build is more valuable than a spec-sheet monster. Start with a balanced motor, ESC, FC, propeller, and battery combination, then upgrade only when you understand what problem the upgrade solves.
The strongest FPV pilots are not just good at flying. They understand how their hardware behaves, how to diagnose failures, and how to keep the aircraft safe before the next pack.
Source: rotorriot.com
rotorriot.com