Failsafe Settings & Safe Flight Practices: What Happens When You Lose Signal
A flight safety tutorial focusing on configuring Failsafe Stage 1 and Stage 2 in Betaflight, receiver channel loss values, testing failsafe on the bench (props off!), and pre-flight link tests.
Failsafe Settings & Safe Flight Practices: What Happens When You Lose Signal
FPV Failsafe Settings: Setup, Test & Ensure Drone Safety
Imagine your FPV drone soaring high, performing incredible maneuvers, when suddenly... your radio link drops. Panic sets in. Without a properly configured failsafe, your drone could become a runaway missile, a lost investment, or worse, a danger to others. Failsafe isn't just a setting; it's your drone's emergency protocol, a vital safety net designed to bring your quad down safely when communication is lost. This comprehensive guide will walk you through setting up, testing, and troubleshooting failsafe settings for your FPV drone, ensuring maximum safety and peace of mind on every flight.
Understanding Failsafe: Your Drone's Emergency Protocol
Failsafe is arguably the most critical safety feature on your FPV drone. It's the pre-programmed response your flight controller (FC) executes when it loses communication with your radio transmitter. Without it, a lost signal means a lost drone – potentially flying off indefinitely or crashing unpredictably.
What is Failsafe and Why is it Non-Negotiable?
At its core, failsafe is a set of instructions designed to prevent a flyaway. When your receiver (RX) stops receiving a signal from your transmitter (TX), it signals the flight controller. The FC then takes over, executing a series of predefined actions to bring the drone to a safe state. This could mean cutting motor power immediately, attempting a controlled landing, or holding its last known position.
For any FPV pilot, from beginner to pro, configuring failsafe is not optional. It's a fundamental responsibility that protects your investment, prevents property damage, and most importantly, ensures the safety of people and animals around your flight area. A properly configured failsafe is your last line of defense against the unpredictable.
The Critical Difference: Receiver vs. Flight Controller Failsafe
Understanding the roles of your receiver and flight controller in the failsafe process is key:
-
Receiver Failsafe (RX Failsafe): This is the first line of defense. When your radio receiver loses signal from your transmitter, it has its own internal failsafe settings. These settings dictate what signal the receiver will output to the flight controller after signal loss.
- "No Pulses" / "Cut": The receiver stops sending any control pulses to the flight controller. This is generally the recommended setting, as it explicitly tells the FC that the link is lost, allowing the FC to take full control of the failsafe procedure.
- "Hold Last Position": The receiver continues to output the last received control values to the flight controller. This is highly discouraged for FPV drones, as the FC won't know the link is lost and will continue flying based on outdated commands, leading to a flyaway.
- "Set Failsafe Values": The receiver outputs pre-defined channel values (e.g., throttle to zero, specific pitch/roll). While better than "Hold Last Position," it's still generally preferred to let the FC handle the full failsafe logic.
-
Flight Controller Failsafe (FC Failsafe): This is where the magic happens. Once the flight controller detects a loss of valid control pulses from the receiver (either because the RX stopped sending them or sent a specific "failsafe" signal), it initiates its own failsafe procedure. This procedure is configured in your FC firmware (e.g., Betaflight) and dictates the drone's actual behavior (e.g., drop, land).
The best practice is to set your receiver to "No Pulses" or "Cut" so that the flight controller can reliably detect the signal loss and execute its more sophisticated failsafe sequence.
Common Failsafe Modes Explained (Drop, Land, Hold)
In Betaflight, you'll encounter different failsafe behaviors you can configure:
- Drop (or "Stage 2: Drop"): This is the most common and often recommended failsafe mode for freestyle and racing drones without GPS. When failsafe triggers, the flight controller immediately cuts motor power. The drone will simply fall out of the sky. While it sounds drastic, it's predictable and ensures the drone doesn't fly away. For most FPV applications, a controlled descent with unknown surroundings is riskier than a direct drop.
- Land (or "Stage 2: Land"): This mode attempts to land the drone by slowly reducing throttle over a set period, often incorporating some self-leveling. This is generally only effective and safe if your drone has a GPS module and is configured for GPS Rescue. Without GPS, the drone will just try to land at its current position, which could be in a tree, on a roof, or far away from you. Even with GPS, it's not foolproof and requires careful configuration.
- Hold (or "Stage 2: Hold"): This typically means the drone will attempt to hold its last known position and attitude. Similar to "Land," this is only feasible and safe with a fully functional GPS and specific firmware features like GPS Rescue. For standard freestyle/racing setups, it's not a viable option.
Practical Tip: For most FPV freestyle and racing quads, especially those without GPS, "Drop" is the safest and most reliable failsafe mode. It prevents flyaways and allows you to locate your drone at its last known position.
Preparing for Failsafe Setup: Essential Pre-Configuration Steps
Before diving into the Betaflight Configurator, a few preparatory steps will ensure a smooth setup process.
Required Tools and Software (Betaflight Configurator, Radio TX)
You'll need:
- Your FPV Drone: Fully assembled, powered, and connected to your computer.
- Betaflight Configurator: The software used to configure your flight controller. Download the latest stable version from the Betaflight GitHub releases page.
- Your Radio Transmitter (TX): Powered on and bound to your receiver.
- USB Cable: To connect your FC to your computer.
- Battery: To power your drone during receiver checks (but always remove propellers!).
Ensuring Proper Receiver-to-Flight Controller Connection
Your receiver must be correctly wired and configured to communicate with your flight controller.
- Wiring: Ensure your receiver's signal output is connected to the correct UART on your flight controller. For example, a common setup might be an ELRS receiver's TX pad to the FC's RX2 pad, and the ELRS RX pad to the FC's TX2 pad.
- Power: Ensure your receiver is receiving proper power (usually 5V) and ground from the FC.
- UART Configuration: In Betaflight Configurator, navigate to the Ports tab. Enable "Serial RX" on the UART to which your receiver is connected.
- Receiver Protocol: In the Configuration tab, select the correct "Receiver Mode" (e.g., "Serial-based receiver (SPEKSAT, SBUS, SUMD, SUMH, IBUS, FPORT, CRSF)") and the correct "Serial Receiver Provider" (e.g., "CRSF" for Crossfire/ELRS, "SBUS" for FrSky SBUS).
Practical Tip: If you're unsure which UART to use, consult your FC's wiring diagram. Common UARTs for RX are UART1, UART2, or UART3.
Firmware Updates and Compatibility Checks
Ensure both your flight controller and receiver are running up-to-date firmware.
- Betaflight FC Firmware: Outdated firmware can lead to unexpected behavior or missing features. Flash the latest stable Betaflight firmware to your FC using the Configurator's "Firmware Flasher" tab.
- Receiver Firmware: For systems like ExpressLRS (ELRS) and TBS Crossfire/Tracer, it's crucial that your receiver firmware matches your transmitter module's firmware version. Mismatched firmware is a common cause of binding issues and erratic failsafe behavior. Use the respective configurators (ELRS Configurator, TBS Agent Lite) to update your RX.
Step-by-Step Betaflight Failsafe Configuration
With your drone connected and pre-checks done, let's configure failsafe in Betaflight.
Initial Receiver Setup and Channel Mapping
- Connect to Betaflight Configurator: Plug in your drone via USB, open Betaflight Configurator, and click "Connect."
- Power Your Drone (No Props!): Connect your LiPo battery to power the receiver.
- Receiver Tab: Navigate to the Receiver tab.
- Check Channel Movement: Turn on your radio transmitter. You should see the channel bars (Roll, Pitch, Yaw, Throttle, Aux channels) moving as you move your sticks. If not, re-check your wiring, UART settings, and receiver protocol.
- Channel Mapping: Ensure your "Channel Map" (e.g., AETR1234) matches your radio's output. Adjust if necessary (e.g., if moving the roll stick moves the pitch bar).
Navigating the Betaflight Failsafe Tab
- Failsafe Tab: Go to the Failsafe tab in Betaflight Configurator.
- Failsafe Procedure: You'll see "Failsafe Procedure" with options like "Drop," "Land," "Hold," and "GPS Rescue." As discussed, for most FPV quads, "Drop" is recommended.
- Failsafe Delay: This is the time (in 0.1s increments) the FC waits after detecting signal loss before initiating failsafe. A value of 0 (default) is usually fine.
- Failsafe Throttle: This is the throttle value the FC will attempt to maintain during a "Land" procedure. For "Drop," it's irrelevant.
Configuring Failsafe Stages (Stage 1: Link Loss, Stage 2: No Pulses)
Betaflight's failsafe operates in two stages:
-
Stage 1 - Link Loss: This stage deals with the initial detection of signal loss by the receiver.
- Failsafe RX link loss detection:
- Auto: Betaflight tries to automatically detect link loss based on receiver behavior. This is generally sufficient for modern serial receivers.
- Enabled: Explicitly enables link loss detection.
- Disabled: You generally don't want this for safety.
- Failsafe pulse detection: This is the timeout (in 0.1s increments) for how long the FC waits for valid pulses from the RX before triggering Stage 2. Default is typically 4 (0.4 seconds), which is a good balance. If your receiver is set to "No Pulses" on signal loss, this is how Betaflight knows to trigger failsafe.
- Failsafe RX link loss detection:
-
Stage 2 - No Pulses: This is the actual failsafe action executed by the flight controller.
- Failsafe Procedure: Select "Drop".
- Stage 2 Delay: How long (in 0.1s increments) the FC waits after Stage 1 to execute Stage 2. Default 0 is usually fine.
Recommended Betaflight Failsafe Tab Settings for Most FPV Quads:
- Failsafe Procedure: Drop
- Failsafe RX link loss detection: Auto (or Enabled if you prefer explicit)
- Failsafe pulse detection: 4 (0.4 seconds)
- Stage 2 Delay: 0
After configuring, click "Save and Reboot."
Fine-Tuning Failsafe Behavior (Drop, Land, Hold)
While "Drop" is generally recommended, if you have a GPS module and are configuring GPS Rescue (an advanced topic beyond this guide's scope), you would select "GPS Rescue" here. This would then require further configuration in the "GPS" and "Failsafe" tabs to define altitude, direction, and landing behavior. For a standard FPV quad, stick with "Drop."
Radio Link Specific Failsafe Settings (Crossfire, ELRS, FrSky)
While Betaflight handles the FC failsafe, you also need to ensure your radio link's failsafe behavior is correctly set.
TBS Crossfire/Tracer Failsafe Setup
TBS Crossfire and Tracer are robust long-range systems. Their failsafe is configured via the Lua script on your OpenTX/EdgeTX radio.
- Access Crossfire Lua Script: On your radio, go to your model setup, then "TOOLS," and find "Crossfire" (or "Tracer").
- Failsafe Option: Navigate to the "Failsafe" menu.
- Choose "Cut": For the "No Pulses" option, select "Cut." This ensures that when the Crossfire receiver loses connection, it stops sending any pulses to the flight controller, allowing Betaflight to trigger its Stage 2 "Drop" failsafe.
- Avoid "Hold": "Hold" would make the receiver output the last known stick positions, leading to a flyaway.
- Avoid "Set": While "Set" allows you to define specific channel values, "Cut" is simpler and more reliable for allowing the FC to take over.
- Save: Exit the Lua script to save your settings.
ExpressLRS (ELRS) Failsafe Configuration
ExpressLRS is known for its excellent range and low latency. ELRS failsafe is also configured in the Lua script.
- Access ELRS Lua Script: On your radio, go to your model setup, then "TOOLS," and find "ELRS."
- Failsafe Mode: Scroll down to "Failsafe Mode."
- Select "Cut": Choose "Cut" from the options. Similar to Crossfire, this tells the ELRS receiver to stop sending pulses to the FC upon signal loss.
- Avoid "Hold": This will cause a flyaway.
- Avoid "Last Value": Similar to "Hold."
- Save: Exit the Lua script.
Important ELRS Note: Ensure your ELRS module firmware and receiver firmware are identical. Mismatched versions are a common cause of binding issues and unreliable failsafe. Use the ELRS Configurator for easy updates.
FrSky (ACCST/ACCESS) Failsafe Considerations
FrSky has various receiver types (ACCST D16, ACCESS R-XSR, XM+, etc.). Failsafe is often set directly on the receiver or through the radio's model settings.
- For receivers like R-XSR (SBUS):
- Bind Mode: With your radio and receiver bound, put your radio into bind mode (e.g., D16, CH1-8 Telem ON).
- Receiver Failsafe: Press the F/S button on the R-XSR receiver briefly. The green LED will flash twice, indicating the failsafe values are set to the current stick positions. Crucially, you want to set this with all sticks centered and throttle at its lowest point. Better yet, set the radio's failsafe to "No Pulses" if available.
- Radio Failsafe (OpenTX/EdgeTX): In your model's "Setup" tab on the radio, find "Failsafe mode."
- No Pulses: This is the preferred setting. It stops sending pulses, letting Betaflight handle the failsafe.
- Hold: Avoid this.
- Custom: Allows setting specific channel values. If "No Pulses" isn't an option or doesn't work reliably, set custom values with throttle at minimum and other channels centered.
Practical Tip: Always prioritize "No Pulses" or "Cut" at the receiver level if your radio link system offers it. This hands the failsafe logic entirely to the flight controller, which has more sophisticated control.
The Ultimate Failsafe Test: Verifying Your Setup
You've configured everything, but it's not real until you test it. This is the most crucial step.
Safety First: Pre-Test Precautions
- REMOVE PROPELLERS: This cannot be stressed enough. A misconfigured failsafe can cause motors to spin unexpectedly. Always remove props for any bench testing.
- Clear Area: Ensure no one is around, and there are no obstructions, even if props are off.
- Power On: Connect your LiPo battery to the drone.
- Arming Switch: Be ready to disarm manually if anything goes wrong.
Step-by-Step Failsafe Testing Procedure
- Connect to Betaflight Configurator: Plug in your drone via USB.
- Power Your Drone (NO PROPS): Connect your LiPo battery.
- Receiver Tab: Go to the Receiver tab. Observe the channel bars.
- Arm Your Drone: Arm your drone using your arming switch on your radio. The motors should twitch, and you should see "ARMED" in the OSD (if connected) or Betaflight Configurator.
- Turn OFF Your Radio Transmitter: This simulates a complete signal loss.
- Observe Betaflight Configurator & Drone Behavior:
- Receiver Tab: The channel bars should immediately freeze or drop to zero.
- Motors: The motors should stop spinning after a short delay (your Failsafe pulse detection time).
- OSD (if active): You should see a "FAILSAFE" message appear.
- Flight Controller LED: The FC's LED (often blue or green) might change its blinking pattern to indicate failsafe.
- Turn ON Your Radio Transmitter: The drone should detect the signal, the "FAILSAFE" message should disappear, and you should be able to disarm normally.
- Repeat: Perform this test several times. Try it from different distances (e.g., close to the drone, then a few meters away).
Interpreting Results and Ensuring Proper Function
- Success: If the motors cut off, the "FAILSAFE" message appears, and you regain control after turning your radio back on, your failsafe is working correctly.
- Failure (Motors keep spinning): Immediately disarm using your radio or unplug the battery. This indicates a severe misconfiguration, likely your receiver's failsafe is set to "Hold Last Position," or Betaflight isn't detecting signal loss.
- Failure (Motors cut, but no "FAILSAFE" message): This might mean your receiver is cutting pulses, but Betaflight isn't properly registering the failsafe state. Double-check Betaflight's Failsafe tab settings.
- Failure (Erratic behavior): Motors spinning randomly, drone twitching. This could be noise, bad wiring, or a critical firmware mismatch.
Practical Tip: Don't just test once. Test it after every major change to your drone's setup or firmware. It's a habit that will save you grief.
Troubleshooting Common Failsafe Issues
Even with a careful setup, issues can arise. Here's how to diagnose and fix common problems.
Failsafe Not Triggering: Diagnosing Connectivity
- Receiver Not Connected/Powered: Check all wiring from the receiver to the FC. Ensure the receiver is getting 5V power and ground.
- Incorrect UART: In Betaflight's Ports tab, verify "Serial RX" is enabled on the correct UART for your receiver.
- Wrong Receiver Protocol: In Betaflight's Configuration tab, ensure the "Serial Receiver Provider" matches your receiver type (e.g., CRSF for ELRS/Crossfire, SBUS for FrSky SBUS).
- Radio Link Failsafe Set to "Hold": This is a very common cause. Re-check your radio's Lua script (Crossfire/ELRS) or model settings (FrSky) and ensure it's set to "Cut" or "No Pulses."
- Binding Issue: Ensure your radio and receiver are properly bound. Re-bind if necessary.
Erratic Failsafe Behavior and How to Fix It
- Firmware Mismatch: Especially common with ELRS and Crossfire. Ensure your TX module and RX are running the exact same major firmware version.
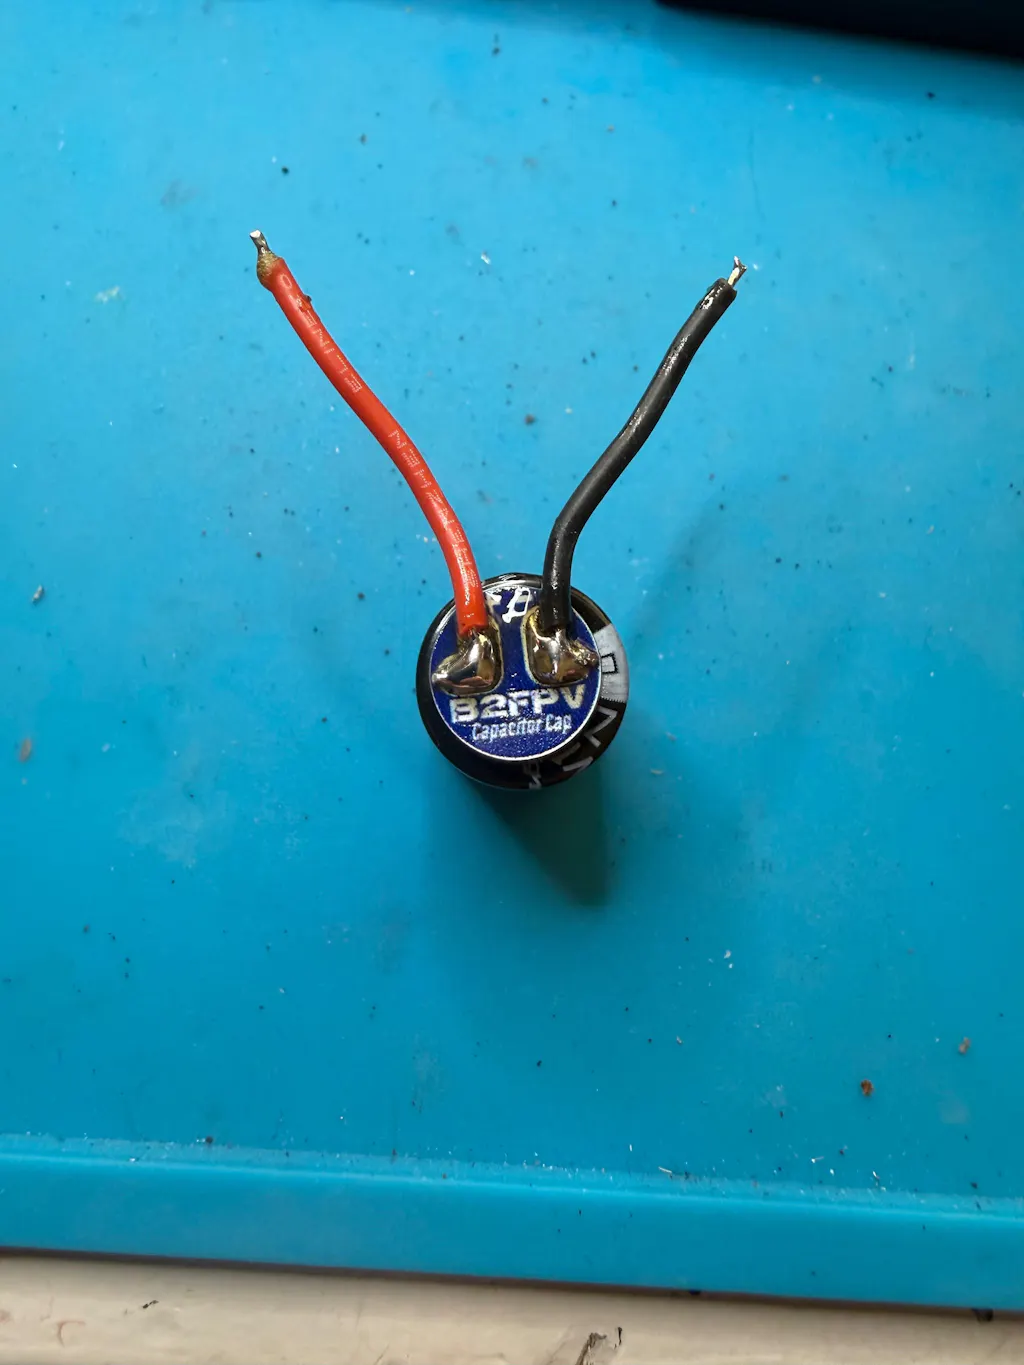
- Electrical Noise: Poor soldering, loose wires, or noise from motors/ESCs can interfere with receiver signals. Inspect wiring, ensure proper grounding, and consider adding capacitors.
- Bad Receiver: Rarely, a faulty receiver can cause inconsistent behavior. Try swapping it if all else fails.
- Betaflight Settings: Double-check your Failsafe tab settings, especially the "Failsafe pulse detection" timeout.
"No RX Input" or Constant Failsafe Warnings
This usually indicates the flight controller isn't receiving any valid input from the receiver.
- Wiring Issue: The most common cause. Re-check the signal wire from RX to FC.
- UART Mismatch/Disabled: Verify the correct UART is enabled for "Serial RX" in Betaflight's Ports tab.
- Receiver Protocol: Ensure the correct "Serial Receiver Provider" is selected in the Configuration tab.
- Receiver Not Powered: Double-check the 5V and GND connections to the receiver.
- Receiver Not Bound: Ensure your receiver is successfully bound to your transmitter.
Frequently Asked Questions (FAQ)
How do I set up failsafe on my FPV drone in Betaflight?
Connect your drone to Betaflight Configurator, power it up (props off!), and go to the Failsafe tab. Set the "Failsafe Procedure" to "Drop" (for most quads). Ensure "Failsafe RX link loss detection" is "Auto" or "Enabled," and "Failsafe pulse detection" is set to 4 (0.4 seconds). Also, configure your radio link (Crossfire, ELRS, FrSky) to send "No Pulses" or "Cut" on signal loss. Finally, test thoroughly!
What are the recommended failsafe settings for FPV?
For most FPV freestyle and racing drones without GPS, the recommended settings are:
- Receiver Failsafe: Set to "No Pulses" or "Cut" (via your radio's Lua script or model settings).
- Betaflight Failsafe Procedure: "Drop" (in the Failsafe tab).
- Betaflight Failsafe pulse detection: 4 (0.4 seconds). This ensures an immediate motor cut when signal is lost, preventing flyaways.
How do I properly test my FPV drone's failsafe?
- Remove propellers!
- Connect your drone to Betaflight Configurator and power it with a LiPo.
- Go to the Receiver tab and observe the channel bars.
- Arm your drone.
- Turn off your radio transmitter.
- Observe: Motors should stop spinning after a short delay, and "FAILSAFE" should appear in Betaflight's OSD/status.
- Turn your radio back on; the drone should regain control.
- Repeat this test several times.
What is the difference between receiver and flight controller failsafe?
Receiver Failsafe dictates what signals the receiver sends to the flight controller after losing communication with the transmitter (e.g., "No Pulses," "Hold Last Position"). Flight Controller Failsafe is the actual emergency protocol executed by the FC after it detects a loss of valid pulses from the receiver (e.g., "Drop," "Land"). It's best to set the receiver to "No Pulses" so the FC can handle the comprehensive failsafe logic.
Why is my FPV failsafe not working or triggering correctly?
Common reasons include:
- Receiver Failsafe set to "Hold Last Position": This is the most frequent culprit for flyaways.
- Incorrect wiring or UART configuration: The FC isn't receiving signals from the RX.
- Wrong receiver protocol selected in Betaflight: (e.g., SBUS selected when using CRSF).
- Mismatched firmware: Especially with ELRS/Crossfire, ensure TX module and RX firmware versions are identical.
- Binding issues: The RX and TX aren't properly communicating.
Conclusion
Mastering your FPV drone's failsafe settings is not merely a technical step; it's a commitment to safety, responsibility, and the longevity of your hobby. By diligently following the steps outlined in this guide – from understanding the core concepts to meticulous testing and troubleshooting – you empower yourself to prevent flyaways and protect your valuable gear. Don't skip this crucial setup! Take the time to configure and test your failsafe today. Share your failsafe experiences and tips in the comments below, and let's make FPV flying safer for everyone!
Copyright-safe raster media generated locally by FPVLovers