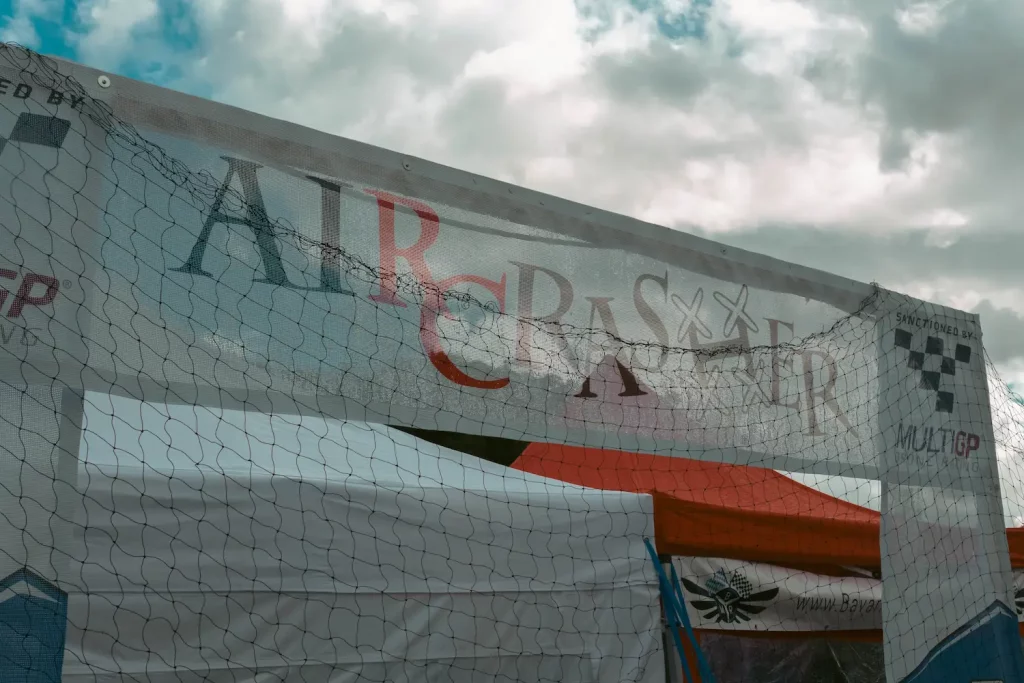
International Open 2026: Muncie Gears Up for MultiGP's Next Main Event
Highlighting the upcoming International Open event, its date, and location.
International Open 2026: Muncie Gears Up for MultiGP's Next Main Event
Welcome to the Fast Lane: Your FPV Racing Rookie's Blueprint
Ever dreamt of flying like a bird, but with the speed and agility of a fighter jet? Welcome to the exhilarating world of FPV racing! This isn't just about flying drones; it's about becoming one with your machine, navigating intricate courses at breakneck speeds, and pushing the boundaries of what's possible in the air. If you're ready to dive into an adrenaline-pumping hobby that combines skill, technology, and a vibrant community, you've come to the right place.
The Adrenaline-Pumping World of First-Person View Racing
FPV, or First-Person View, racing puts you directly in the cockpit. Wearing special goggles, you receive a live video feed from a camera mounted on your drone, offering an immersive, real-time perspective as you hurtle through gates, around flags, and over obstacles. It's a high-octane sport that demands razor-sharp reflexes, precise control, and a deep understanding of your machine. From tight indoor micro-drone tracks to sprawling outdoor courses, FPV racing offers endless challenges and thrills.
Why FPV Racing is More Than Just a Hobby: Skill, Community, and Innovation
FPV racing is more than just a pastime; it's a journey of continuous learning and growth. You'll develop incredible hand-eye coordination, problem-solving skills, and a technical aptitude as you build, tune, and repair your drones. Beyond the individual challenge, FPV boasts a passionate and welcoming global community. Pilots share tips, troubleshoot issues, and race together, fostering camaraderie and healthy competition.
Moreover, FPV racing is at the forefront of drone technology. From advanced flight controllers running open-source firmware like Betaflight to cutting-edge digital video systems like DJI O3 Air Unit and HDZero, the innovation never stops. This dynamic environment ensures there's always something new to learn, master, and experience.
Your Essential FPV Racing Gear Checklist for Beginners
Before you can carve through your first gate, you need the right tools. Don't worry, you don't need to break the bank to get started. Here's a breakdown of the essential gear for any aspiring FPV racer.
The Core Four: Drone, Goggles, Radio Transmitter, and Batteries
- The Drone (Quad): This is your racing machine. For beginners, a durable, easy-to-repair drone is key. You'll typically start with a smaller "whoop" style drone or a 3-inch or 5-inch racing quad.
- FPV Goggles: These are your eyes in the sky. They display the live video feed from your drone.
- Analog Goggles: More affordable, wider compatibility, but lower resolution (e.g., Eachine EV800D, Skyzone SKY04L).
- Digital Goggles: Offer crystal-clear HD video, but are more expensive and system-specific (e.g., DJI Goggles 2, Walksnail Avatar HD Goggles, HDZero Goggles). For racing, low latency is paramount, and modern digital systems have achieved impressive latency figures.
- Radio Transmitter (TX): This is how you control your drone. It sends commands to the flight controller. Look for a radio with good gimbals and a comfortable feel. Popular beginner-friendly options often support multiple protocols like ELRS (ExpressLRS) or 4-in-1 modules (e.g., Radiomaster Zorro, Radiomaster Pocket, Jumper T-Pro). ELRS is currently the most popular and recommended control link due to its superior range, low latency, and robust signal.
- Batteries: FPV drones are power-hungry! You'll need multiple LiPo (Lithium Polymer) batteries to get decent flight time. Common sizes for racing quads are 4S (14.8V) or 6S (22.2V) with capacities ranging from 850mAh to 1500mAh. Always practice safe LiPo handling and storage.
Beyond the Basics: Chargers, Tools, and Essential Spares
- LiPo Charger: A good balance charger is crucial for safely charging and maintaining your batteries (e.g., ToolkitRC M6DAC, ISDT Q6 Nano).
- Propellers: You will crash, and you will break props. Buy them in bulk!
- Basic Tools: Small screwdrivers (Phillips and Hex), pliers, wire cutters, and a soldering iron (if you plan on repairs or building).
- Battery Straps: To secure your LiPo to the drone.
- Loctite (Blue): To prevent screws from vibrating loose.
- Heat Shrink Tubing & Zip Ties: Always handy for repairs and tidying up wiring.
Understanding Different Drone Sizes and Racing Classes
FPV racing drones come in various sizes, typically measured by the distance between opposite motor shafts (in millimeters).
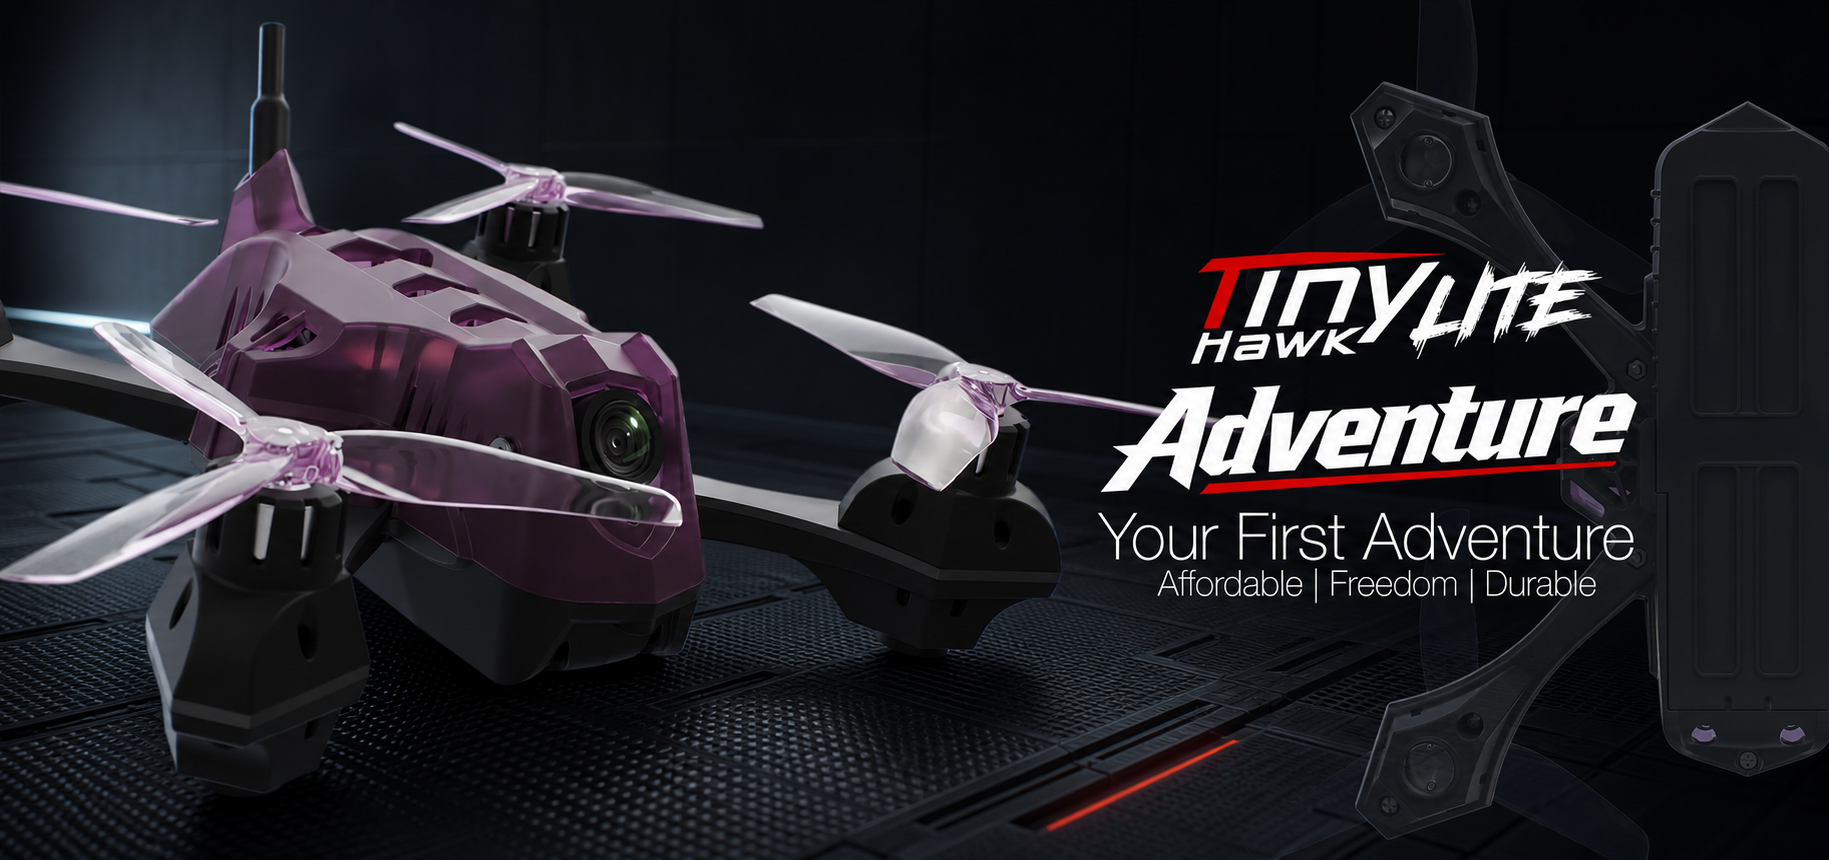
- Micro Drones (65mm-85mm): Often called "whoops" or "toothpicks," these are great for indoor flying and learning the ropes. They are lighter, less powerful, and less intimidating for beginners. Examples: Tinyhawk III, Mobula7.
- 2.5-inch to 3.5-inch Quads: A step up in power and speed, suitable for small outdoor tracks or larger indoor venues. More durable than micro-drones.
- 5-inch Quads (210mm-220mm): The standard size for most competitive outdoor FPV racing. These are fast, powerful, and require more space to fly. They are also highly customizable.
For beginners, starting with a micro or 3-inch drone is highly recommended as they are more forgiving and less expensive to crash and repair.
Master the Controls: The Power of FPV Simulators
Before you even think about putting a real drone in the air, you must spend time in an FPV simulator. This is arguably the most critical step for any rookie.
Why Simulators are Non-Negotiable for FPV Rookies
Flying an FPV drone is fundamentally different from flying a camera drone like a DJI Mavic. There's no GPS stabilization, no "return to home." You are in full manual control, constantly adjusting throttle, pitch, roll, and yaw. Simulators provide a risk-free environment to:
- Learn the controls: Get comfortable with the stick movements without fear of crashing.
- Develop muscle memory: The repetitive practice builds the instinctive reactions needed for real flight.
- Experiment with settings: Try different rates and expo values to find what feels comfortable.
- Practice advanced maneuvers: Once you're comfortable, you can start tackling gates, power loops, and more complex tricks.
- Save money: Every crash in a simulator is money saved on repairs!
Pro Tip: Always use your actual FPV radio transmitter with the simulator. This ensures the muscle memory you build directly translates to real-world flying. Most modern radios connect via USB to your computer.
Top FPV Simulators Recommended for Beginners
There are several excellent FPV simulators available, each with its strengths:
- Velocidrone: Widely regarded as having the most realistic physics, making it a favorite among professional racers. It has a vast array of tracks and drones.
- DRL (Drone Racing League) Simulator: Great graphics and a strong focus on racing. Offers specific DRL tracks and challenges.
- Liftoff: Excellent graphics, a wide variety of drones and environments, and good customization options. Very popular for freestyle practice.
- Tryp FPV: Known for its realistic physics, especially for freestyle flying, and beautiful environments.
- Uncrashed: Another simulator with very good physics and visually appealing maps.
Most simulators offer a free demo or have frequent sales, so you can try a few to see which one you prefer.
Effective Practice Drills and Tracking Your Progress
Start with basic maneuvers:
- Hovering: Learn to maintain a stable altitude and position.
- Figure Eights: Practice smooth turns and throttle management.
- Gate Practice: Start with a few simple gates, then gradually increase complexity.
- Track Laps: Once you're comfortable, try flying full race tracks, focusing on smooth lines rather than just speed initially.
Many simulators have built-in timers and ghost modes, allowing you to track your lap times and race against your best runs. Consistency is key! Aim for smooth, controlled flying before you chase speed.
Choosing Your First Racing Drone: RTF, BNF, or DIY?
Deciding on your first drone setup can feel overwhelming. Let's break down the main options:
Ready-To-Fly (RTF) Kits: The Easiest Entry Point
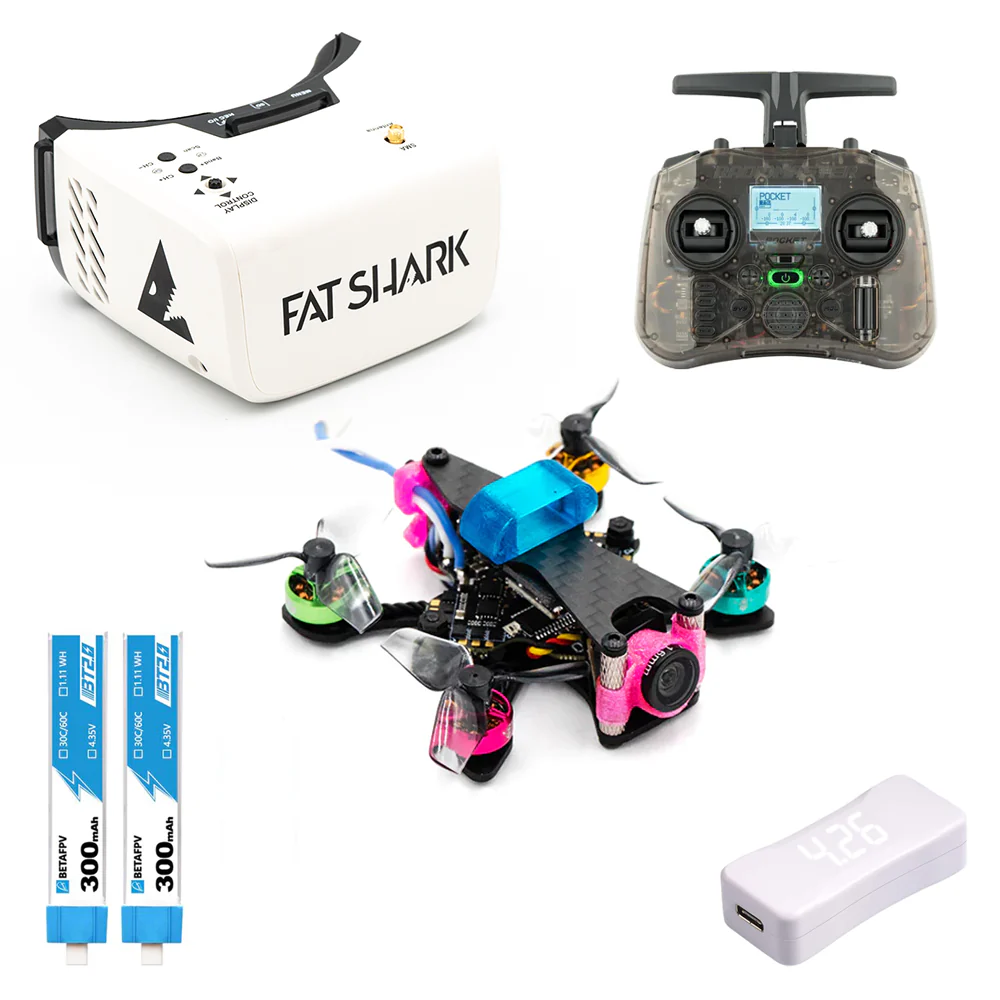
What it is: An RTF kit includes everything you need to start flying: drone, radio transmitter, goggles, and often batteries and a charger. Pros:
- Convenience: Unbox, charge, and fly. No assembly or complex setup required.
- Cost-effective: Often cheaper than buying components separately.
- Beginner-friendly: Designed to get you in the air quickly. Cons:
- Limited Upgradeability: Components might be proprietary or harder to upgrade.
- Quality: Components might not be top-tier, though many beginner RTF kits are excellent now. Recommended for: Absolute beginners who want to minimize initial setup complexity and just want to fly. Examples: BetaFPV Cetus X, EMAX Tinyhawk III Plus Freestyle RTF.
Bind-N-Fly (BNF) Drones: More Customization, Still Simple Setup
What it is: A BNF drone comes fully assembled but without a radio transmitter or goggles. You "bind" it to your existing compatible radio. Pros:
- Flexibility: You can choose your preferred radio and goggles, allowing for better quality components.
- Cost-effective (if you already have a radio/goggles): You're not paying for redundant gear.
- Good performance: BNF drones often have better components than RTF kits. Cons:
- Requires existing gear: You need a compatible radio and FPV goggles.
- Minor setup: You'll need to bind the drone to your radio and configure basic settings in Betaflight. Recommended for: Beginners who have already invested in a good radio for simulator practice and want a step up from an RTF kit. Examples: GEPRC TinyGO, iFlight Nazgul Evoque F5D (requires your own radio and goggles).
The DIY Build: A Deep Dive for the Ambitious (and Patient)
What it is: You buy all the individual components (frame, motors, ESCs, flight controller, VTX, camera, receiver) and assemble the drone yourself. Pros:
- Complete Customization: Every component is chosen by you, allowing for peak performance and specific preferences.
- Deep Understanding: You learn how every part works, making repairs and troubleshooting much easier.
- Satisfaction: The pride of flying something you built yourself is immense. Cons:
- Complex: Requires soldering skills, knowledge of wiring diagrams, and extensive software setup (Betaflight).
- Time-Consuming: Can take many hours for a first-time builder.
- Potentially More Expensive: Buying individual components can add up, and mistakes can be costly.
- Troubleshooting: Expect to spend time diagnosing issues. Recommended for: Tech-savvy individuals who enjoy tinkering, want to understand their drone inside and out, and aren't afraid of a challenge. While incredibly rewarding, it's generally not recommended as the very first entry point for FPV racing unless you have a mentor.
Setting Up Your FPV Racing Drone for Success
Once you have your drone, it's time to get it ready for flight. This involves a few crucial steps, even if you opted for an RTF or BNF.
Initial Bind and Basic Radio Transmitter Configuration
- Charge Batteries: Fully charge your drone batteries and your radio's battery.
- Power On Radio: Turn on your radio transmitter.
- Create Model: In your radio's menu, create a new model profile for your drone.
- Bind Receiver: Follow the specific instructions for your drone's receiver (e.g., ExpressLRS, FrSky, Crossfire) to bind it to your radio. This usually involves putting the receiver into bind mode and then initiating bind on the radio.
- Test Controls: With the props off your drone (ALWAYS remove props during setup!), connect it to Betaflight Configurator (see next section) and verify that your radio stick movements are correctly registered on the "Receiver" tab. Check that your channels are mapped correctly (AETR1234 or TAER1234).
Practical Tip: Spend time setting up your radio's switches for arming, flight modes (Acro, Angle), and potentially a "beeper" or "turtle mode." Assigning these to easily accessible switches will make flying much smoother.
Betaflight Basics: Firmware, Flight Modes, and Rate Settings
Betaflight is the open-source flight controller firmware that powers most FPV racing drones. You interact with it via the Betaflight Configurator software on your computer.
- Install Drivers & Configurator: Download and install the correct USB drivers and the Betaflight Configurator application.
- Connect Drone: Connect your drone to your computer via a USB cable.
- Backup Settings: ALWAYS backup your drone's original settings (CLI dump) before making any changes. This is your lifeline if something goes wrong.
- Firmware (if needed): For DIY builds or major updates, you might need to flash new firmware. For RTF/BNF, it's usually pre-flashed.
- Configuration Tab: Verify basic settings like accelerometer calibration, motor direction, and ESC protocol (DShot is standard).
- Ports Tab: Ensure your receiver and VTX are configured on the correct UARTs.
- Configuration Tab: Set your arming angle, motor stop, and other safety features.
- Modes Tab: Configure your flight modes:
- Arm: Essential for enabling the motors. Assign it to a switch.
- Angle Mode: Self-levels the drone. Good for absolute beginners to get a feel, but not for racing.
- Acro Mode (Rate Mode): The standard for FPV racing and freestyle. No self-leveling; the drone holds its last commanded angle. This is what you'll use 99% of the time.
- Beeper: Assign a switch to activate the drone's beeper in case of a crash to help locate it.
- Turtle Mode (Flip Over After Crash): Allows you to flip your drone back upright after a mild crash without walking to it. Invaluable!
- Rates Tab: This is where you adjust how sensitive your sticks are. Start with conservative rates (lower values) and gradually increase them as you gain confidence. Many pre-built drones come with good default rates for beginners.
Practical Tip: There are countless YouTube tutorials on Betaflight setup. Watch a few specific to your drone or general beginner guides. Don't be afraid to ask for help in FPV communities.
Optimizing Your Video Transmitter (VTX) and Camera Settings
Your FPV camera and VTX are critical for clear vision.
- VTX Power & Channel: In Betaflight (or via SmartAudio/TrampHV OSD), set your VTX to a legal power output (e.g., 25mW for racing, higher for freestyle/long-range) and choose a clear channel. Always fly on a channel that isn't already in use by others.
- Camera Settings (OSD): Many FPV cameras allow you to adjust settings like brightness, contrast, and WDR (Wide Dynamic Range) via an OSD (On-Screen Display) joystick or Betaflight passthrough. For racing, a clear, high-contrast image with good low-light performance (if flying indoors) is crucial. Avoid settings that introduce too much latency.
From Simulator to Sky: Your First Real Flights & Racing Techniques
You've practiced in the sim, set up your drone, and now it's time for the real deal. This is where the magic happens!
Safety First: Pre-Flight Checks and Choosing Safe Flying Zones
- Pre-Flight Check:
- Props Off for Setup! (Already mentioned, but worth repeating)
- Props On, Correct Direction: Ensure props are installed correctly and tightened.
- Battery Secure: Lipo strapped down firmly.
- Antennas Secure: VTX and receiver antennas are attached and undamaged.
- Arm/Disarm Test: Test arming and disarming without props to ensure motors spin correctly.
- Goggle Feed: Check for a clear video feed.
- Weather: Avoid strong winds or rain.
- Safe Flying Zones:
- Open Area: Start in a large, open field away from people, animals, and property.
- Spotter: Have an experienced FPV pilot or friend with you who can watch your drone and surroundings.
- Legal Compliance: Understand local drone regulations (see FAQ). Always be aware of no-fly zones.
Mastering Basic Maneuvers: Hovering, Turns, and Figure Eights
Take it slow. Your first real flights will feel different from the simulator, but the muscle memory will kick in.
- Gentle Takeoff & Hover: Slowly increase throttle, get the drone into a stable hover. Practice maintaining a constant altitude.
- Forward Flight: Gently push the pitch stick forward to move forward, then pull back to stop.
- Turns: Combine yaw (rudder) and roll (aileron) to execute smooth turns. Practice gentle figure eights.
- Throttle Management: This is key. Learn to use the throttle to control altitude and momentum, especially in turns.
Practical Tip: Don't be afraid to crash. It's part of the learning process. The goal for your first few flights is just to get airborne, hover, and land safely.
Introduction to Racing Lines, Gate Management, and Flow
Once you're comfortable with basic flight, you can start thinking about racing:
- Racing Line: The most efficient path through a course. It's often not the shortest distance, but the one that allows you to maintain momentum and speed. Think about wide entry, tight apex, and wide exit for gates.
- Gate Management: Focus on seeing through the gate, not just at it. Look ahead to the next gate or obstacle.
- Flow: The feeling of smoothly transitioning from one maneuver to the next without jerky movements or lost momentum. This comes with practice.
Start by setting up a single "gate" (two cones, or even just imaginary points) and practice flying through it smoothly, then add another.
Joining the Community: Local Clubs, Events, and Online Resources
The FPV community is incredibly supportive.
- Local Clubs: Search for FPV clubs or groups in your area. Many pilots are happy to mentor newcomers.
- Online Forums & Social Media: Join FPV-specific Facebook groups, Discord servers, and forums (like those on fpvlovers.com.tr!). These are great for asking questions, sharing builds, and finding local events.
- Events: Look for local race meets or freestyle jams. Even if you don't race, attending is a great way to learn and meet other pilots.
Buyer's Guide: Recommended FPV Racing Gear for Beginners
To help you get started, here are some specific product recommendations:
Top Starter RTF Kits That Won't Break the Bank
- BetaFPV Cetus X Kit: An excellent complete kit that often includes a decent radio (LiteRadio 3) and FPV goggles (VR03). It's powerful enough for outdoor practice but still forgiving. Offers both analog and sometimes digital options.
- EMAX Tinyhawk III Plus Freestyle RTF Bundle: A classic choice for micro-drone beginners. Durable, easy to fly, and comes with everything you need for indoor and backyard fun.
Beginner-Friendly Radio Transmitters and FPV Goggles
- Radio Transmitters:
- Radiomaster Zorro / Pocket: Fantastic value, ergonomic, and supports ELRS (the best control link currently). The Zorro has full-size gimbals, while the Pocket is more compact.
- Jumper T-Pro V2: Another compact, feature-rich option, often supporting ELRS or 4-in-1 multi-protocol modules.
- FPV Goggles (Analog):
- Eachine EV800D: An all-in-one box goggle (screen built into the headset). Affordable, decent screen, and has a built-in DVR for recording flights. Great for a first pair.
- Skyzone SKY04L: A higher-end analog goggle with LCOS screens, good optics, and a more traditional goggle form factor. A significant step up if your budget allows.
- FPV Goggles (Digital - if budget allows):
- DJI Goggles Integra / Goggles 2: If you plan on flying DJI's O3 Air Unit system, these offer unparalleled video quality and low latency. The DJI Avata also uses this system, making it an option for a robust, though heavier, cinewhoop-style racer.
- Walksnail Avatar HD Goggles: A strong contender in the digital space, offering good image quality and latency, often at a slightly lower price point than DJI.
Essential Accessories and Spares to Keep You Flying
- LiPo Charger: ToolkitRC M6DAC or ISDT Q6 Nano.
- LiPo Batteries: Start with 4-6 batteries. For a 5-inch quad, 4S 1300mAh or 6S 1100mAh. For a micro, 1S or 2S 300-500mAh.
- Propellers: Buy at least 10-20 sets of props. Seriously.
- Soldering Iron Kit: TS101 or similar portable soldering iron with solder and flux.
- Hex Driver Set: 1.5mm, 2.0mm, 2.5mm are most common.
- LiPo Safe Bag: For charging and storing batteries safely.
Frequently Asked Questions About FPV Racing
Do I need to build my own drone to start FPV racing?
No, absolutely not! While building your own drone is a rewarding experience, it's not a prerequisite. RTF (Ready-To-Fly) and BNF (Bind-N-Fly) kits are excellent starting points that allow you to get flying much faster without needing soldering skills or in-depth technical knowledge from day one.
How much does it cost to get into FPV racing as a beginner?
The cost can vary significantly.
- Budget Entry (RTF Kit): You can get a decent micro-drone RTF kit (drone, radio, goggles) for $200 - $400 USD.
- Mid-Range (BNF + Better Radio/Goggles): If you opt for a BNF drone and invest in a good radio (e.g., Radiomaster Zorro) and analog goggles (e.g., Eachine EV800D or Skyzone SKY04L), you're looking at $400 - $800 USD.
- Digital FPV: If you jump straight into a digital system (DJI, Walksnail, HDZero), the goggles alone can be $400 - $700+ USD, plus the drone. Remember to budget for extra batteries, props, and basic tools.
Is FPV racing difficult to learn, and how long does it take?
FPV racing has a steep learning curve initially, but it's incredibly rewarding. Learning to fly in Acro mode (manual control) takes dedication. Most beginners spend 20-50 hours in a simulator before their first real flight. After that, consistent practice (both sim and real world) is key. You'll likely feel comfortable with basic maneuvers within a few weeks to a couple of months, but truly mastering racing lines and advanced tricks can take years.
What's the best way to find local FPV racing events or communities?
- Facebook Groups: Search for "[Your City/Region] FPV" or "FPV Racing [Your Country]".
- Discord Servers: Many FPV communities have active Discord servers.
- FPV Forums: Websites like fpvlovers.com.tr often have community sections.
- MultiGP: This is a global drone racing league that lists local chapters and events. Check their website!
- Word of Mouth: Ask pilots at local flying spots.
What are the legal requirements and regulations for flying FPV drones?
Drone regulations vary significantly by country and region. As an FPV pilot, you are responsible for knowing and adhering to them.
- Registration: Many countries require drones over a certain weight (e.g., 250g) to be registered with aviation authorities.
- Remote Pilot Certificate/License: Some regions require pilots to pass a test or obtain a license.
- Visual Line of Sight (VLOS) / Spotter: In many places, FPV flying requires a spotter to maintain visual line of sight with the drone at all times, as the FPV pilot is "blind" to the outside world.
- No-Fly Zones: Respect airspace restrictions around airports, military bases, critical infrastructure, and private property.
- Privacy: Be mindful of privacy when flying near people or residential areas.
Always check your local civil aviation authority's website (e.g., FAA in the US, EASA in Europe, SHGM in Turkey) for the most up-to-date information.
Conclusion: Your FPV Racing Journey Begins Now!
Recap of Your FPV Racing Blueprint
You've now got a comprehensive blueprint for starting your FPV racing journey. We've covered the essential gear, the non-negotiable importance of simulator practice, how to choose your first drone, the basics of setup, and tips for your first real flights. Remember the core four: drone, goggles, radio, and batteries, and always prioritize safety.
Embrace the Learning Curve and Have Fun!
FPV racing can be challenging, but every crash is a lesson, and every successful flight is a triumph. Embrace the learning curve, be patient with yourself, and most importantly, have fun! The thrill of speed, the joy of mastering a new skill, and the camaraderie of the FPV community make it all worthwhile.
Call to Action: Join the FPV Community and Share Your Progress!
Are you ready to take the plunge? Grab your gear, hit the simulator, and get ready to experience the world from a whole new perspective. Join the fpvlovers.com.tr community, share your first flight videos, ask questions, and connect with fellow enthusiasts. Your FPV racing adventure starts now!
Copyright-safe media generated locally by FPVLovers